Nextcloud Desktop App
The following instructions will guide you through installation, and initial setup of the Nextcloud Desktop Application for Windows, Linux, and MacOS
First you will need to download and install the Nextcloud Desktop application from the Nextcloud Downloads page.
Select the download for your Operating system, and proceed to the steps below:
Windows
- Run the installer from the link above
-
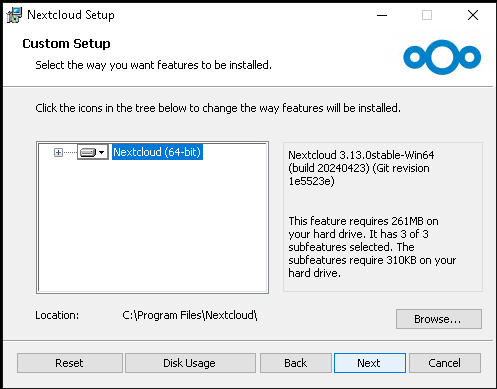
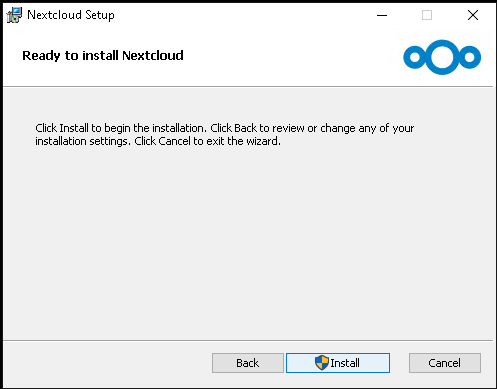
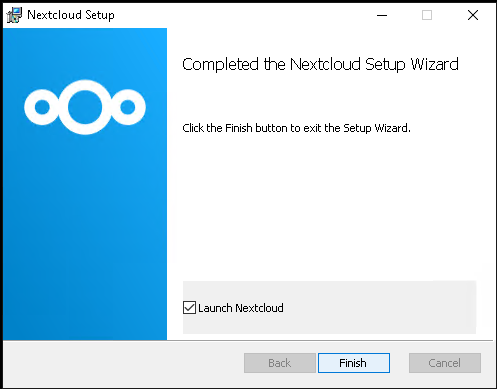
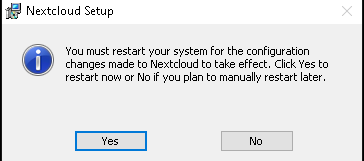
Follow the prompts as shown in the images below (default options, click Next through to Install, and Finish)
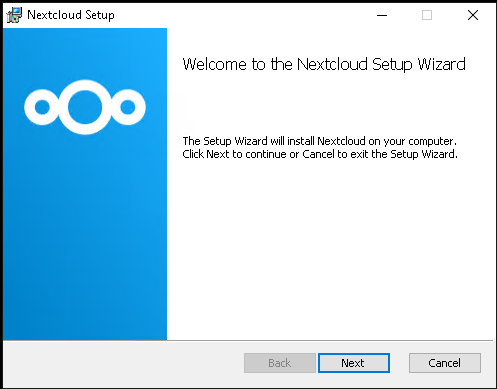
- If you get the popup to reboot your computer following the install, proceed with the reboot first, then continue onto the next steps.
- Launch the Nextcloud Desktop application again to begin linking to the GRIT Nextcloud Server
- Click on Log in once Nextcloud launches
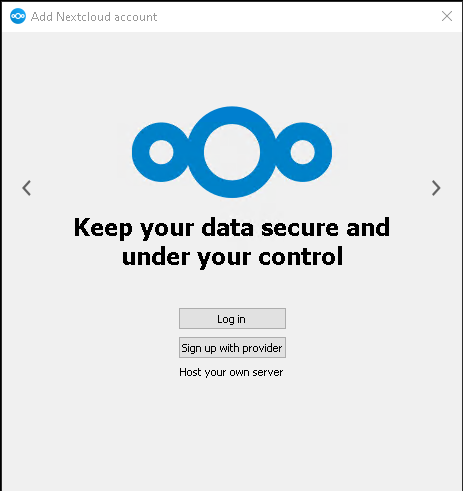
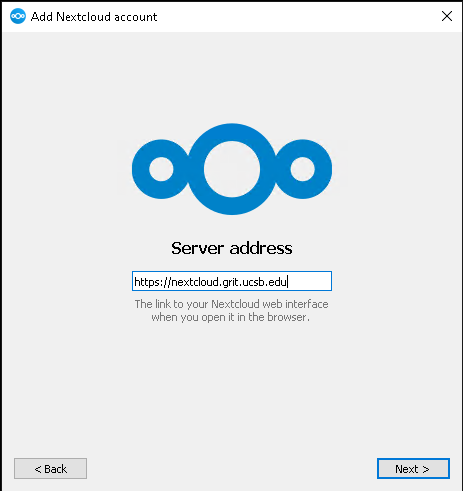
- Enter the server address: https://nextcloud.grit.ucsb.edu then click Next
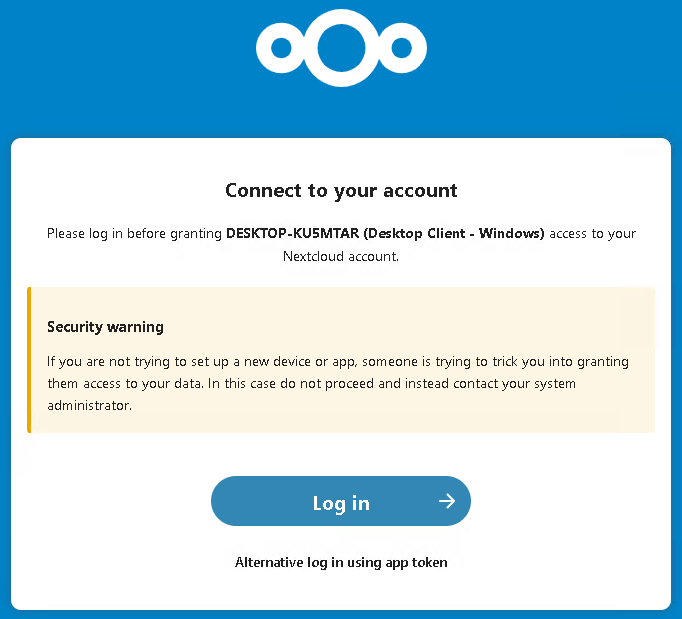
- This will launch your default web browser and prompt you to sign into your Nextcloud account to authorize the application
- Enter your credentials on the login prompt, then click on Grant access then return to the application
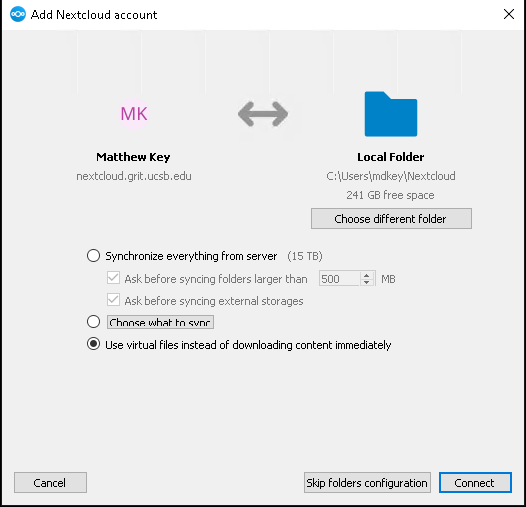
- The Nextcloud Desktop Application will now ask which directories/files you want to sync.
-
If you do not have many datasets shared with you via Nextcloud, and you wish to sync all of your Nextcloud data to your PC, click on Use virtual files instead of downloading content immediately then Connect. If you have selected this option, you are done!
-
If you want to be more selective of what you sync to your PC, click on Skip folders configuration first
-
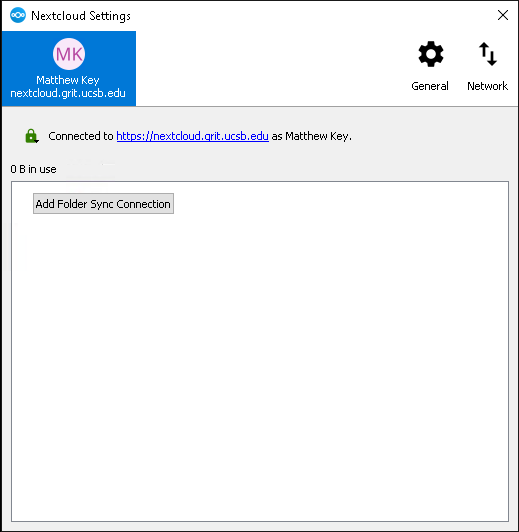
- If you selected Skip folders configuration in the previous step, you should see a screen like the one below. Click on Add Folder Sync Connection
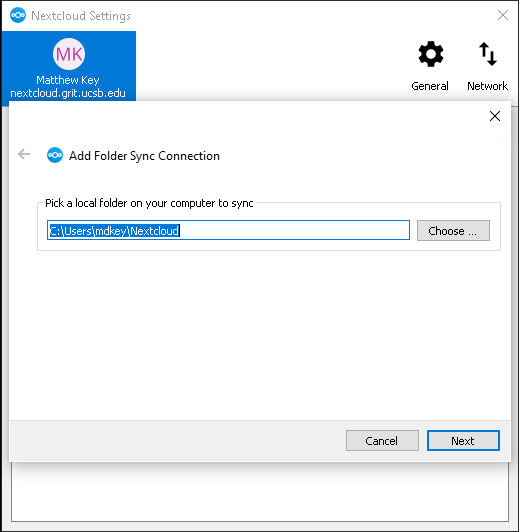
- Select the path you would like to sync your files to - the folder does not need to be called Nextcloud (this can match whatever folder/folders you sync - but it should not be a directory that already contains any local data on your PC)
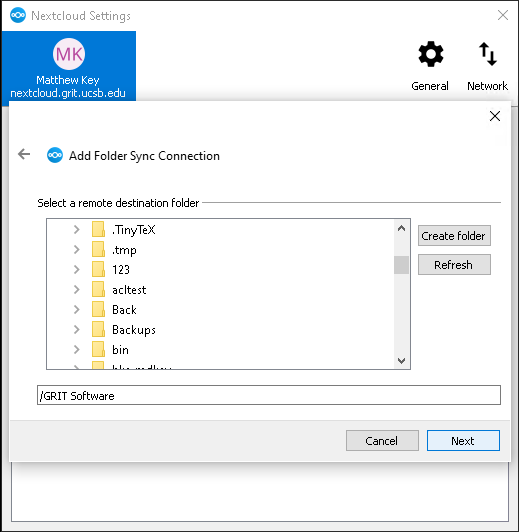
- Select the Directory you want to sync (The Windows version of this application does not allow you to select multiple directories from here, so you will need to repeat steps 10-13 for additional folder syncs)
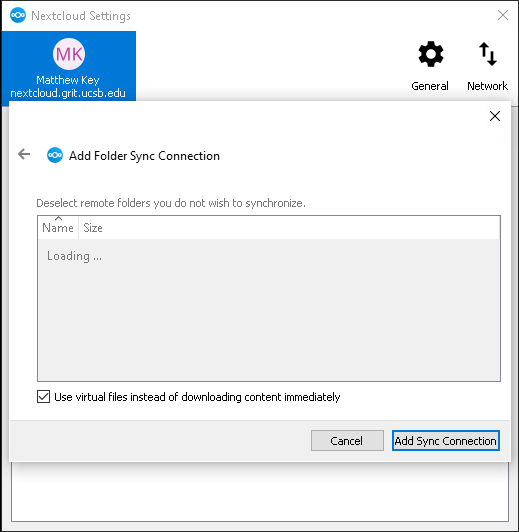
- Ensure that Use virtual files instead of downloading content immediately is checked then click Add Sync Connection
- Again, if you need to sync additional folders to your Desktop app, repeat steps 10-13.
MacOS
Install the desktop client (but don't login)
Navigate to:
/Users/youruser/Library/Preferences/Nextcloud/
showExperimentalOptions=true
Linux

