Using Deck in Nextcloud
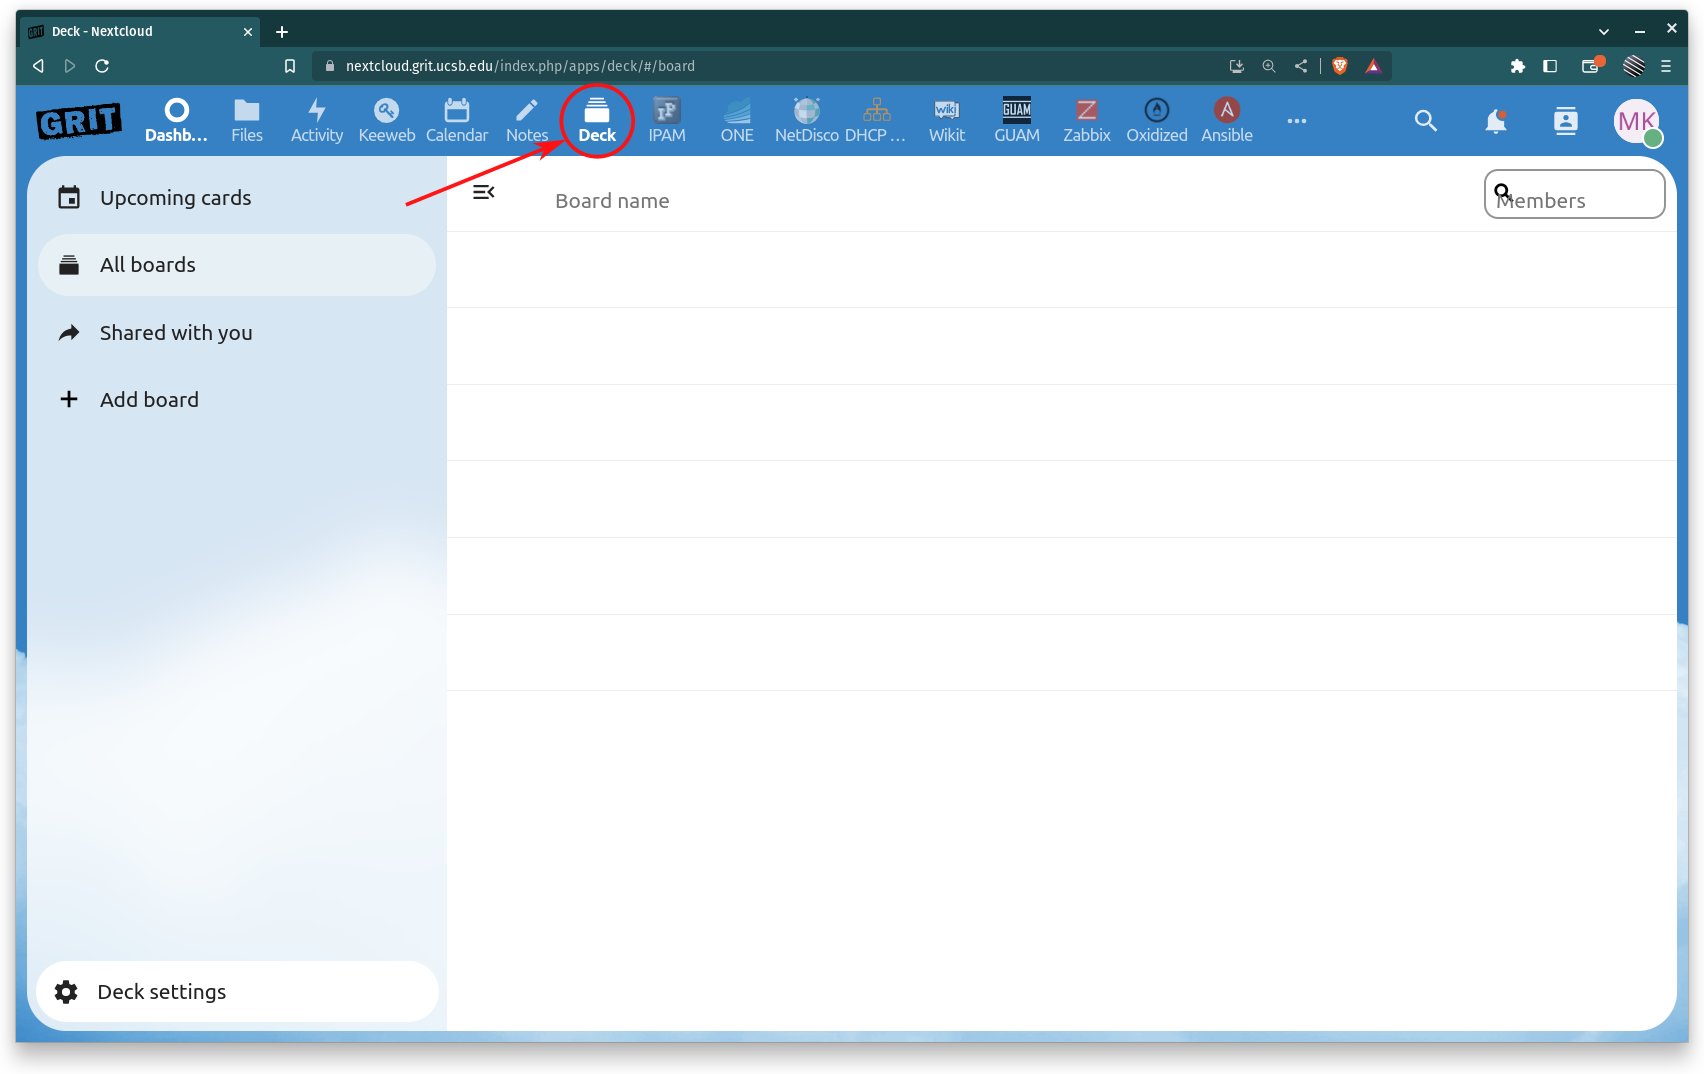
Once you are logged into Nextcloud, hover over the row of icons at the top to reveal the names and select Deck.
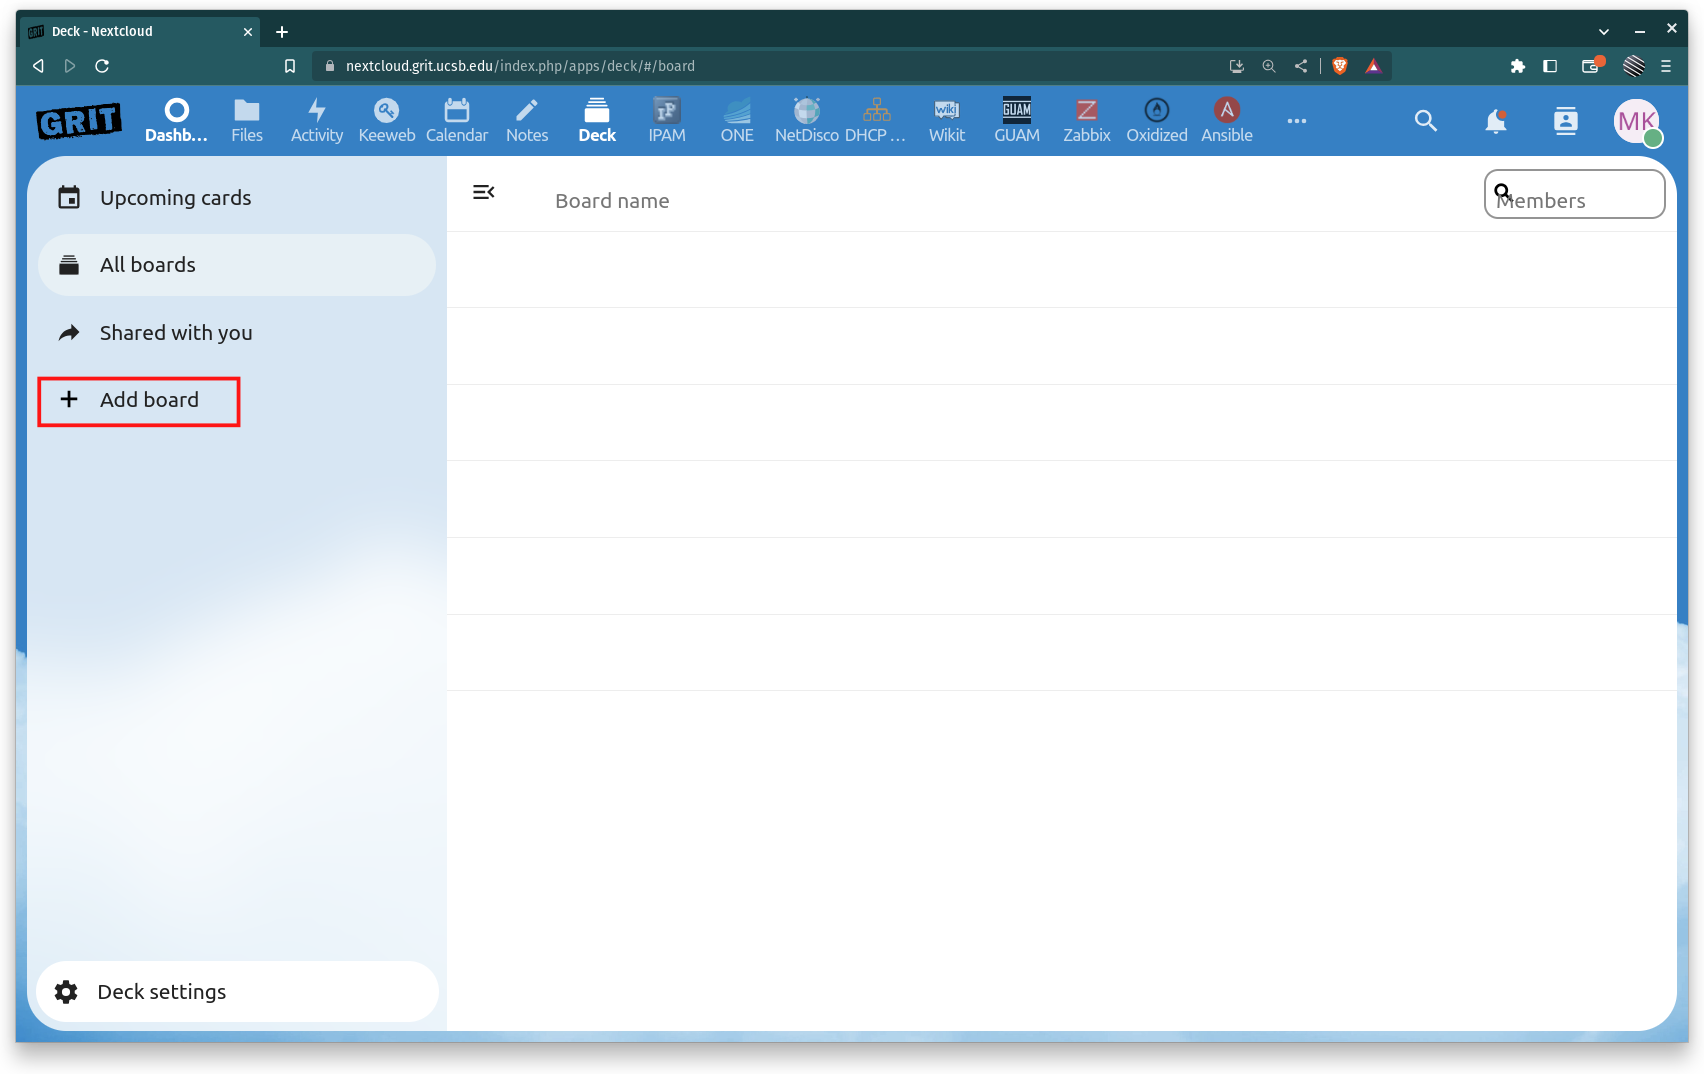
Creating a new Deck
To create a new Deck click on Add board
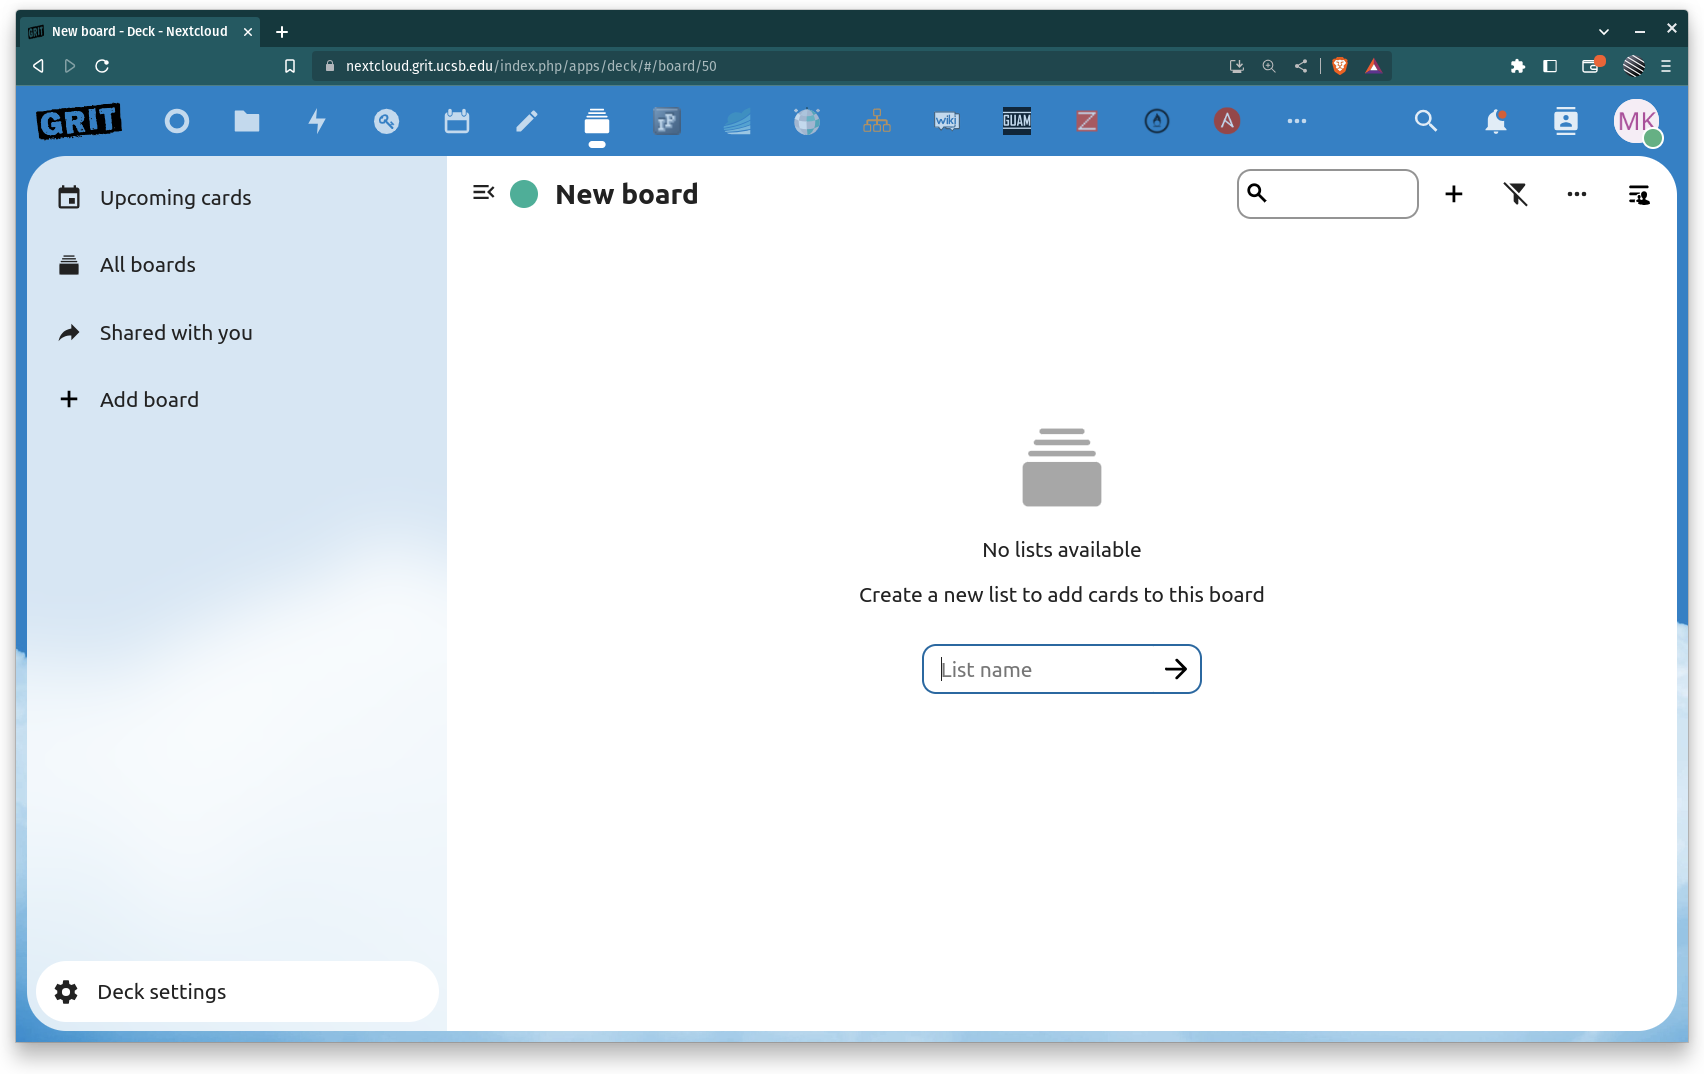
Enter the name for your new Deck board
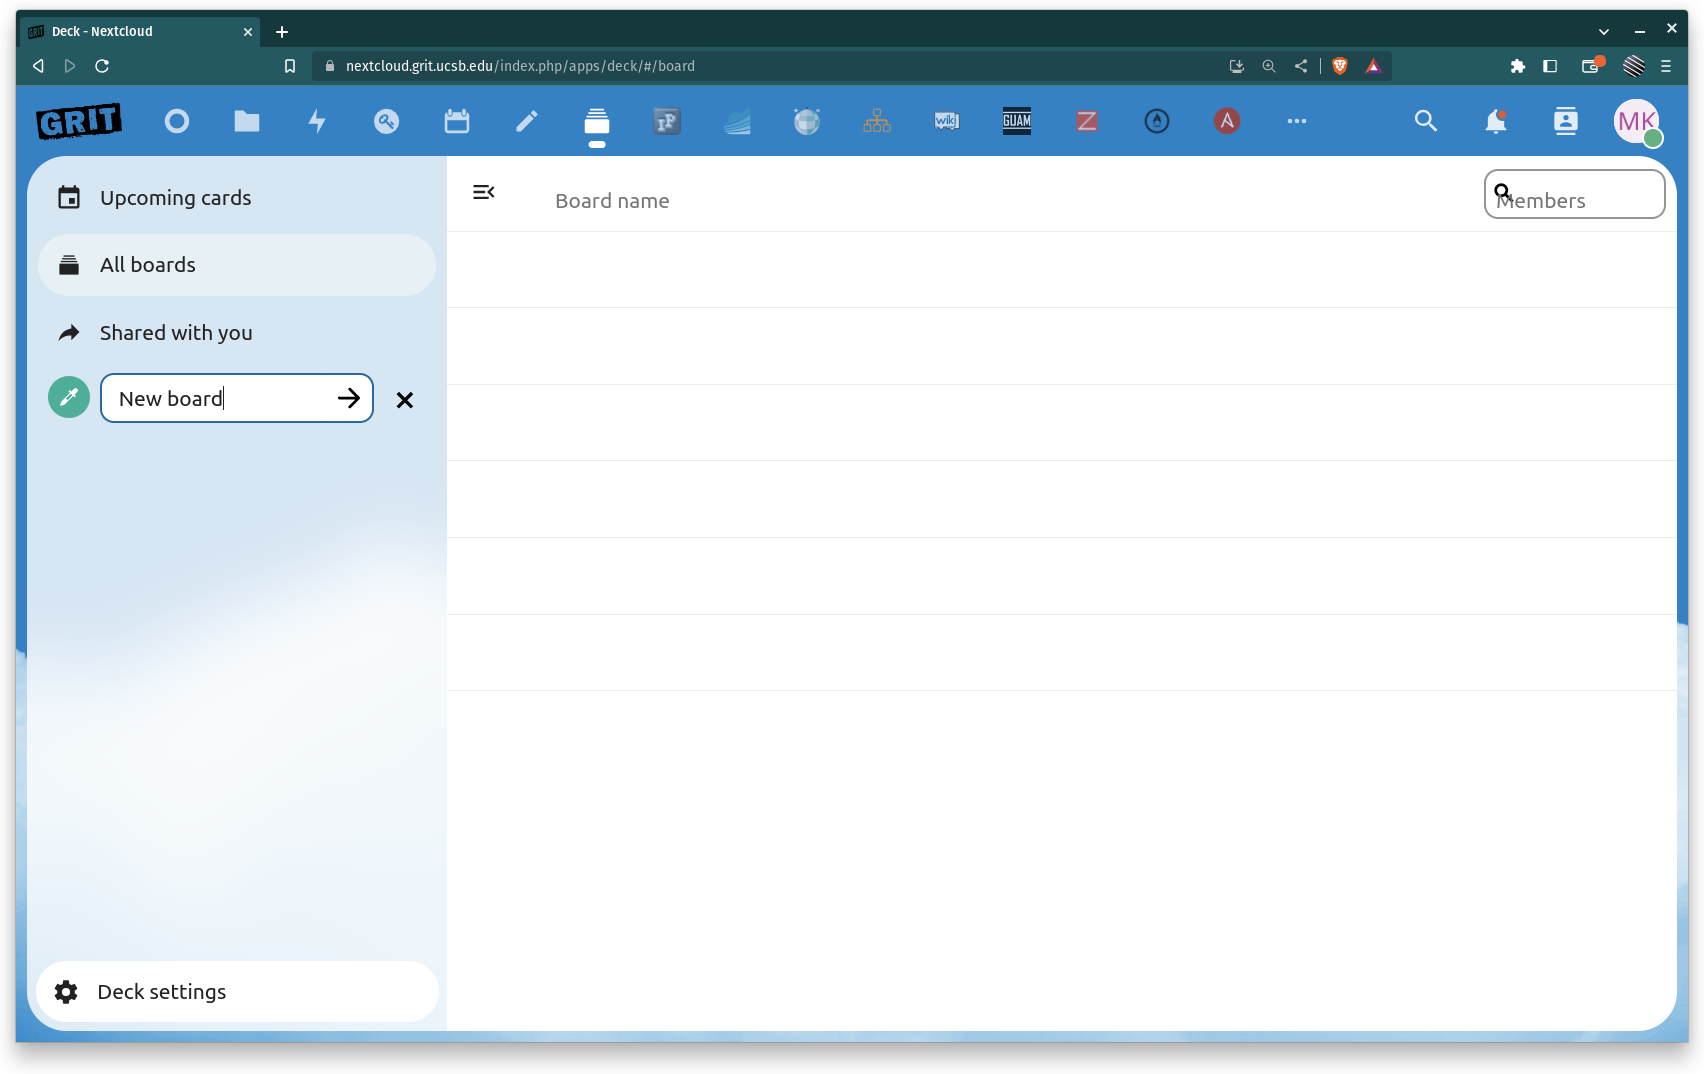
Once the board name is set, you will be prompted to set a name for your first board list
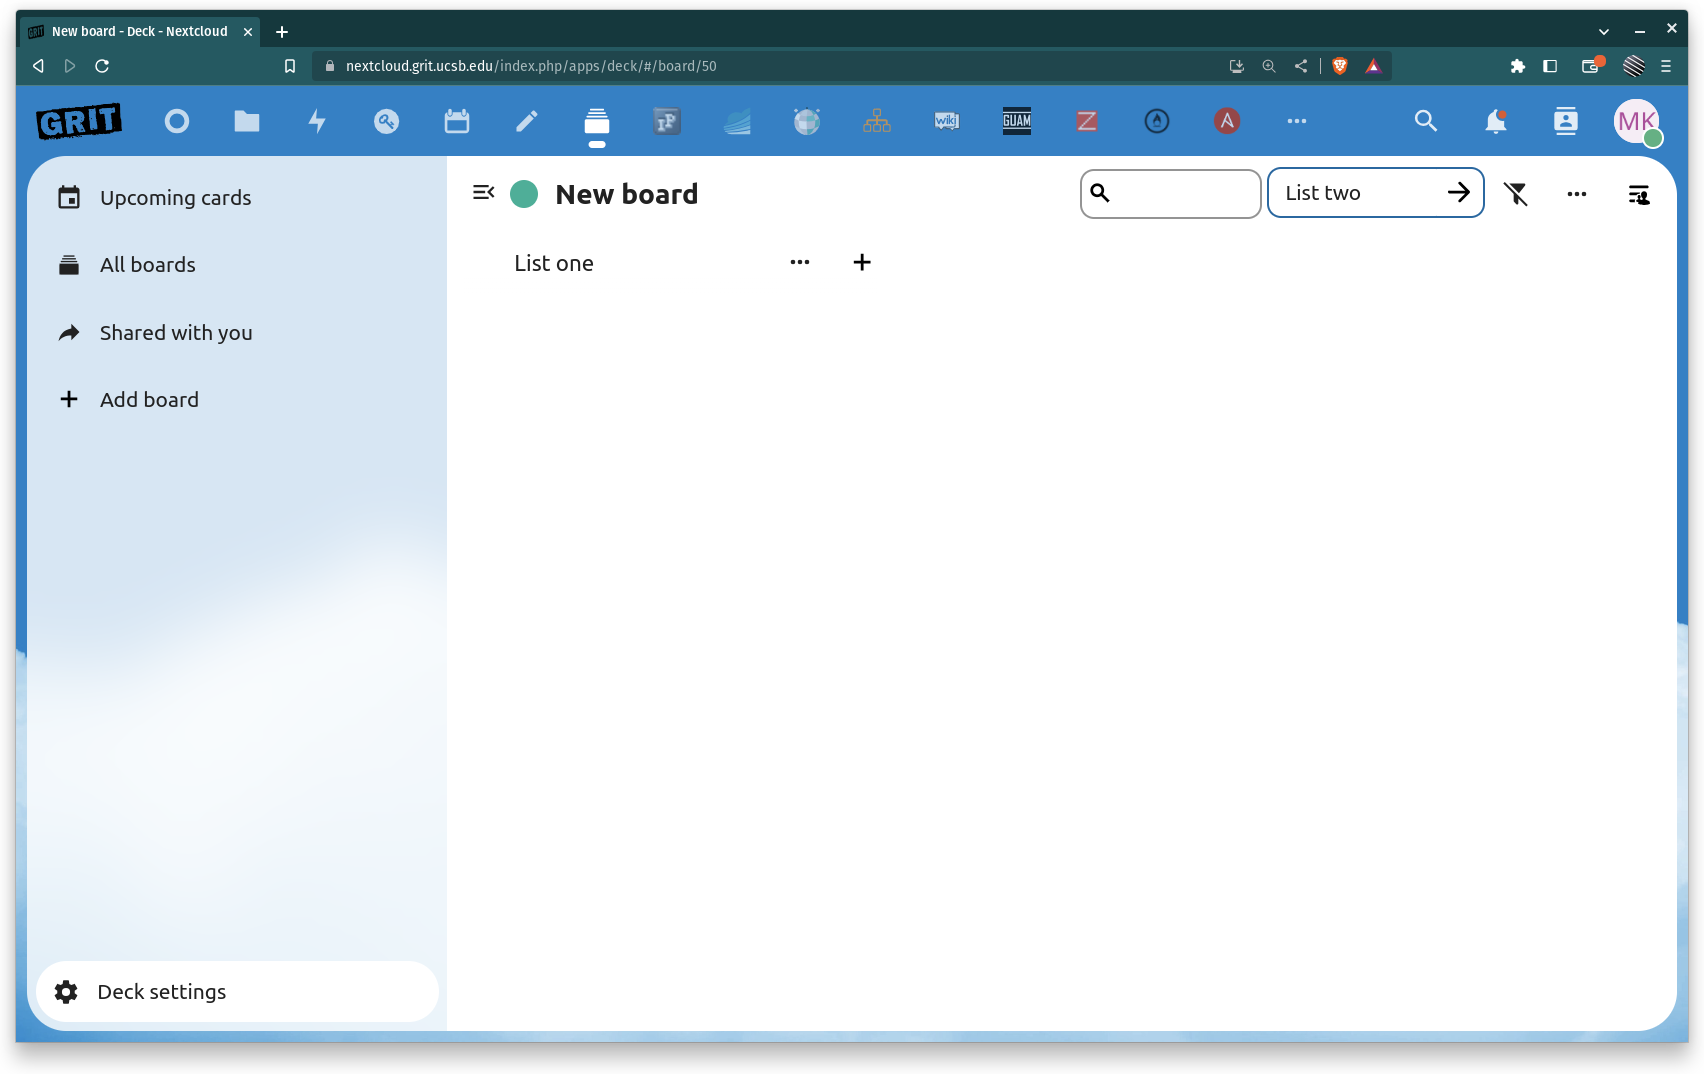
By clicking the + in the upper right corner next to the search field you can create additional lists as needed
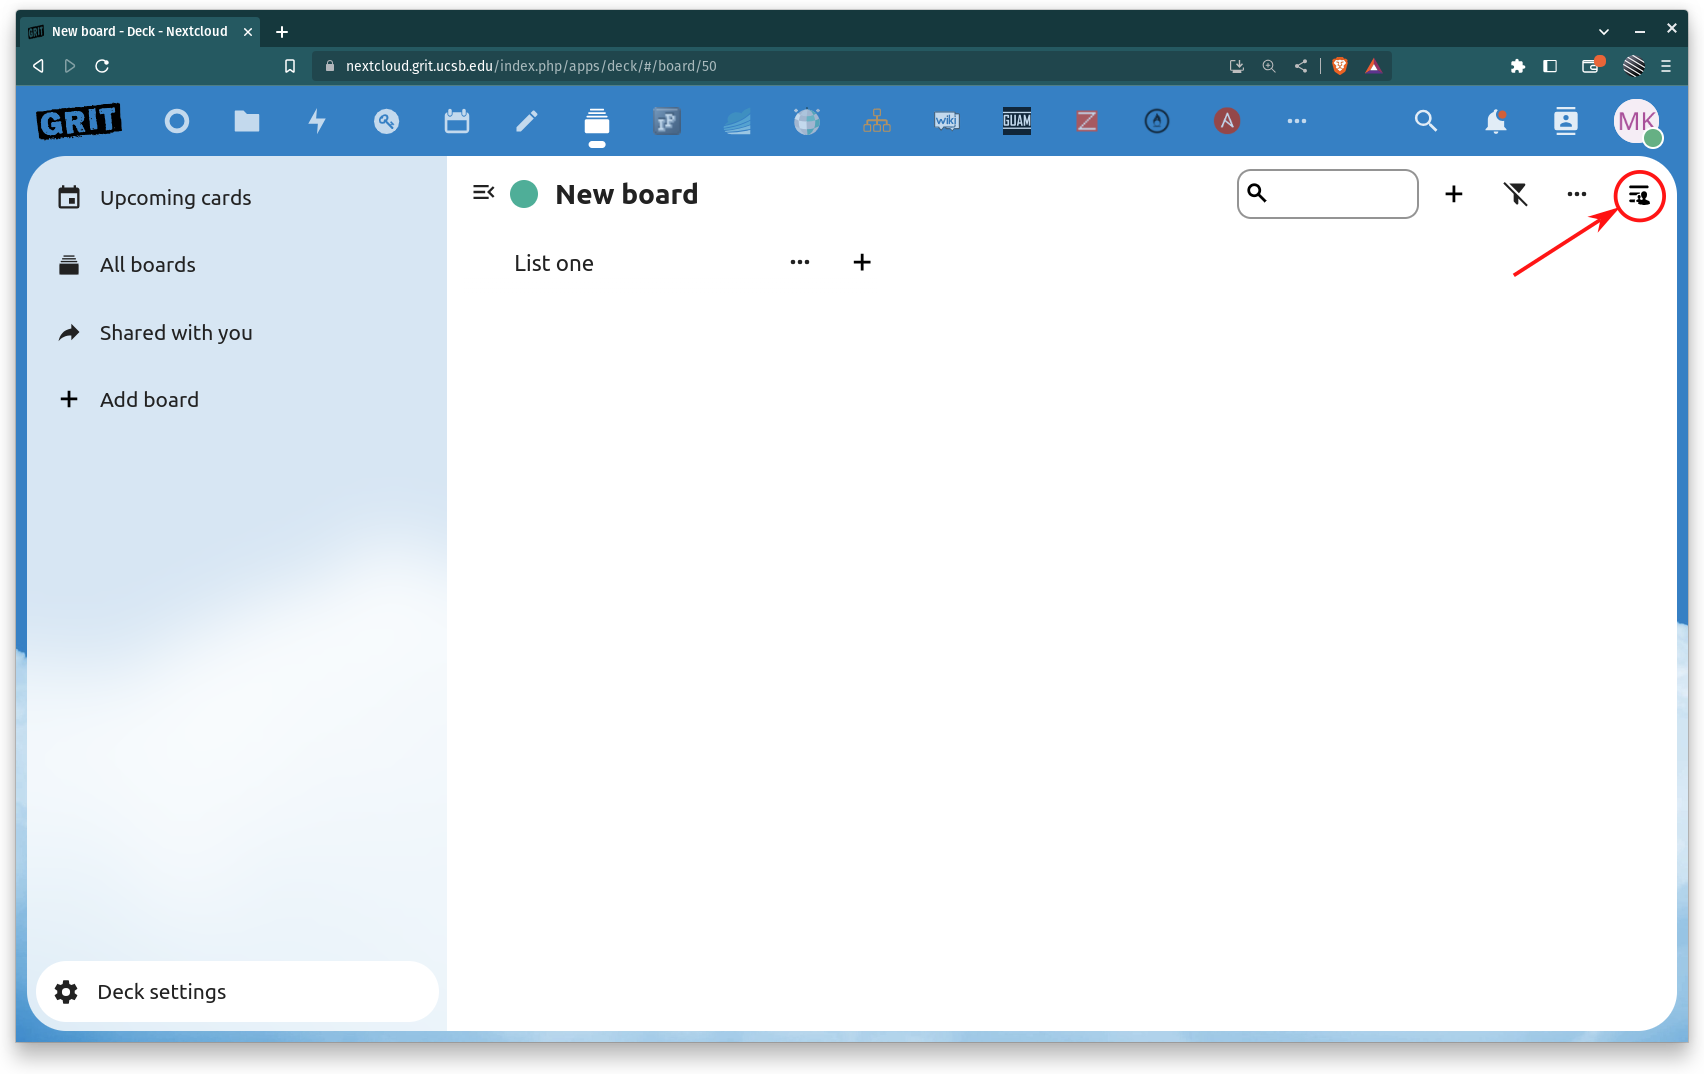
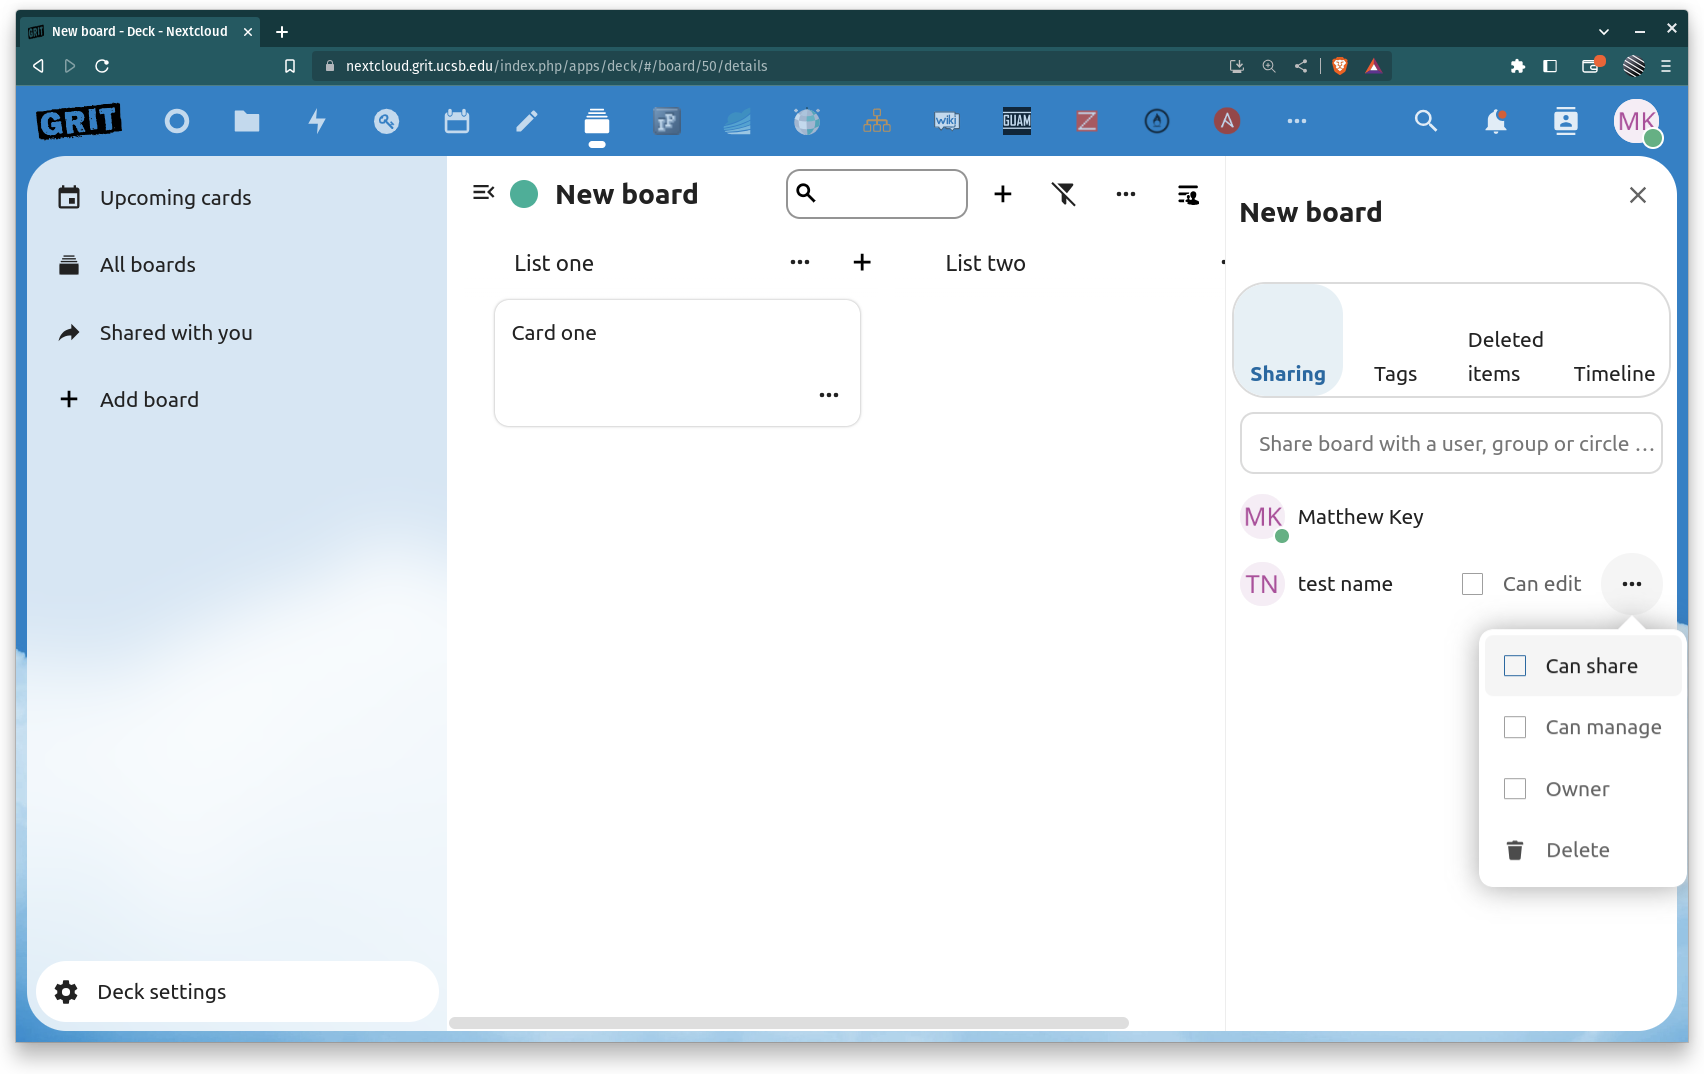
Sharing a Deck board
Click on the icon at the top right to open the options menu
Here you can enter the username(s) or group(s) you want to collaborate with on your board
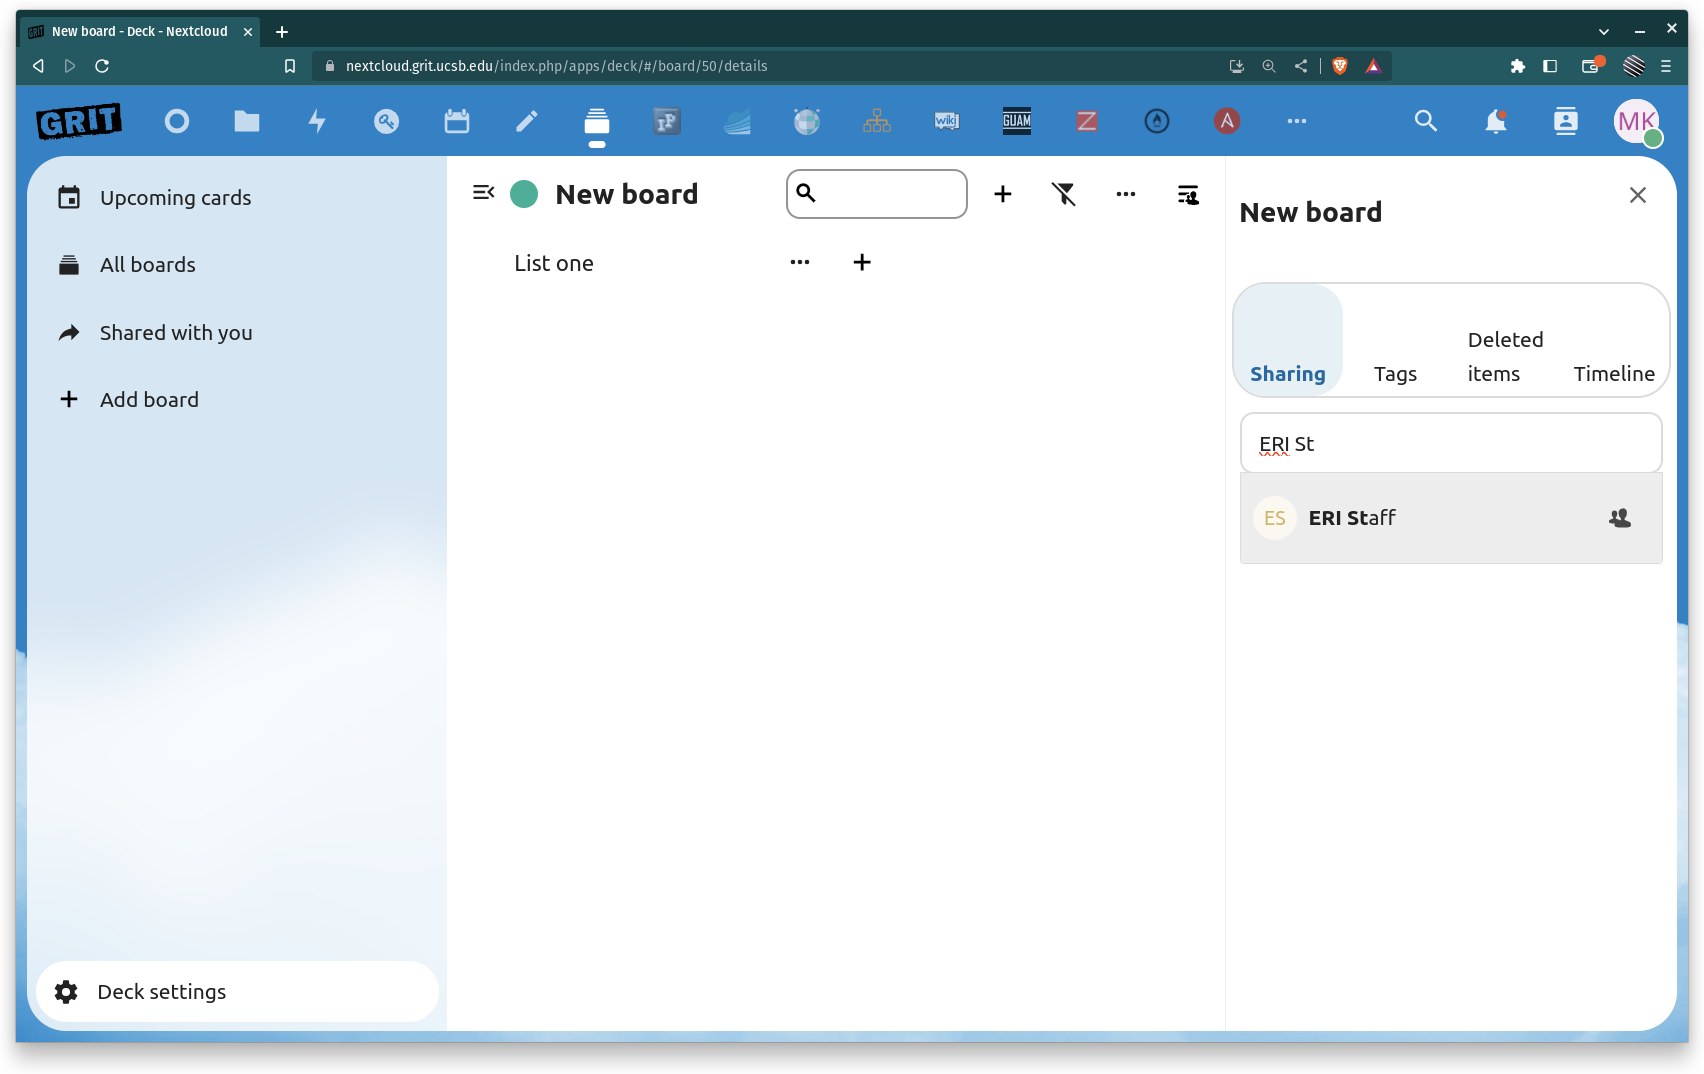
Once you had added the people/team you wish to share with, you can further manage their permissions on the board. The default permissions are Read-Only.
- Can edit - just gives edit permissions
- Can share - allows sharing of the board to other users with default permissions
- Can manage - allows the changing of the above permissions for other users/groups
- Owner - transfer the ownership of the board to the selected user/group
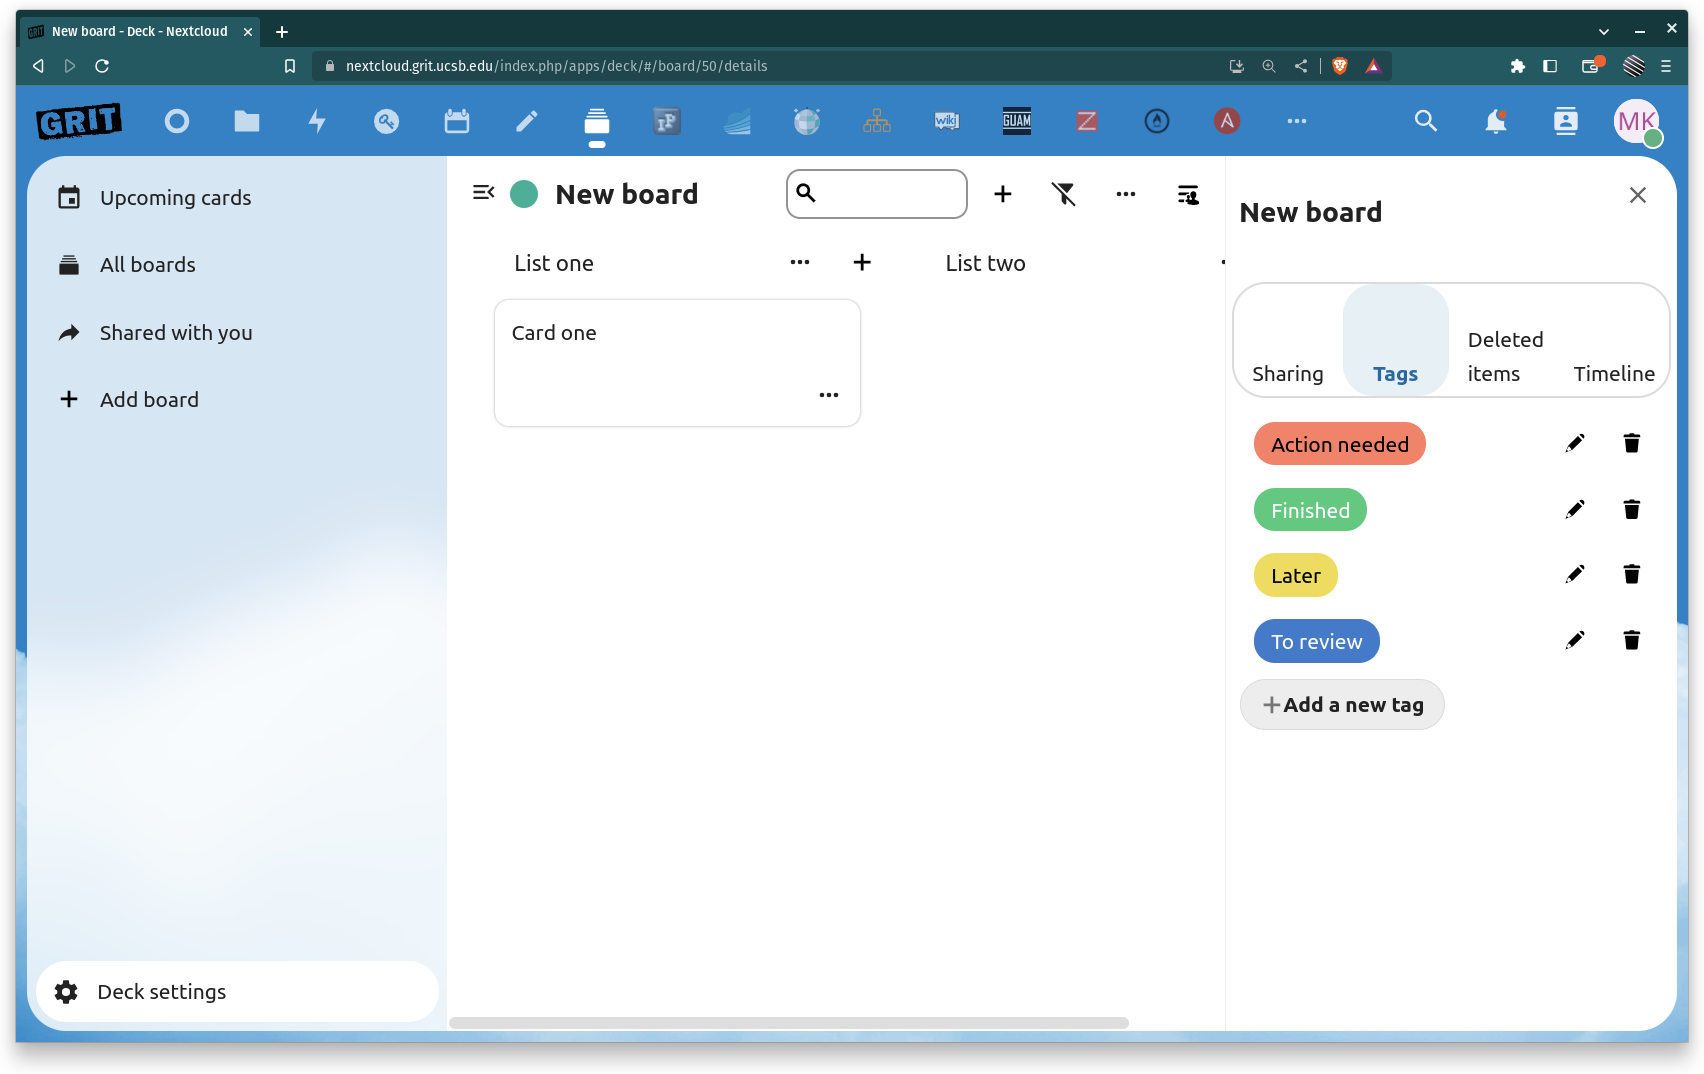
Custom tags
The default tags for a new board are:
- Action needed
- Finished
- Later
- To Review
You can edit the default tags, or add your own
Click on the Tags tab in the same options menu used to edit sharing permissions for your Deck board to create/edit tags as needed.