Backup to WebDAV using rclone on Windows
Before proceeding, please ensure that you have had a backup storage pool created under bks-{your username}. If you do not, contact GRIT support to get this setup first.
Download the Windows rclone package here (place holder for link)
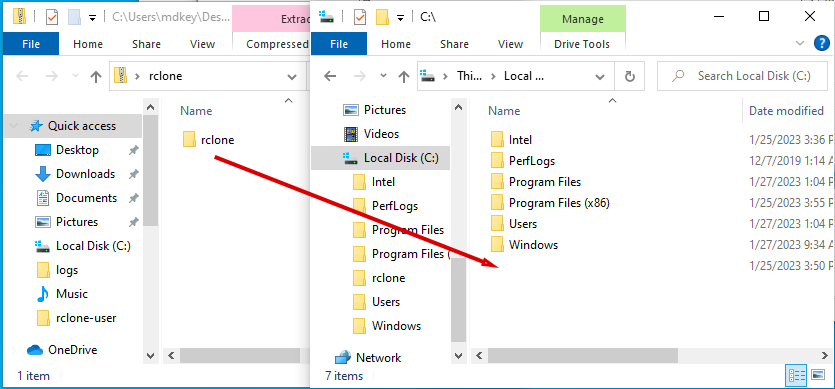
- Copy the rclone folder from rclone.zip to the root of your C drive

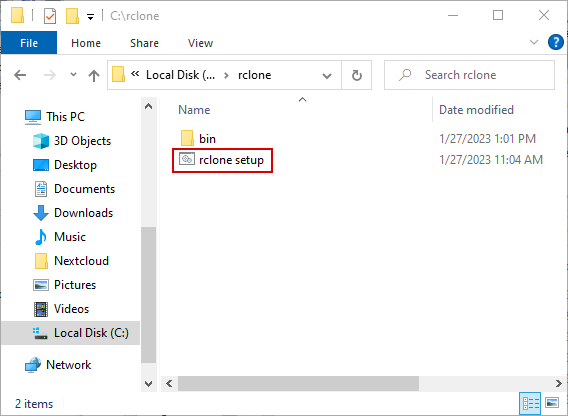
- Open C:\rclone and run the rclone setup batch file to start the rclone config

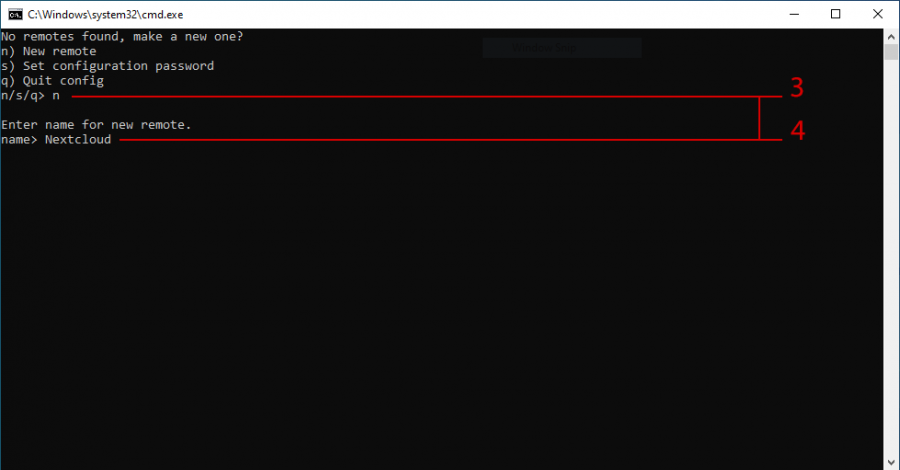
- Enter n to set up a new rclone link
- Set the name as Nextcloud
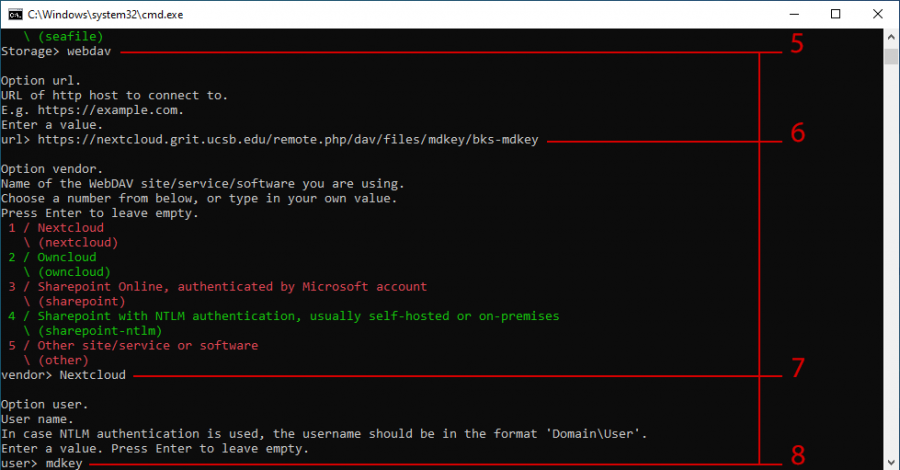
- Enter webdav as the storage type
- Enter your Nextcloud WebDAV URL IE: https://nextcloud.grit.ucsb.edu/remote.php/dav/files/{username}/bks-{username}
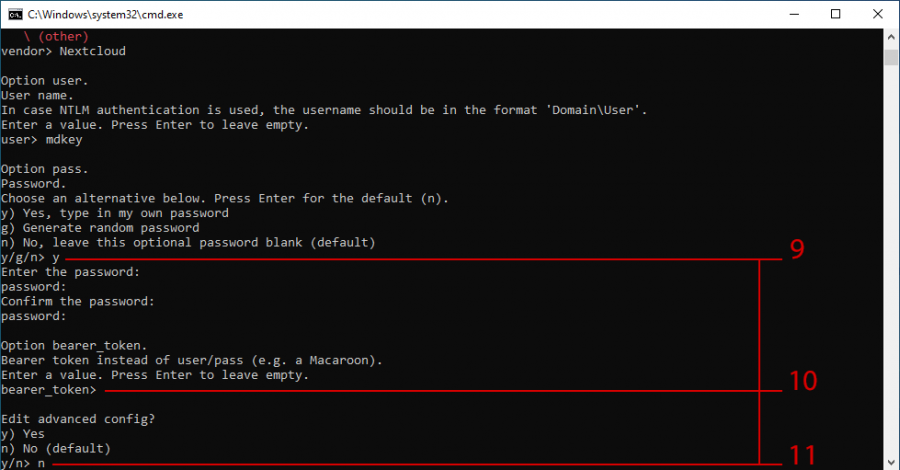
- Enter Nextcloud as your provider
- Enter your Nextcloud username

- Enter y to input then confirm your Nextcloud App Password (Steps for TOTP and AppPassword below)
If you have not done this yet, pause here and follow the App Password creation steps
at thebottom of this articlehere.. - Leave the Bearer token selection blank by pressing enter to proceed to the next step
- Enter n to skip the advanced config

- Enter y to confirm your Nextcloud WebDAV connection setup
- Enter q to complete the rclone config
- After entering q to complete the config the following will occur automatically: * A folder will be created under C:\Users\UserAccountName\rclone-user

