Backup to WebDAV using rclone on Windows
Before proceeding, please ensure that you have had a backup storage pool created under bks-{your username}. If you do not, contact GRIT support to get this setup first.
Download the Windows rclone package here (place holder for link)
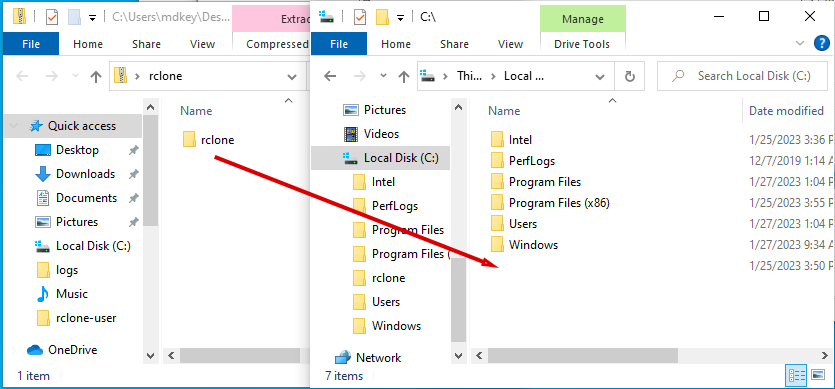
- Copy the rclone folder from rclone.zip to the root of your C drive
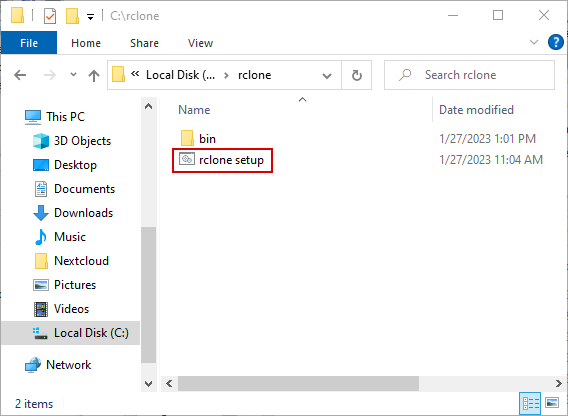
- Open C:\rclone and run the rclone setup batch file to start the rclone config
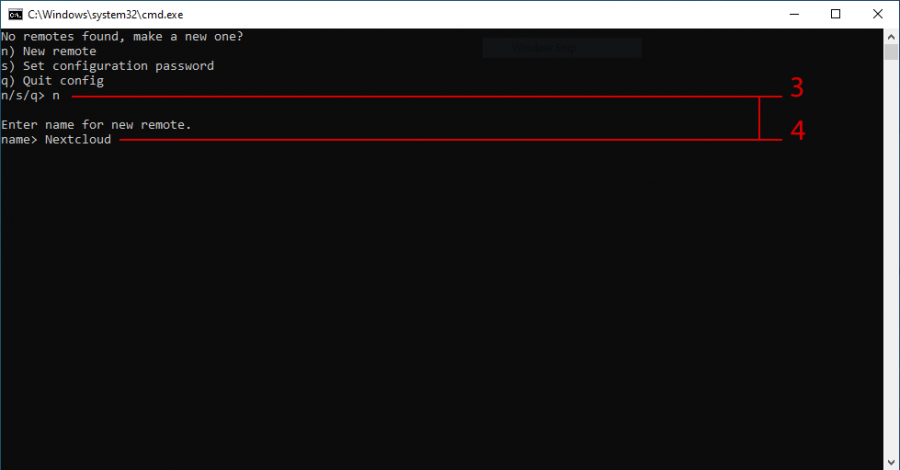
- Enter n to set up a new rclone link
- Set the name as Nextcloud
The name is case sensitive

- Enter webdav as the storage type
- Enter your Nextcloud WebDAV URL IE: https://nextcloud.grit.ucsb.edu/remote.php/dav/files/{username}/bks-{username}
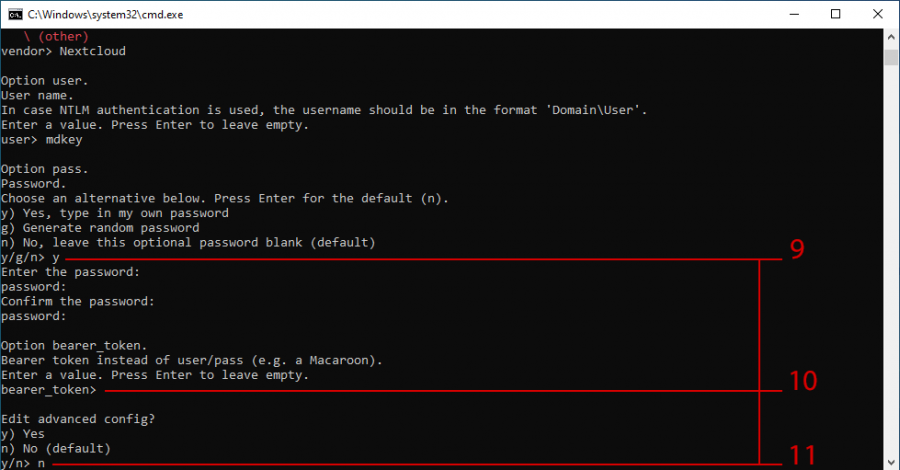
- Enter Nextcloud as your provider
- Enter your Nextcloud username

- Enter y to input then confirm your Nextcloud App Password (Steps for TOTP and AppPassword below)
If you have not done this yet, pause here and follow the App Password creation steps here.
- Leave the Bearer token selection blank by pressing enter to proceed to the next step
- Enter n to skip the advanced config
- Enter y to confirm your Nextcloud WebDAV connection setup
- Enter q to complete the rclone config
- After entering q to complete the config the following will occur automatically: * A folder will be created under C:\Users\UserAccountName\rclone-user