Skip to main content
MacOS
MacOS
Once you have received confirmation that your CrashPlan account has been configured, download the installer here: MacOS Installer
- Run the installer downloaded above
- Once the install is complete, you will be prompted for your username, and the CrashPlan server.
- Username: your NetID
- Server: clients.us1.crashplan.com
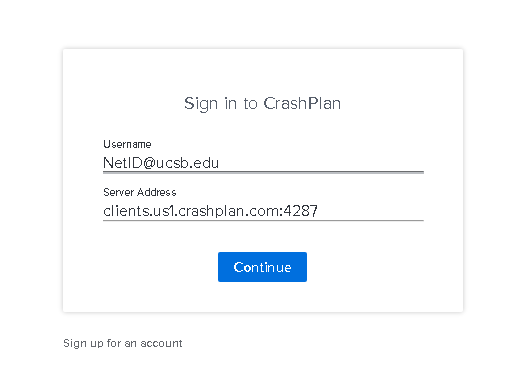
- You will then be directed to a UCSB NetID sign in portal to complete your authentication.
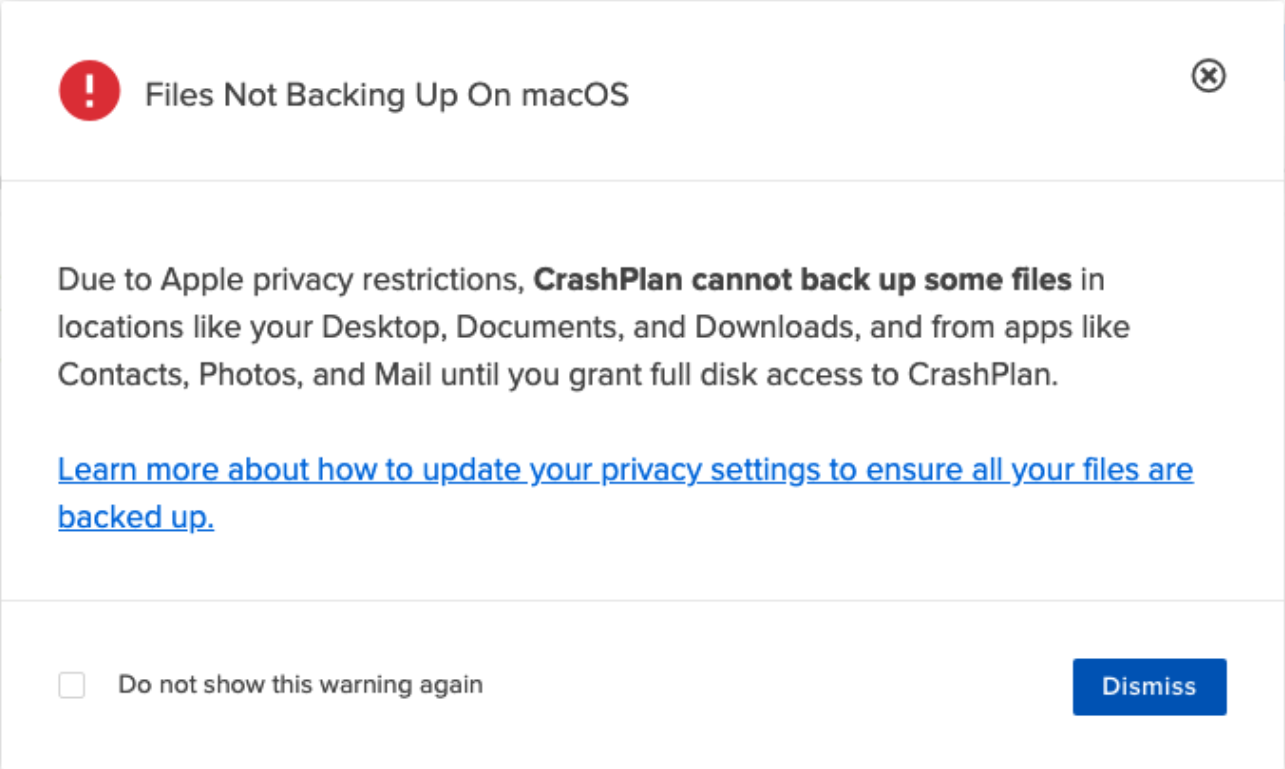
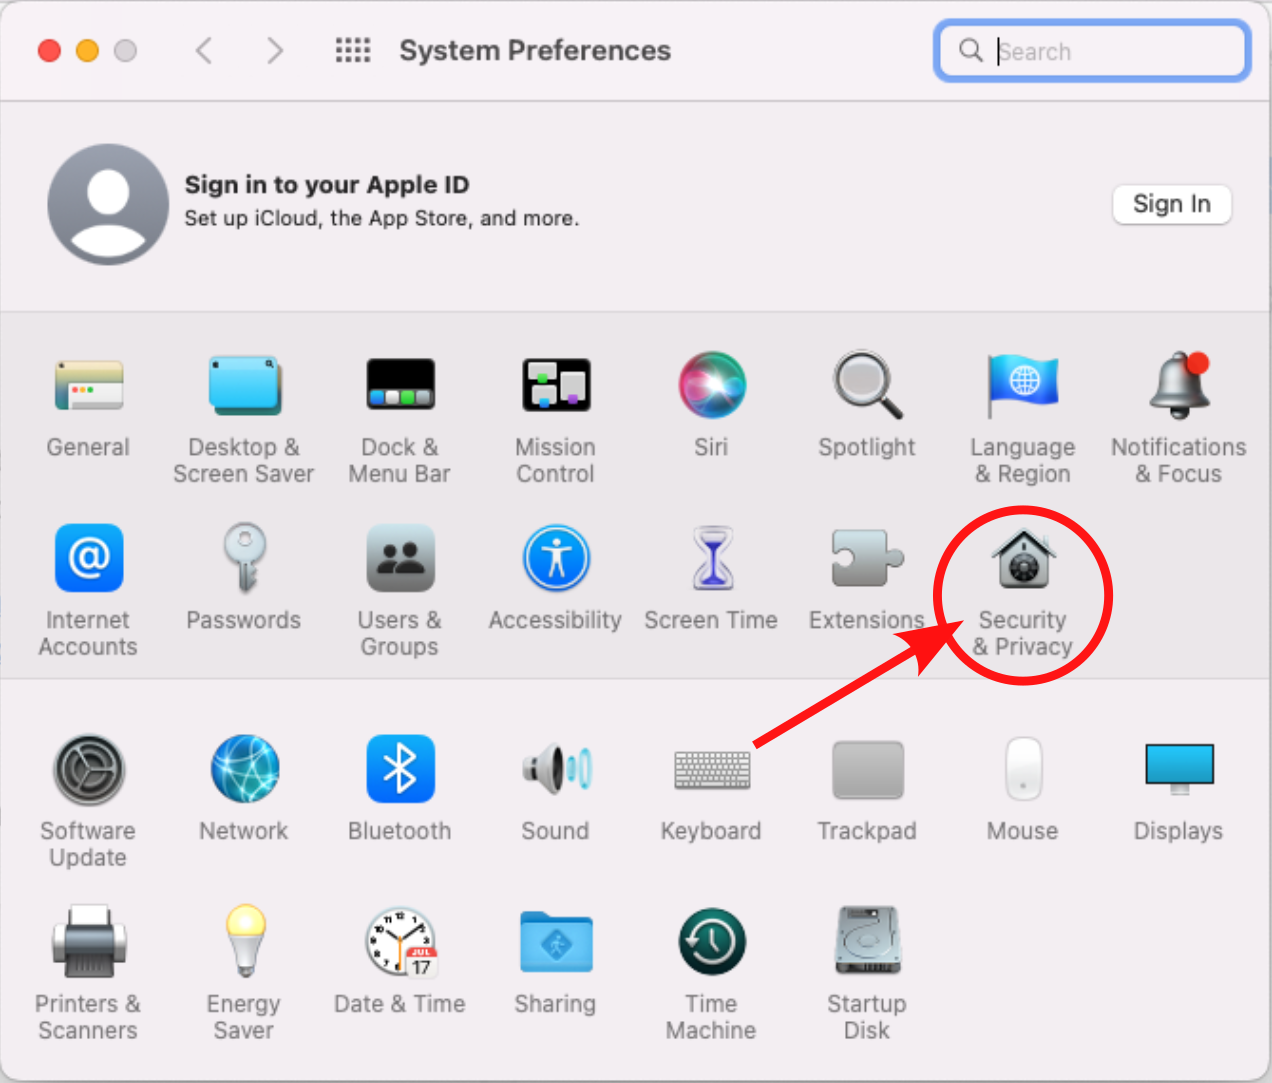
- You may get the following alert upon first run of Crashplan on your Mac

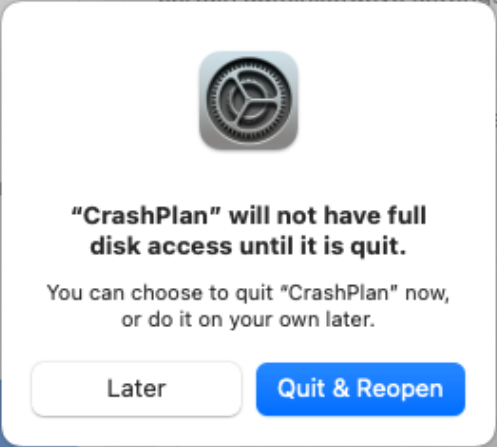
- To resolve this, first open System Preferences and select Security & Privacy
- Click on Quit & Reopen on the following prompt to proceed with your setup

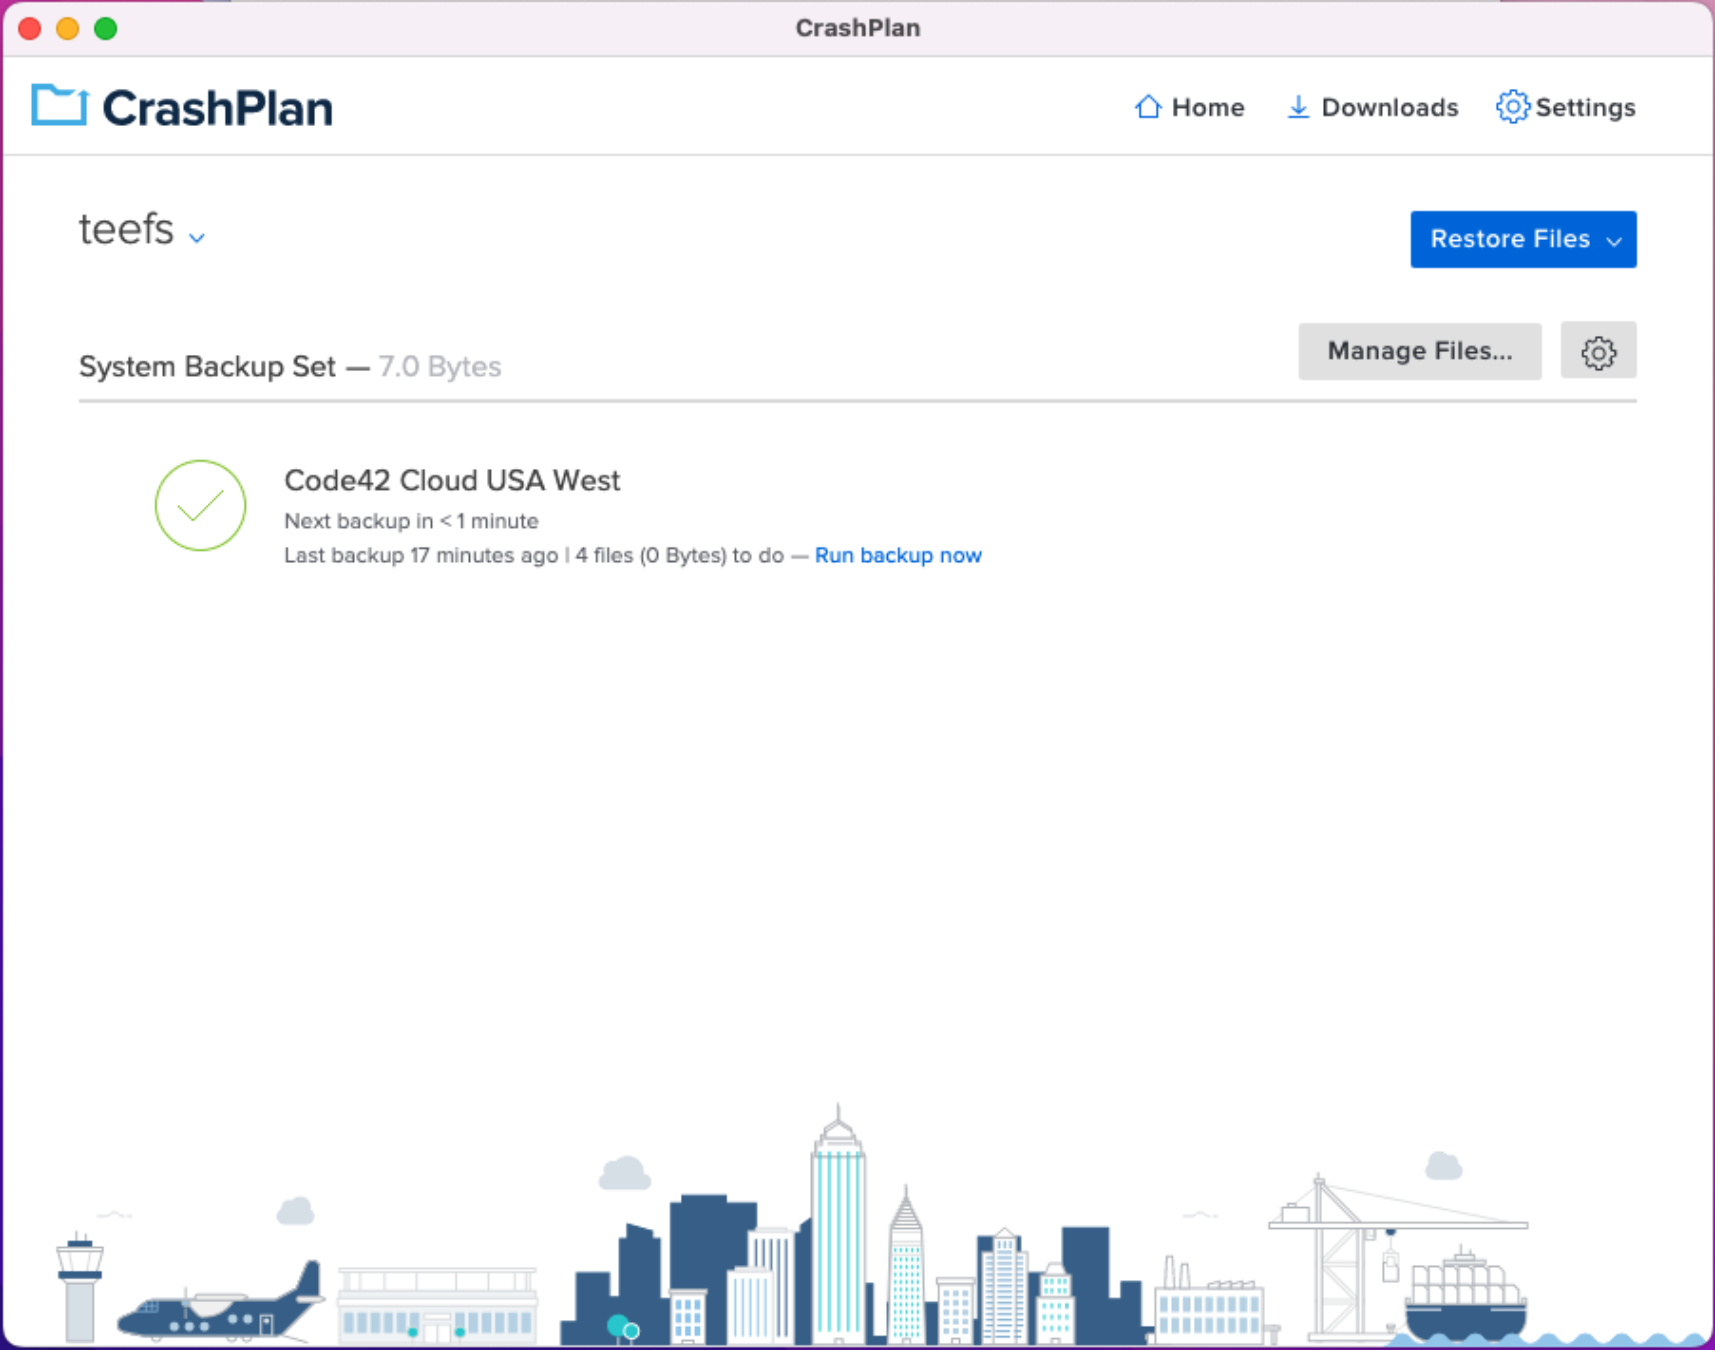
- CrashPlan will re-open and automatically start backing up your Mac.

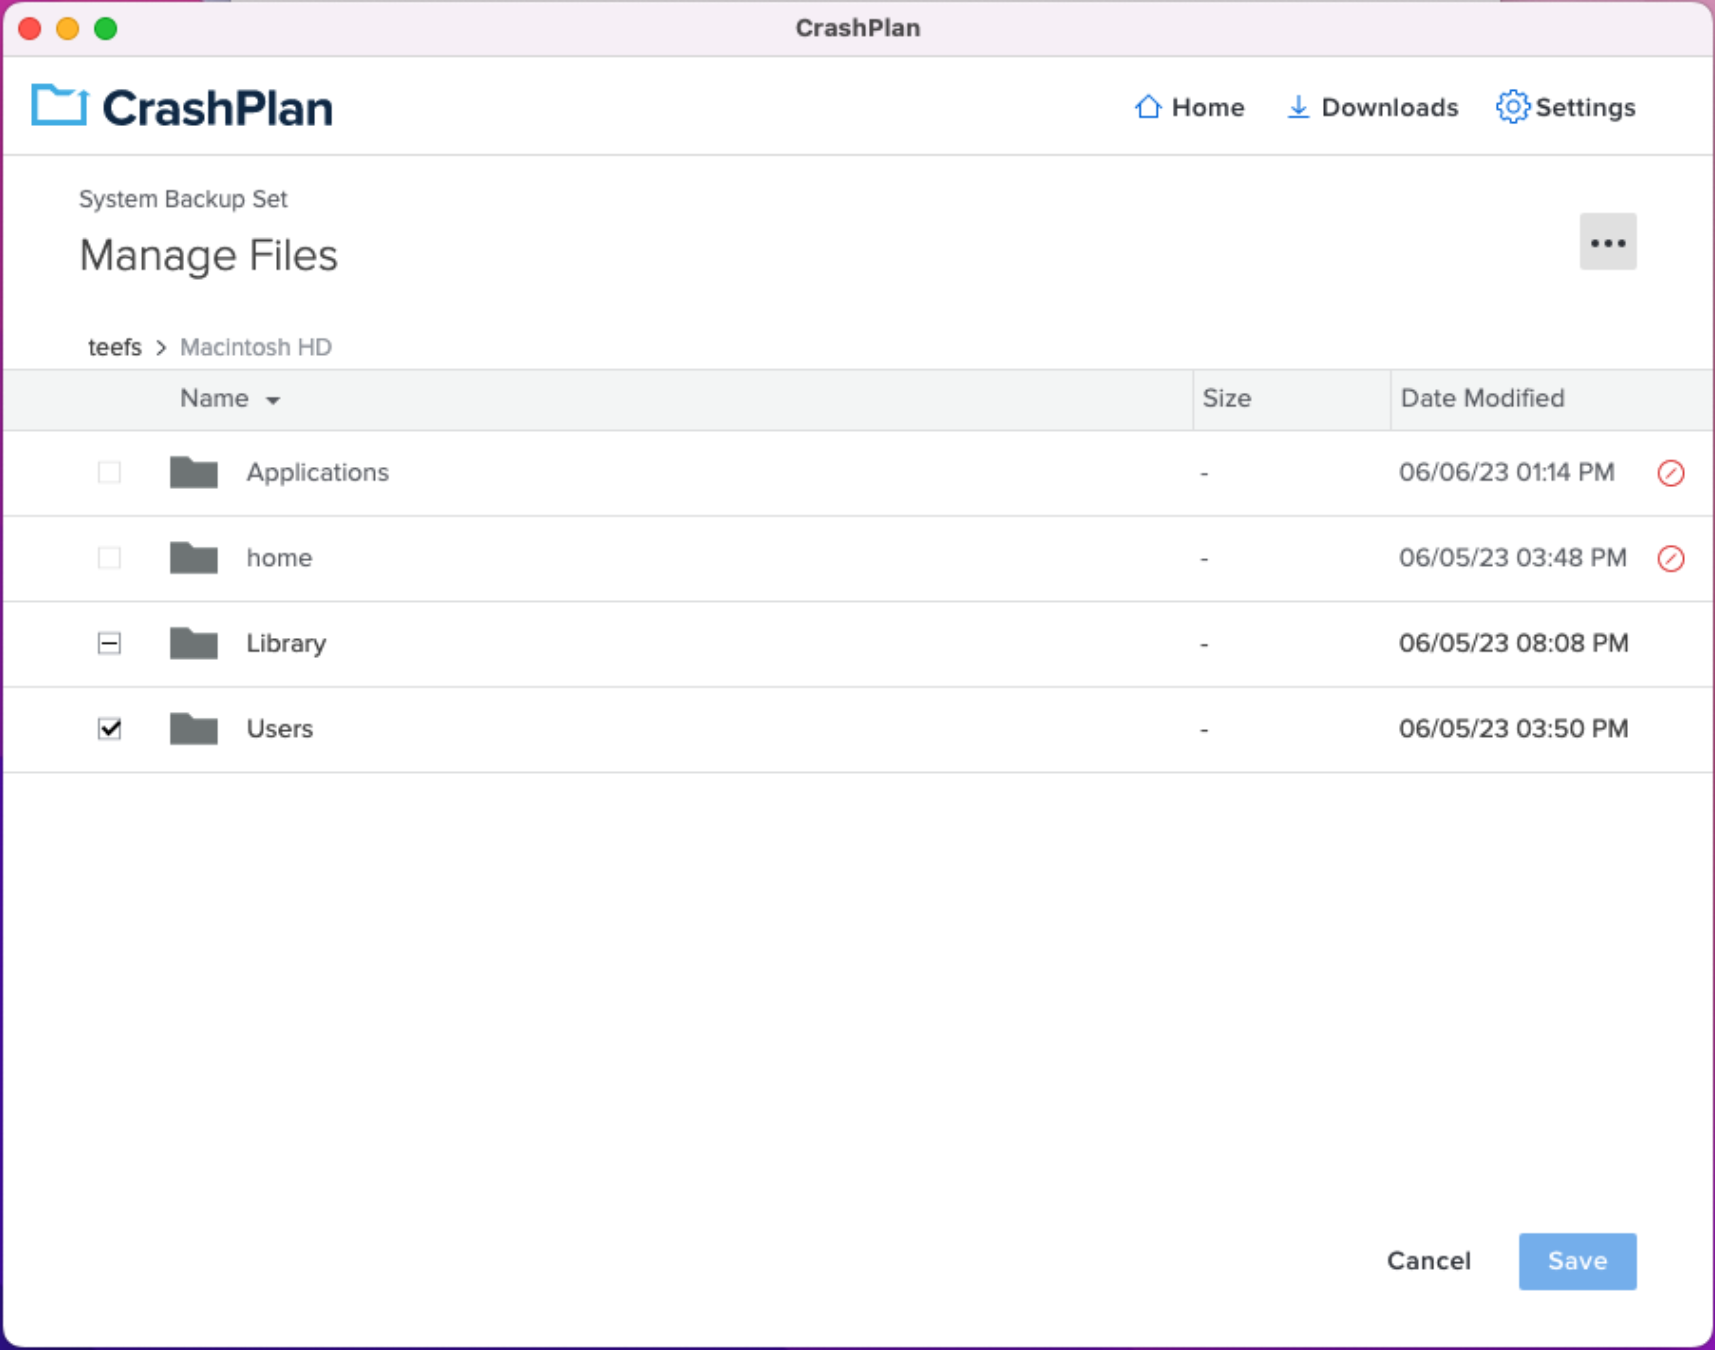
- Backups automatically include your entire user directory.