Backup Google Drive to smb via rclone
Step 1: Setting up the Google Drive remote
- Run the rclone config command
- Enter n to create a new remote storage point
- Enter a name - in this example, Google Drive
- Enter drive for Google Drive
mdkey@terrance:~$ rclone config
Current remotes:

Name                 Type
====                 ====

e) Edit existing remote
n) New remote
d) Delete remote
r) Rename remote
c) Copy remote
s) Set configuration password
q) Quit config
e/n/d/r/c/s/q> n

Enter name for new remote.
name> Google Drive

Option Storage.
Type of storage to configure.
Choose a number from below, or type in your own value.
~~~~~~~~~~~~~~~~~
18 / Google Drive
   \ (drive)
~~~~~~~~~~~~~~~~~
Storage> drive
- Next, for Option client_id leave the value empty as shown below
- Do the same for the client_secret
- Set the scope to 1 for Full access
- Leave service_account_file blank
Option client_id.
Google Application Client Id
Setting your own is recommended.
See https://rclone.org/drive/#making-your-own-client-id for how to create your own.
If you leave this blank, it will use an internal key which is low performance.
Enter a value. Press Enter to leave empty.
client_id>

Option client_secret.
OAuth Client Secret.
Leave blank normally.
Enter a value. Press Enter to leave empty.
client_secret>

Option scope.
Scope that rclone should use when requesting access from drive.
Choose a number from below, or type in your own value.
Press Enter to leave empty.
 1 / Full access all files, excluding Application Data Folder.
   \ (drive)
 2 / Read-only access to file metadata and file contents.
   \ (drive.readonly)
   / Access to files created by rclone only.
 3 | These are visible in the drive website.
   | File authorization is revoked when the user deauthorizes the app.
   \ (drive.file)
   / Allows read and write access to the Application Data folder.
 4 | This is not visible in the drive website.
   \ (drive.appfolder)
   / Allows read-only access to file metadata but
 5 | does not allow any access to read or download file content.
   \ (drive.metadata.readonly)
scope> 1

Option service_account_file.
Service Account Credentials JSON file path.
Leave blank normally.
Needed only if you want use SA instead of interactive login.
Leading `~` will be expanded in the file name as will environment variables such as `${RCLONE_CONFIG_DIR}`.
Enter a value. Press Enter to leave empty.
service_account_file>
- For the advanced config, enter n
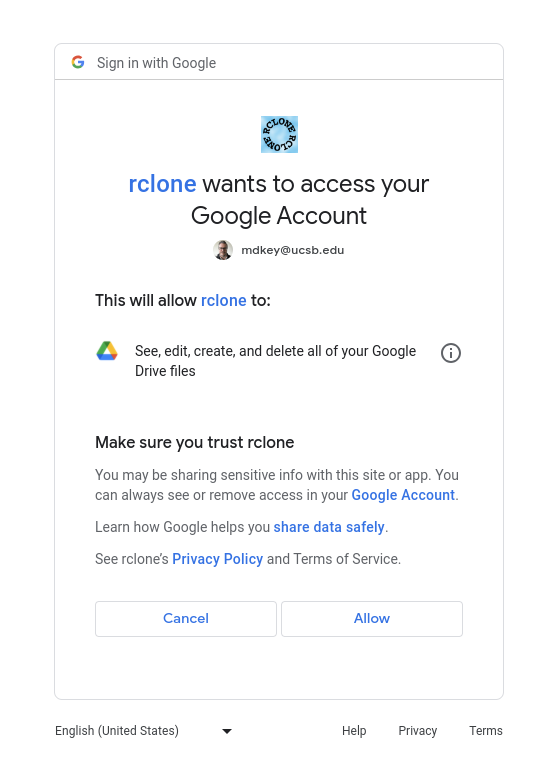
- Enter y if you are running rclone from your local machine to launch the Google Account authentication/approval screen
Edit advanced config?
y) Yes
n) No (default)
y/n> n

Use web browser to automatically authenticate rclone with remote?
 * Say Y if the machine running rclone has a web browser you can use
 * Say N if running rclone on a (remote) machine without web browser access
If not sure try Y. If Y failed, try N.

y) Yes (default)
n) No
y/n> y

<5>NOTICE: If your browser doesn't open automatically go to the following link: http://127.0.0.1:53682/auth?state=E7o9DAemOEMrvzfO9tMgGQ
<5>NOTICE: Log in and authorize rclone for access
<5>NOTICE: Waiting for code...
<5>NOTICE: Got code
- If you are only downloading your own data, enter n
- Team Drive downloads have not been fully vetted with rclone yet - This has however been vetted with FileZilla
- Enter y to finalize the setup of the rclone remote
Configure this as a Shared Drive (Team Drive)?

y) Yes
n) No (default)
y/n> n

Configuration complete.
Options:
- type: drive
- scope: drive
- token: {"access_token":"##token information displayed here##"}
- team_drive:
Keep this "Google Drive" remote?
y) Yes this is OK (default)
e) Edit this remote
d) Delete this remote
y/e/d> y
Step 2: Setting up the SMB remote
- From the terminal, launch rclone config to first set up your SMB target:
- Enter n to create a new remote
- Set a name, ie smb
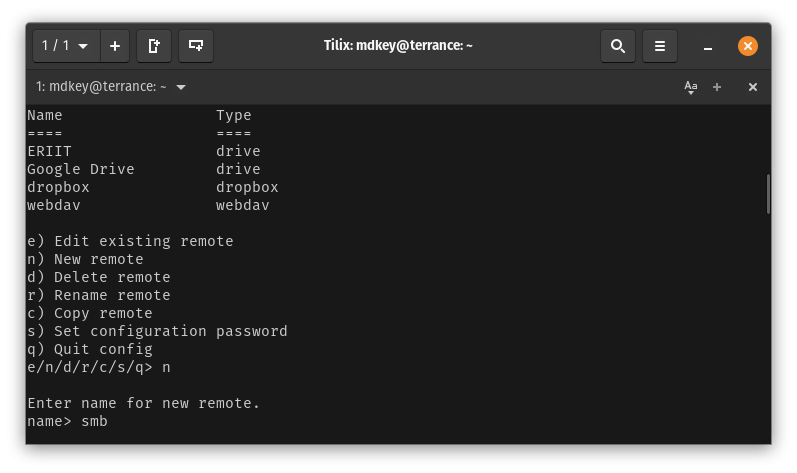
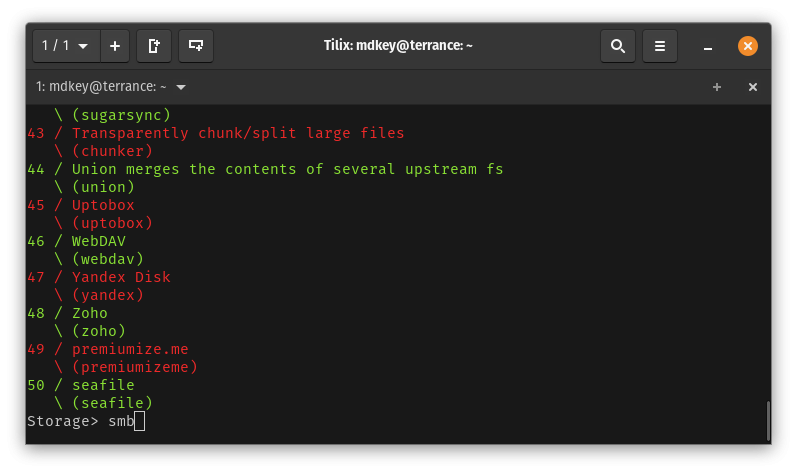
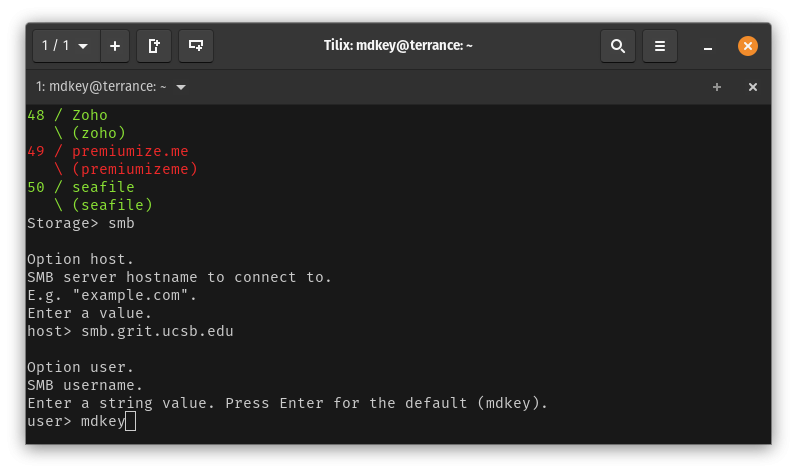
- On the storage selection, enter smb
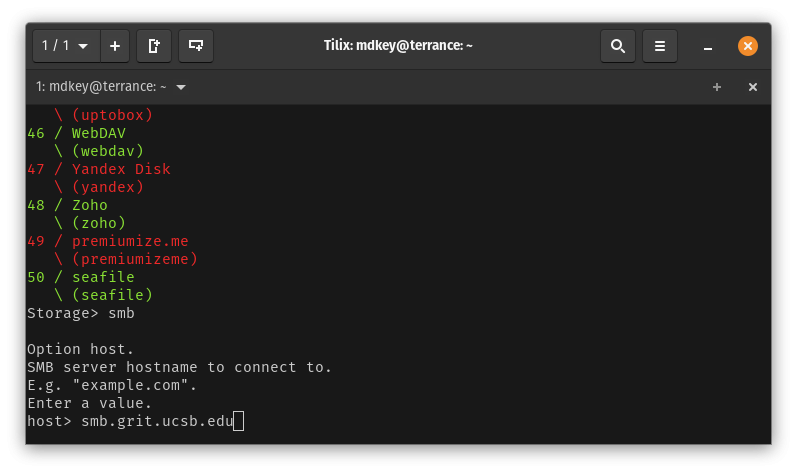
- Enter the smb server address (without your folder path) ie smb.grit.ucsb.edu
- Enter your GRIT AD username
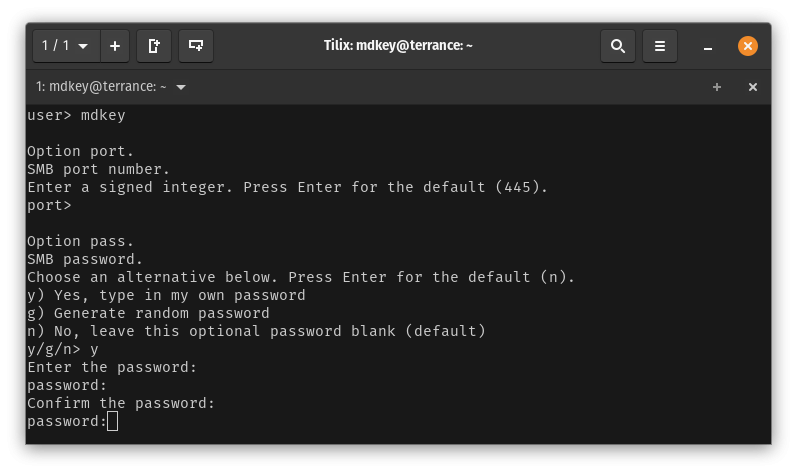
- Under Option port, press enter to use the default port, then enter your GRIT AD password
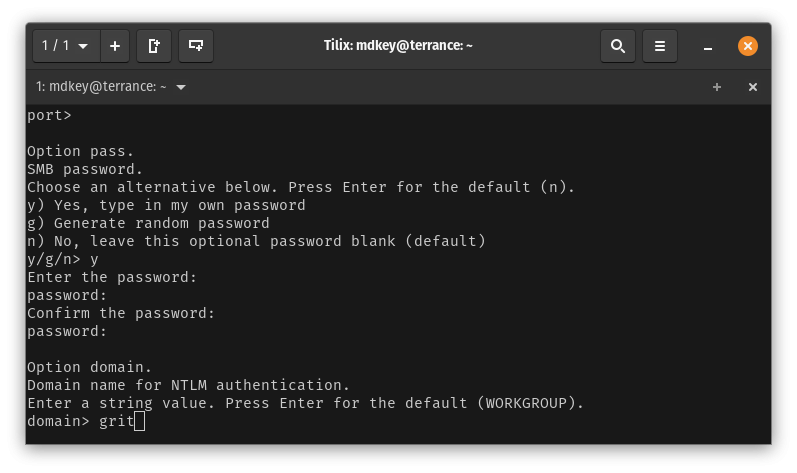
- Set the domain as grit
- Enter n to skip the advanced config
- Enter y to save the smb config


