
Sharing Files with Nextcloud
Note that these images need to be updated as the sharing icons in the latest version of Nextcloud have been changed. Step one shows the new path, and some options shown in the images below may not reflect exactly what you will see. These instructions will be updated as soon as possible.
- Click on the Nextcloud Files icon on the top
toolbar (A),toolbar, then locate the folder or file you wish to share and click on the Share icon(B)which is the little symbol of a person with a + next to them shown below.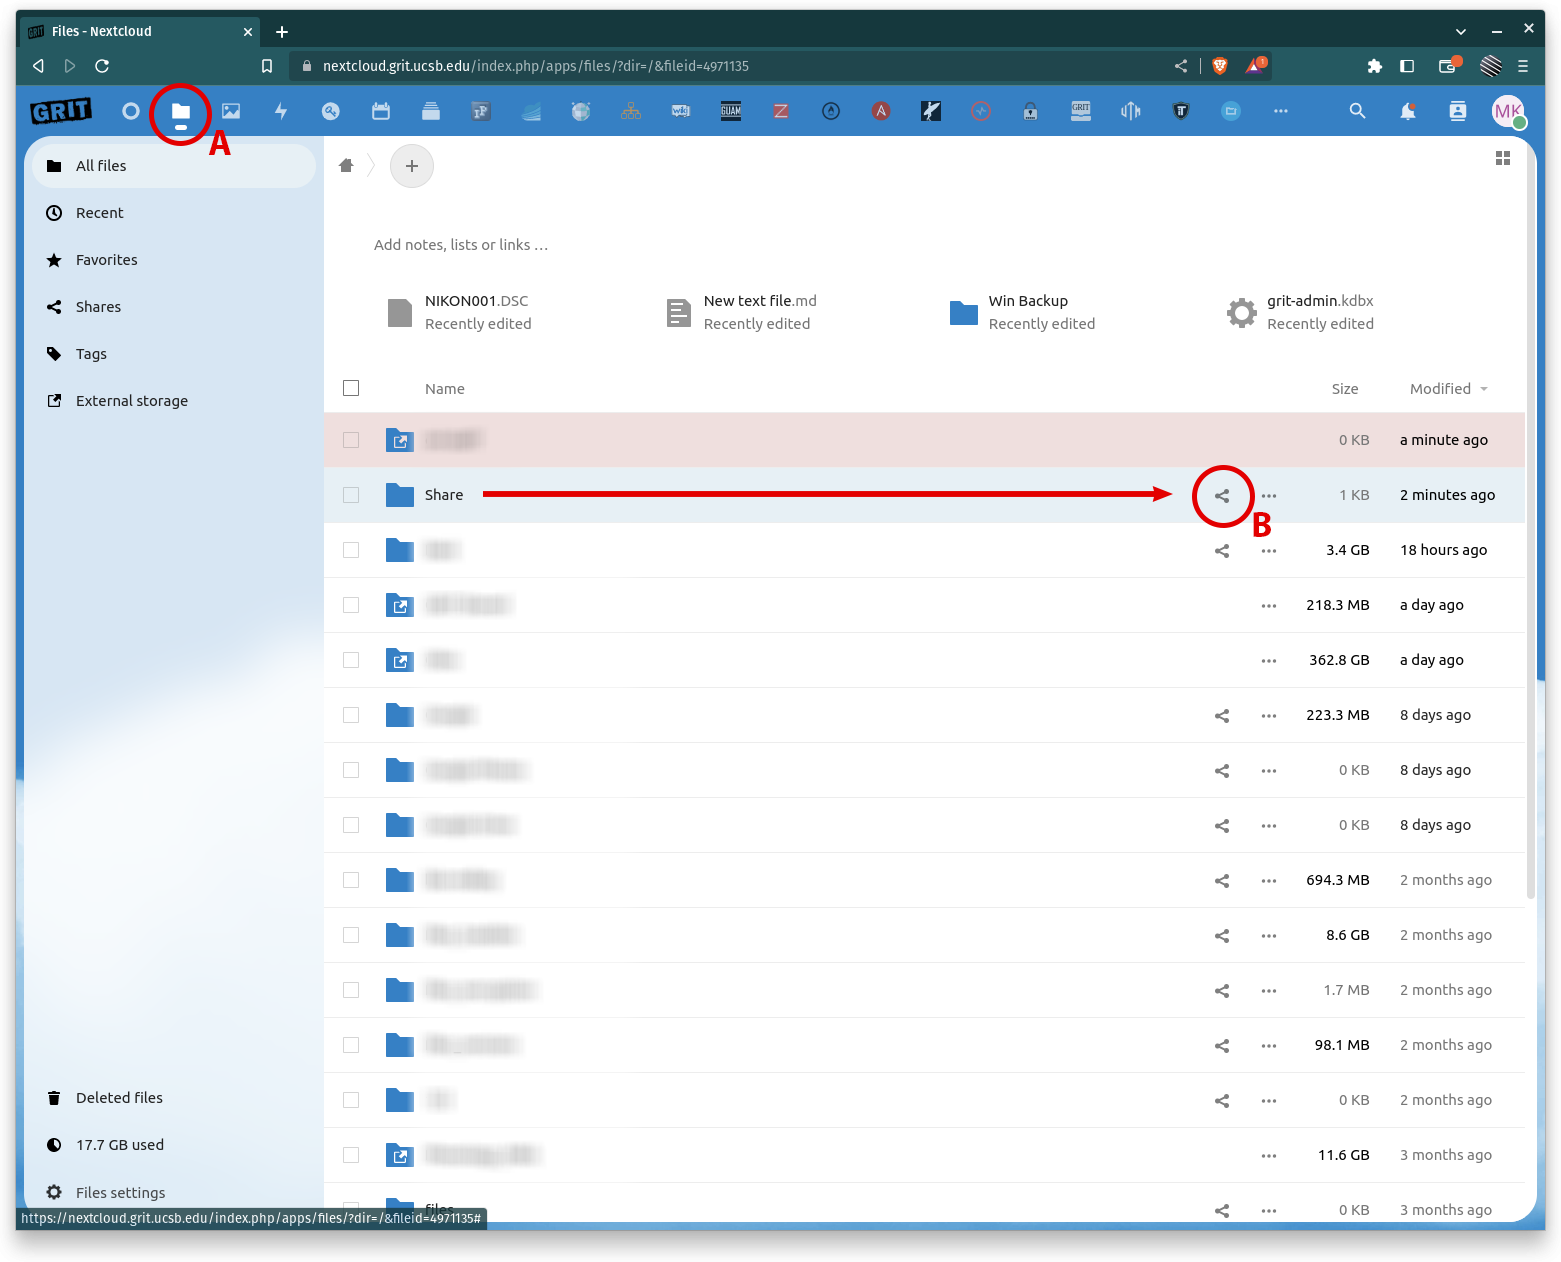

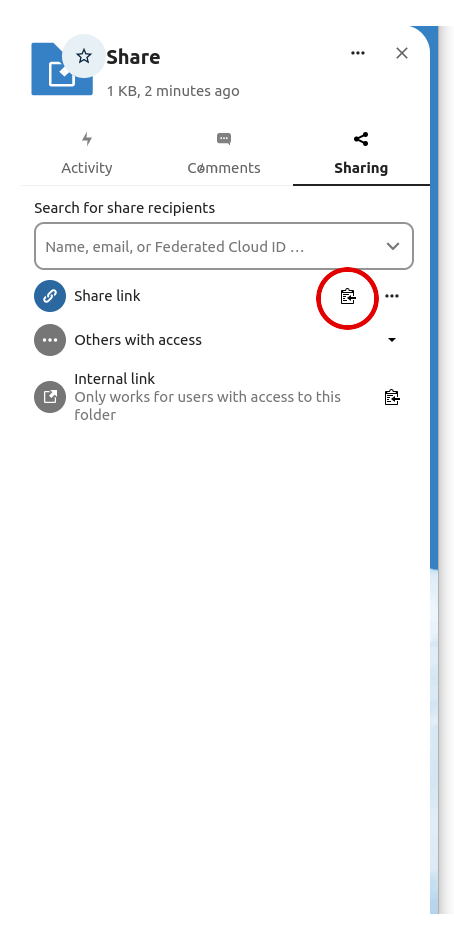
- The Share menu will open from the right, and you will see the option to create a Share link, or share via email. To create a Share link, click on the +. This will automatically create the link for you.

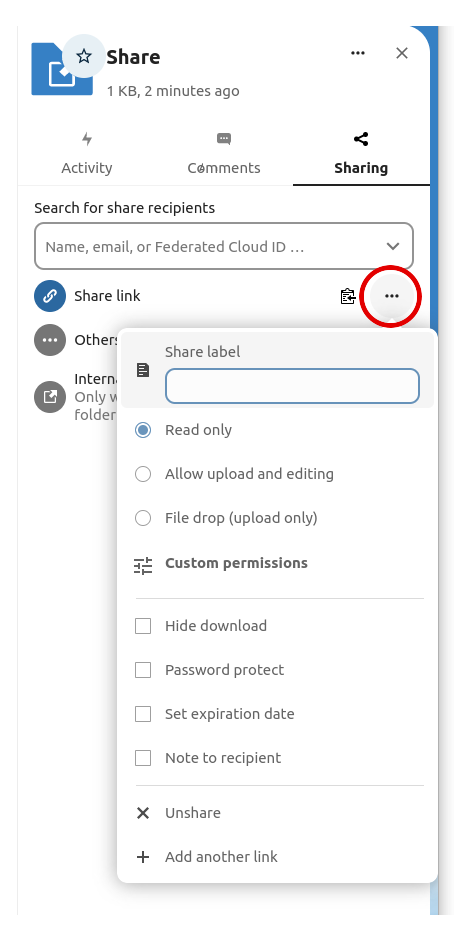
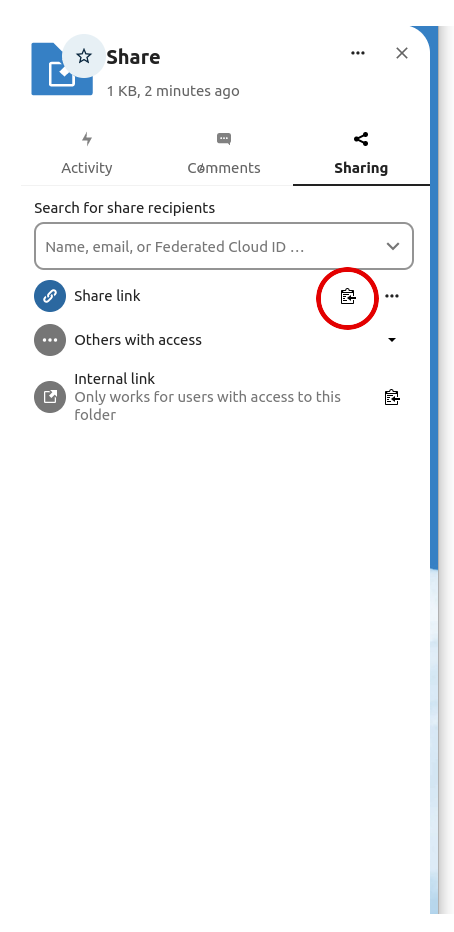
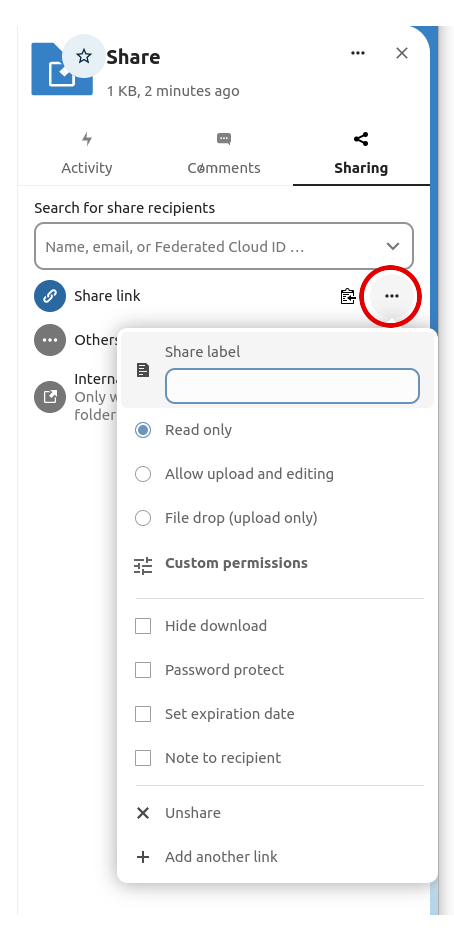
- Once the link is ready, you will see the Clipboard icon to copy the link. You can also adjust the permissions for the public link by clicking on the dots to the right of the clipboard. The default permissions are Read Only. If you are unsure of setting any of these permissions, please contact support at help@grit.ucsb.edu
- If you wish to share via email, click on the Search for share recipients box above the Share link option and enter an email. A link1 will be emailed2 to the recipient and they can then access the share.
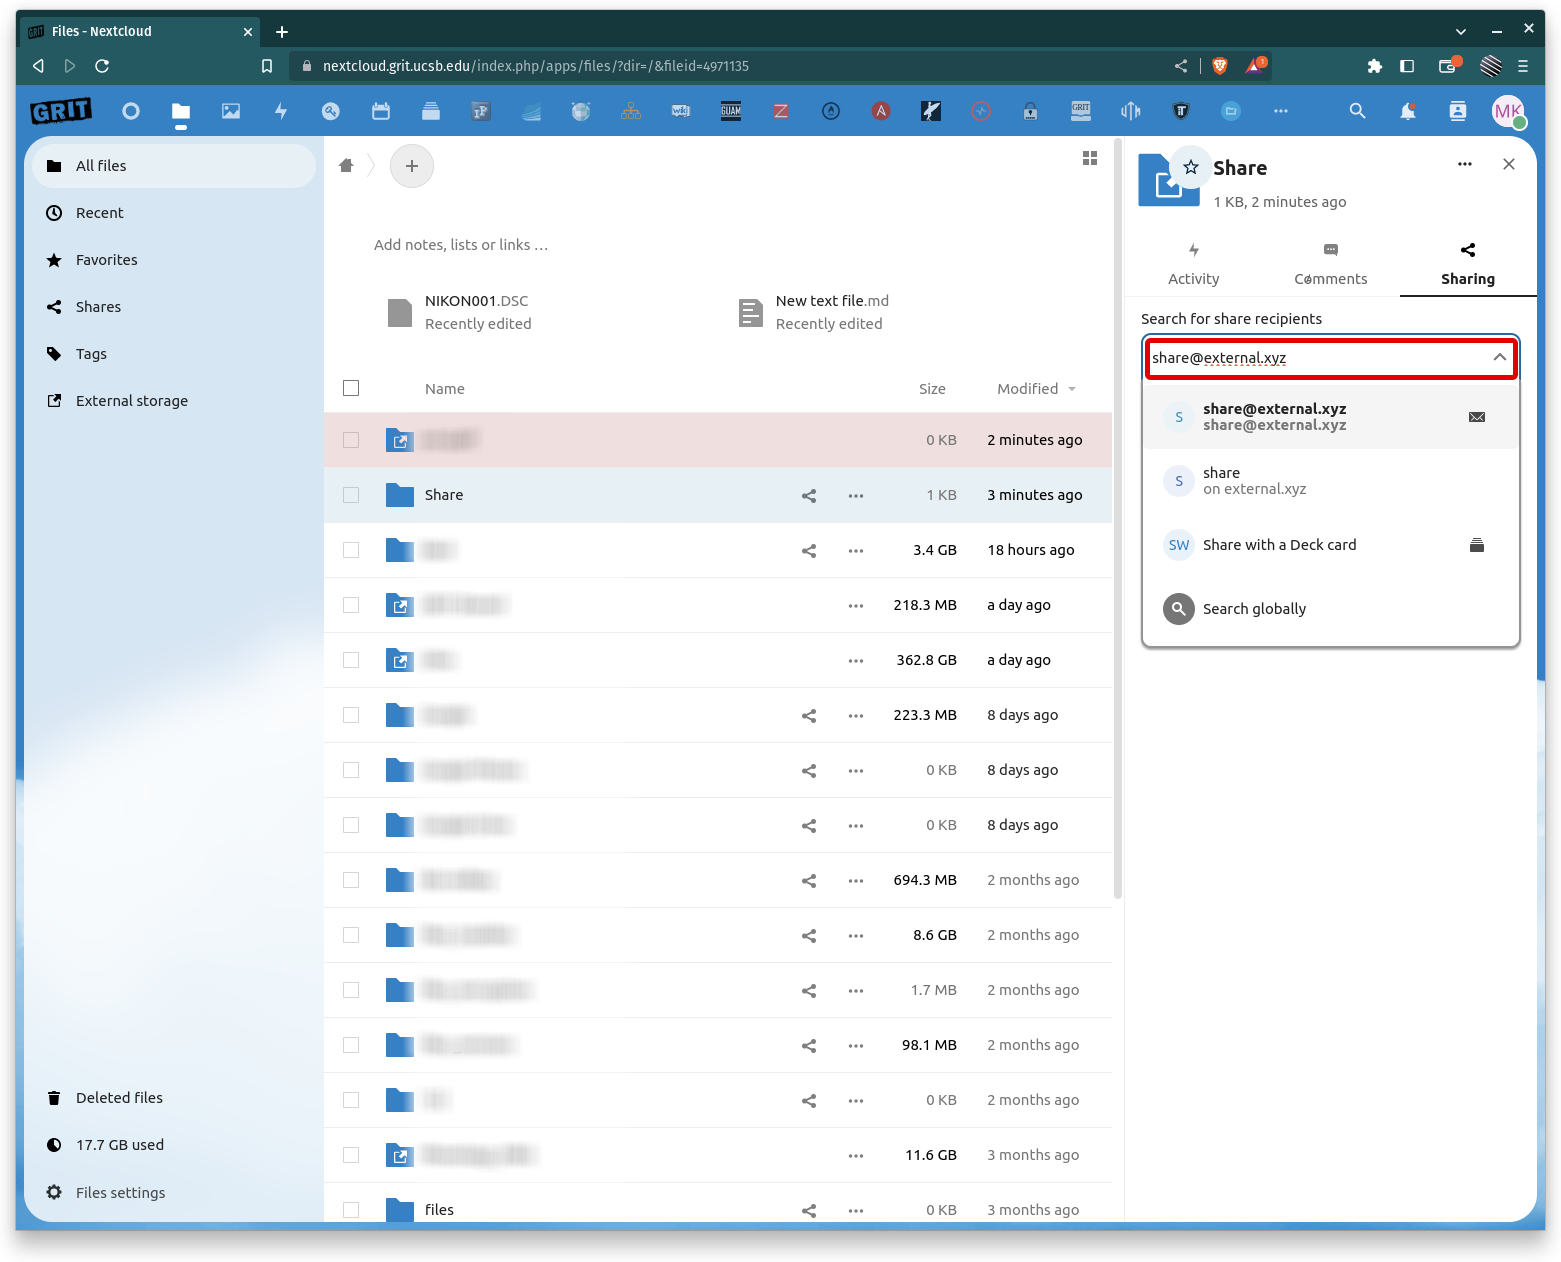


1 The link sent via email will still be publicly accessible if shared by this recipient
2 The email may go to spam, so if your recipient mentions that they have not received your invite, have them check their spam folder.