
Migrating Google Drive with FileZilla
If you have a large dataset in Google Drive you need to download to GRIT hosted storage, and you have not already been set up with access to the server mentioned below please reach out to GRIT support via help@grit.ucsb.edu first to get started. The instructions below assume you have already been set up with storage space and access to the server mentioned.
Step 1
- Connect to gzilla.grit.ucsb.edu via Microsoft Remote Desktop using your GRIT username and password.
- If you do not know your credentials, please reach out to help@grit.ucsb.edu to proceed.
- If you do know your username, but you do not know your password you can perform a self-service password reset here: https://dc1.grit.ucsb.edu/index.php?action=sendtoken
Step 2
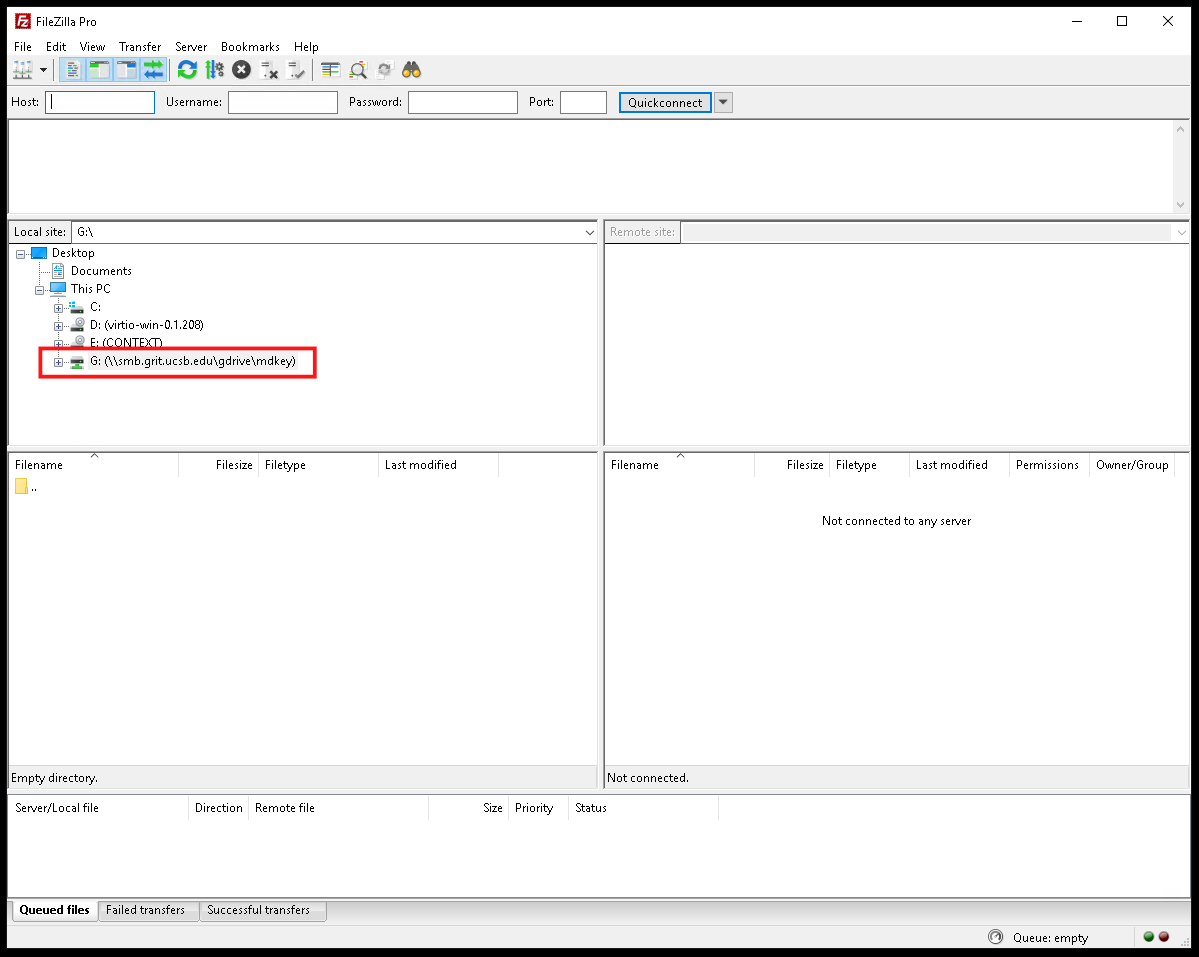
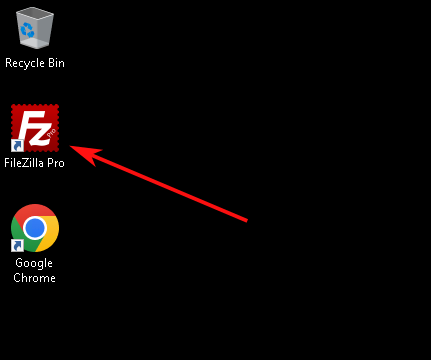
- Once connected to the server in Step 1, launch FileZilla Pro from the desktop

- Once FileZilla opens you will see a list of local storage on the left panel - verify that you see a G drive as shown before proceeding:
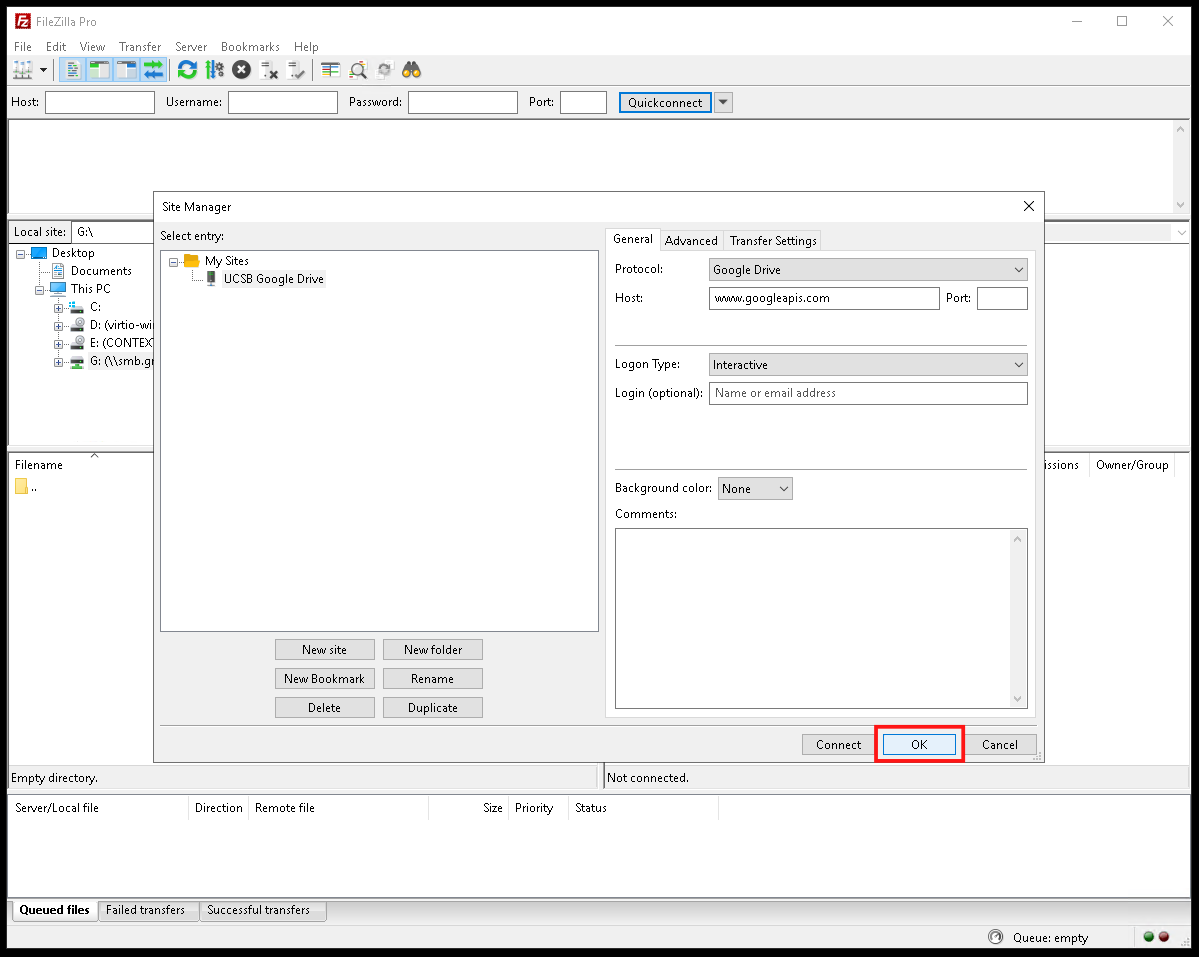
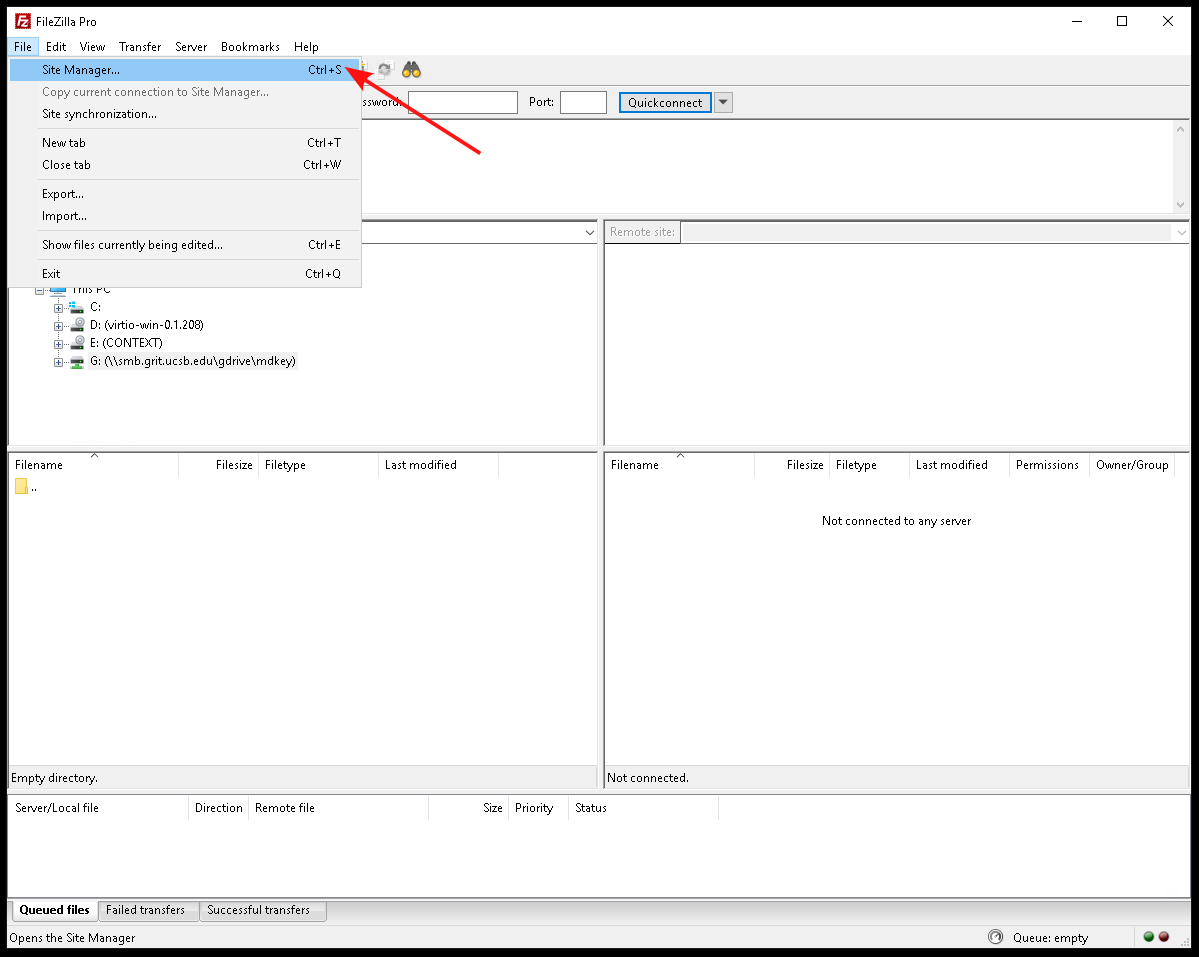
- Click on File > Site Manager to get started with adding your Google Drive remote storage

- Here you will be able to configure your site(s) as needed
- 1. Click on New site
- 2. Enter the name of the remote storage (this can be named anything)
- 3. Click on Protocol and select Google Drive
- 4. Click on Connect to launch a web browser

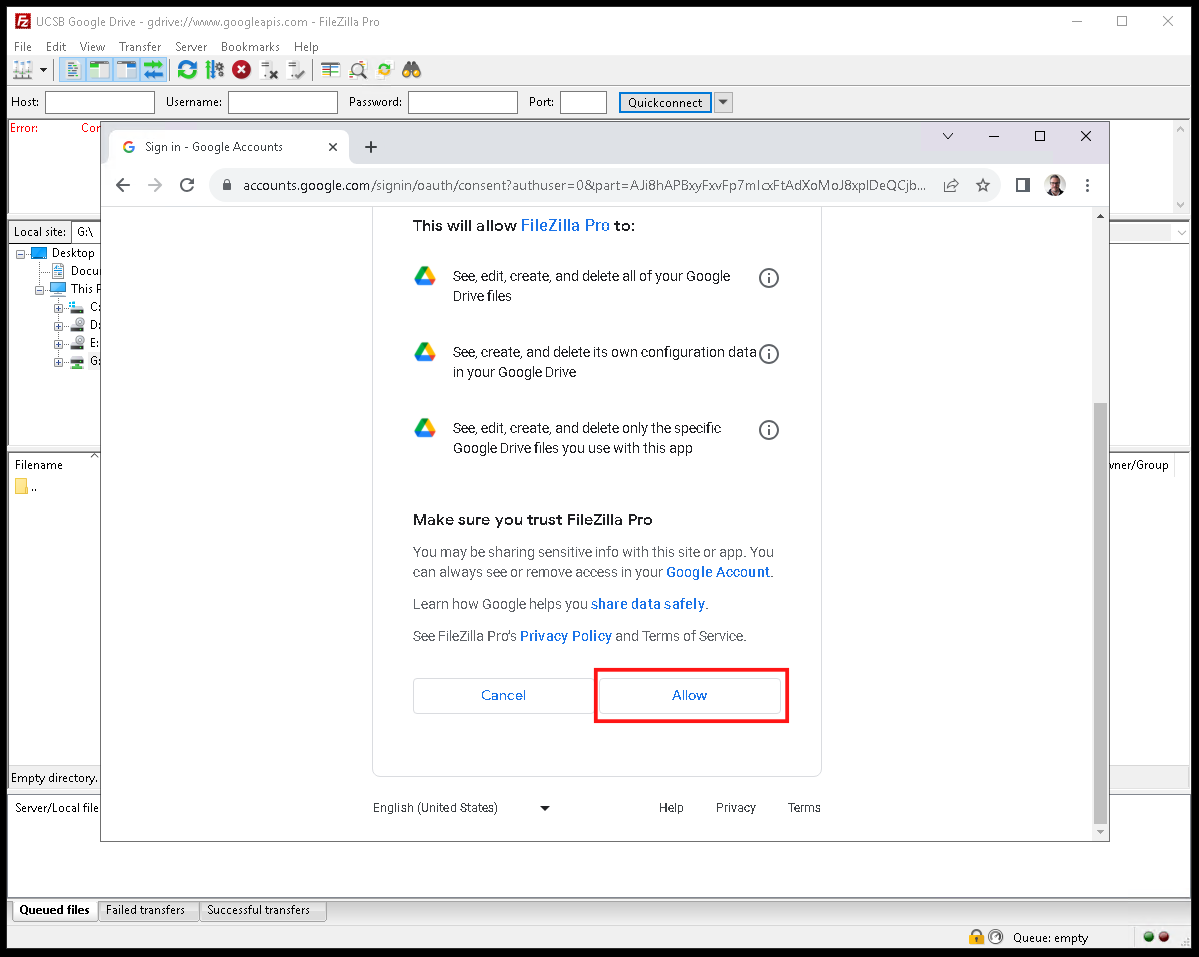
- A browser window will open at the Google Account login screen - complete your login using your UCSB NetID then click Allow on the following screen

- Click OK on the previous screen shown to complete your site configuration with your Google Account
-
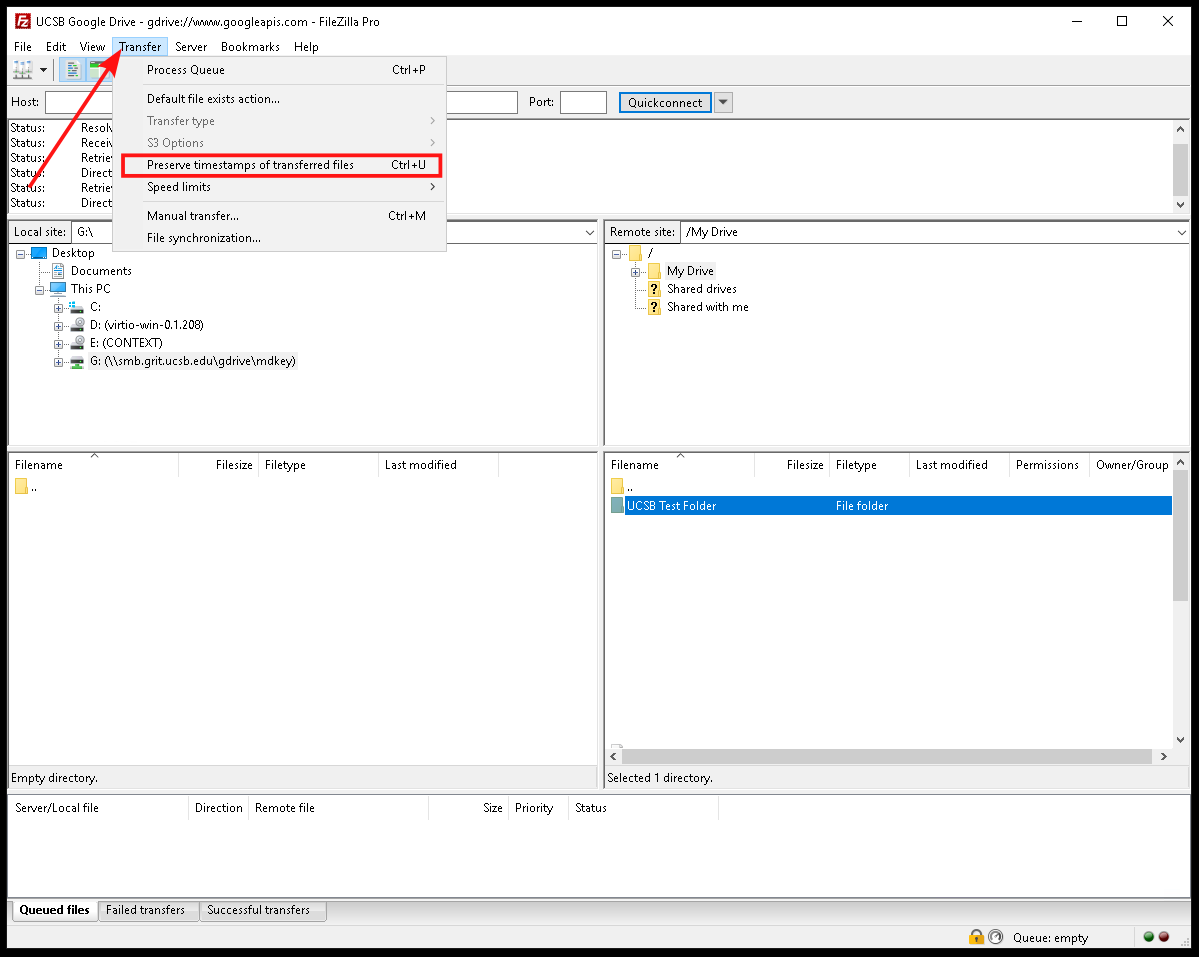
Note: FileZilla does not preserve source timestamps from Google Drive by default. If you would like to preserve timestamps on files copied over from Google Drive click on Transfer > Preserve timestamps of transferred files

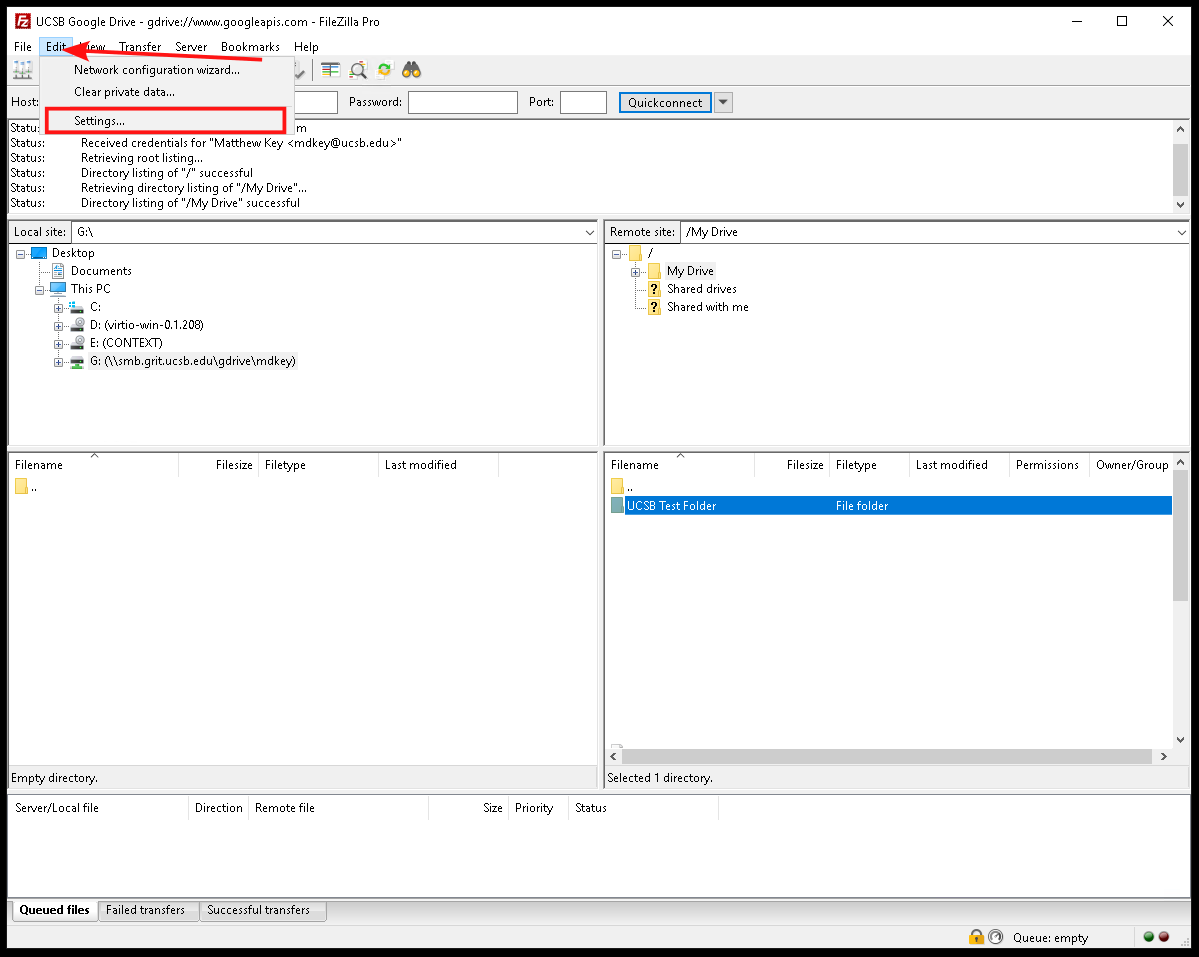
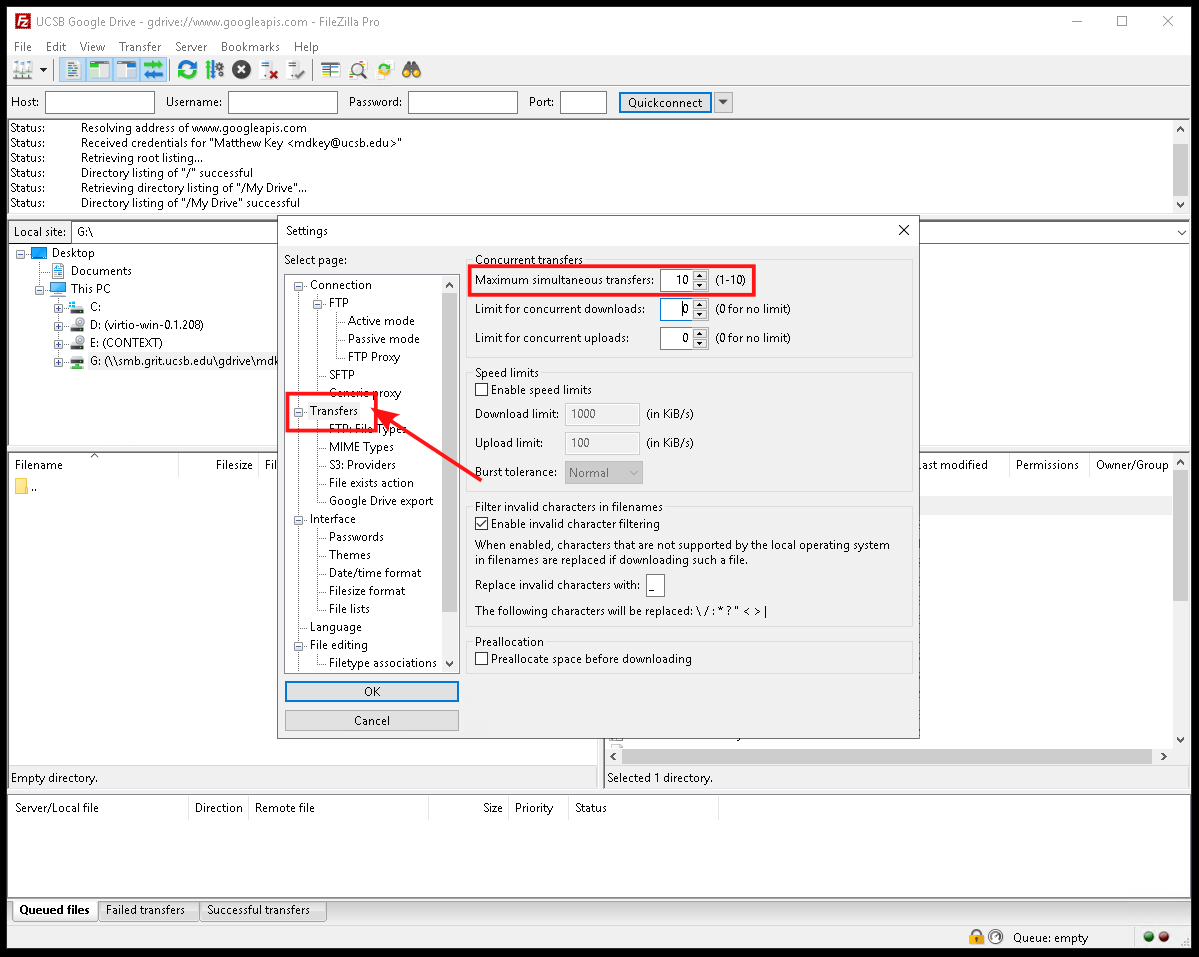
- FileZilla also only processes 2 simultaneous transfers at once by default, and this can be updated to a maximum of 10 simultaneous transfers. To update this click on Edit > Settings

- In the settings menu click on Transfers, then change Maximum simultaneous transfers from 2 to 10.

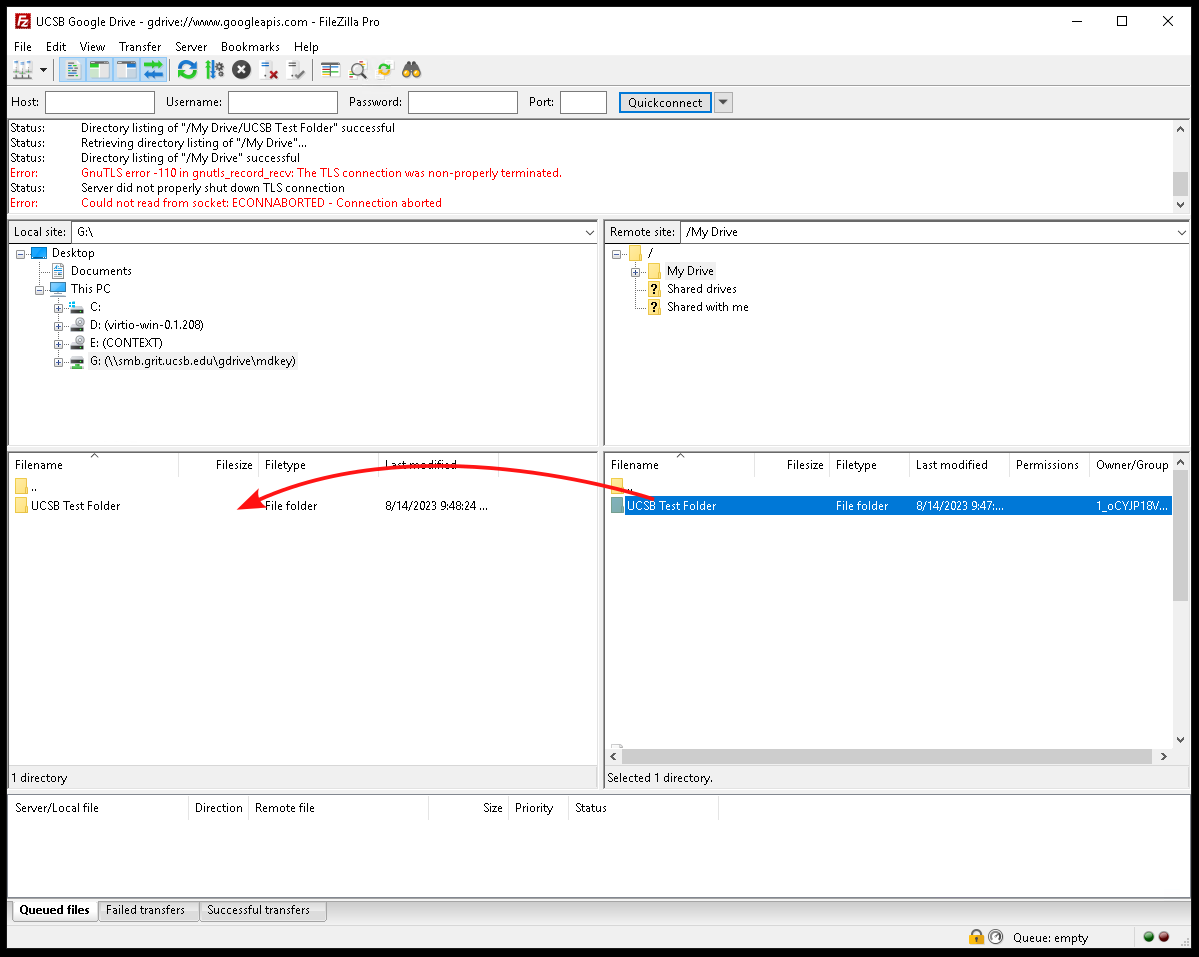
- Now you can begin transferring your data. You can simply drag and drop from the right side to the left and files will automatically begin to transfer.


If you experience any issues, or have any questions from the above instructions please let our support team know immediately so we can ensure you are able to get your transfer started.