An step by step example
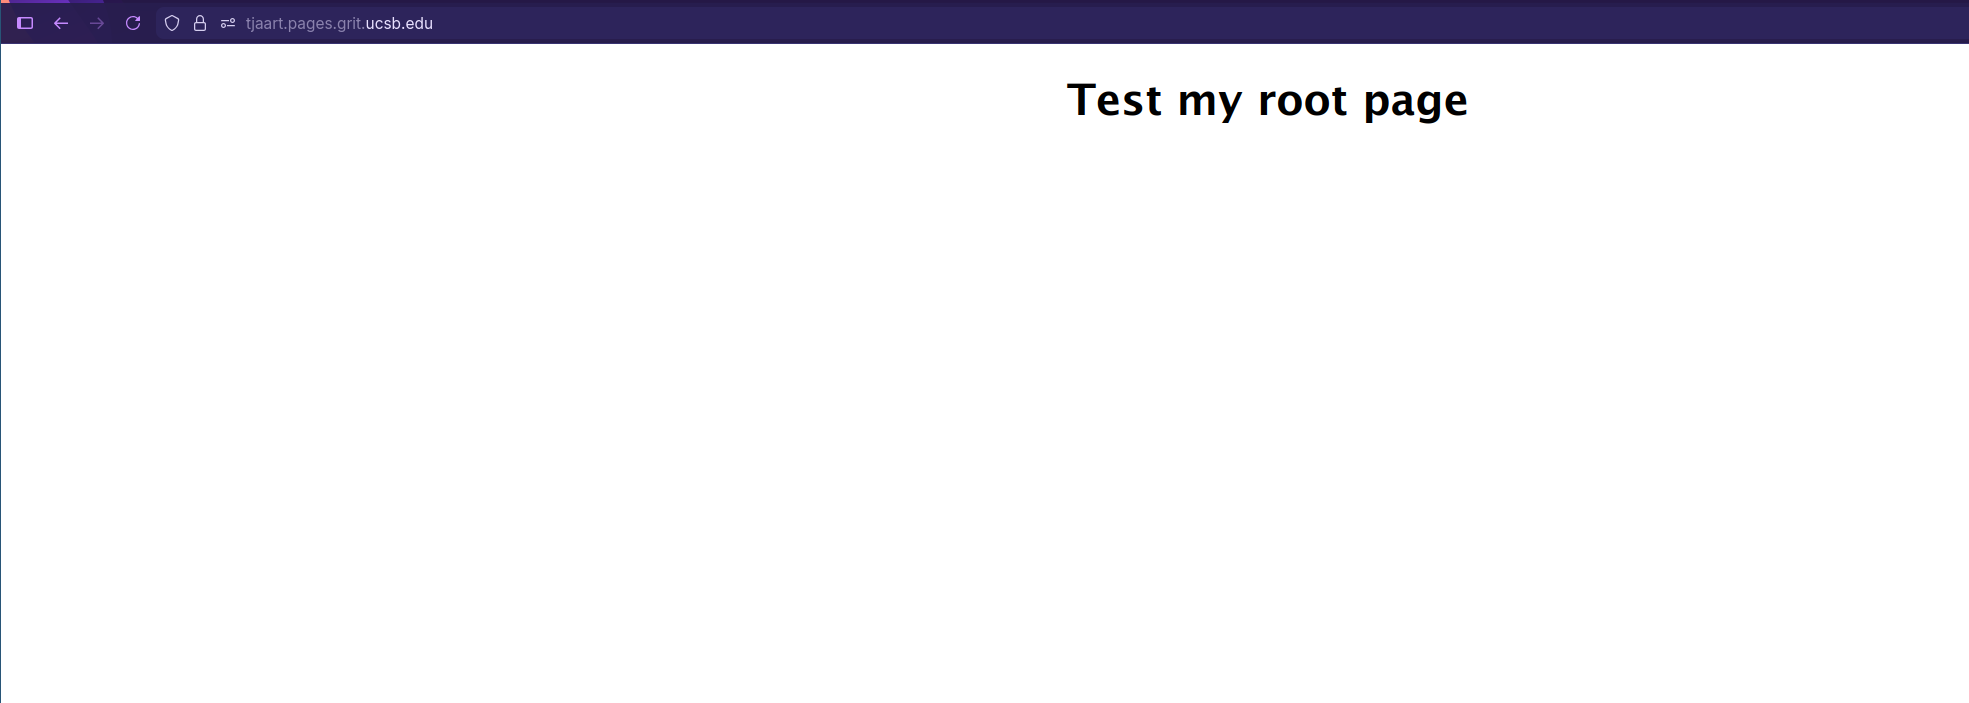
In this example, I will create a root site for my user deployed to https://tjaart.pages.grit.ucsb.edu
Create a repository
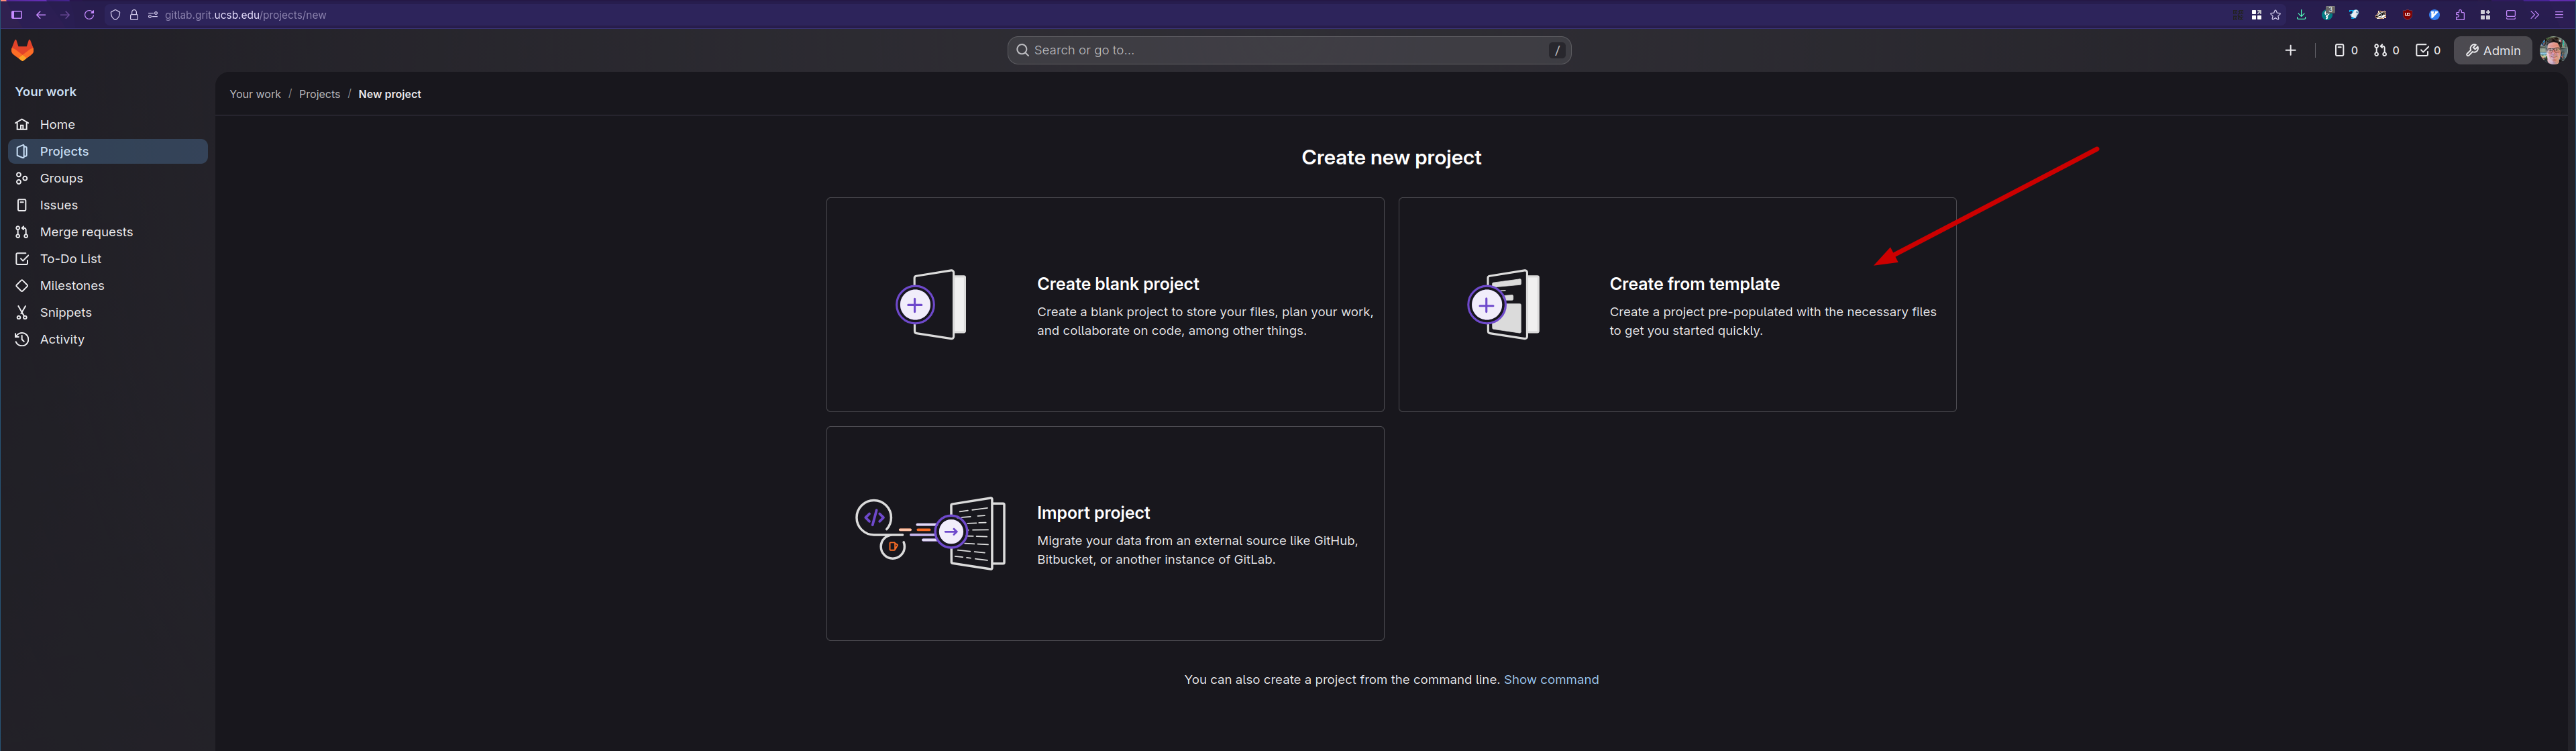
To create a repository, click on the + icon at the top bar, and select "New project repository"

On the next screen select "Create from Template"
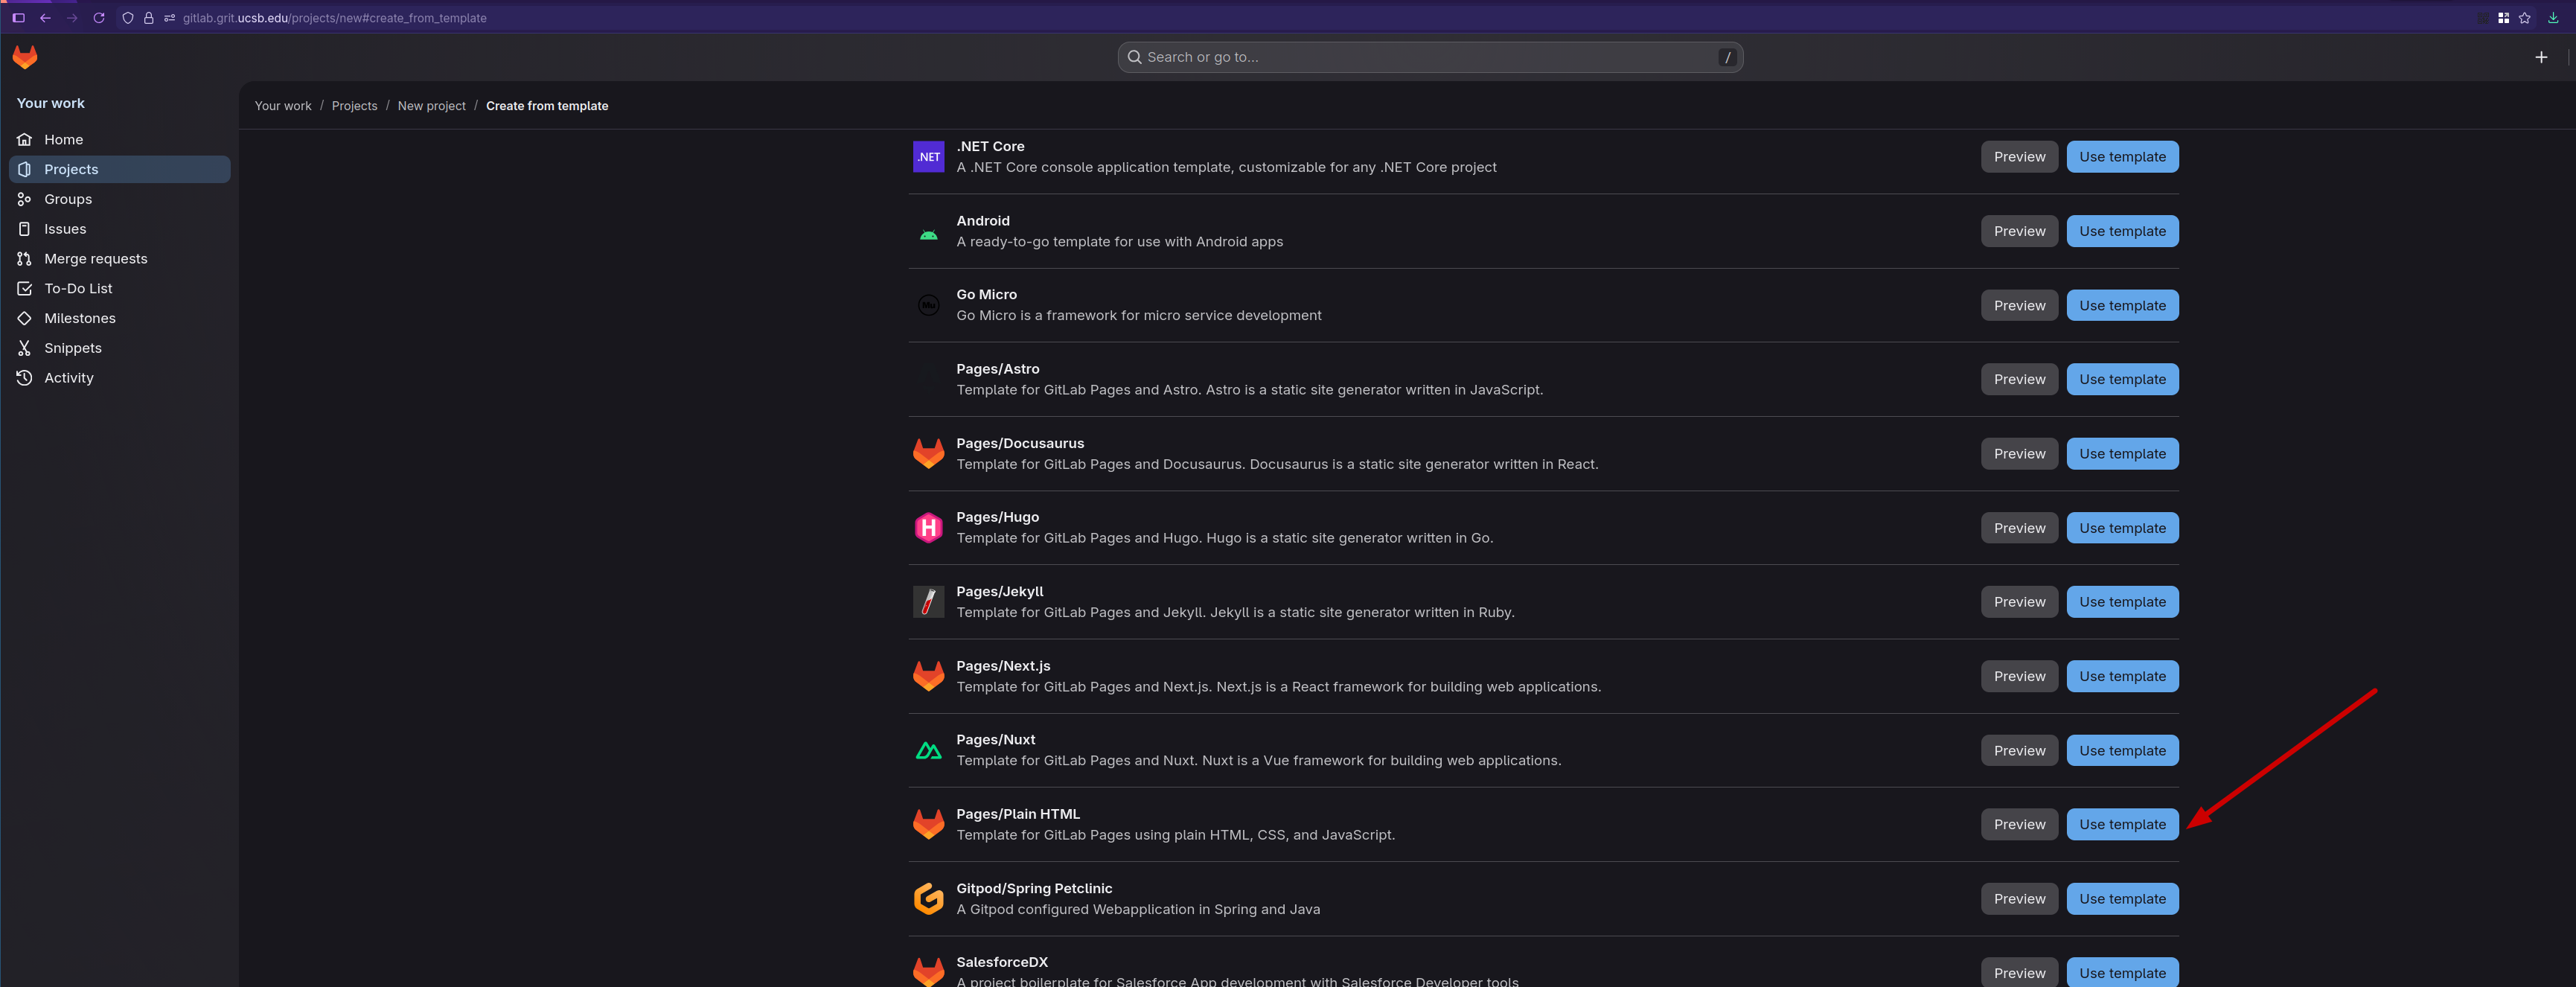
Click "Use Template" on the "Pages/Plain HTML"
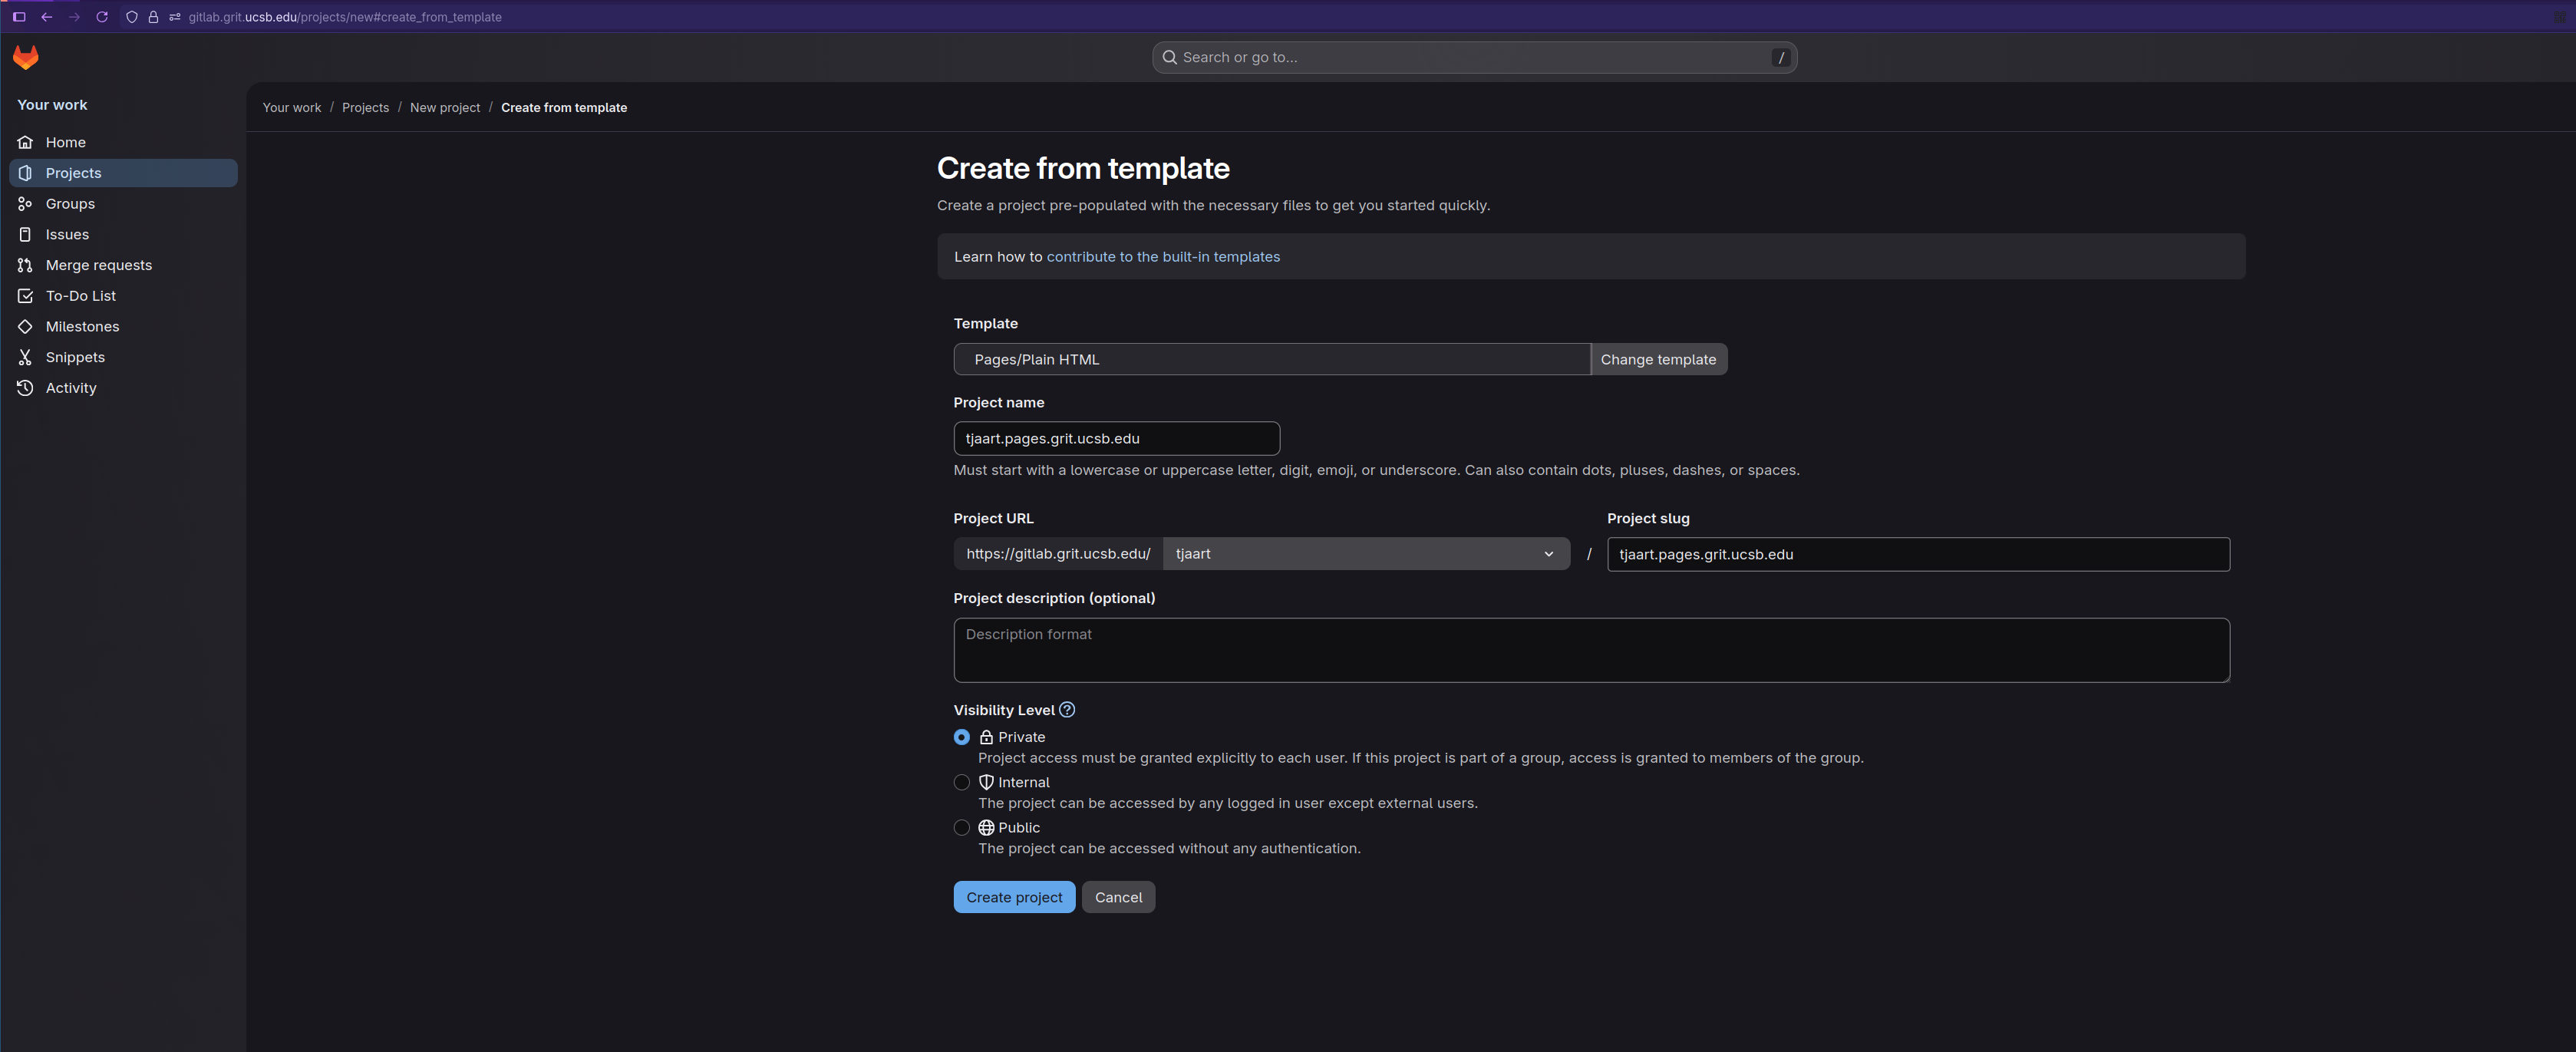
On the next page, you will enter the repository name. This needs to be your_netid.pages.grit.ucsb.edu for our example, it will be tjaart.pages.grit.ucsb.edu.
Under Project URL, you can select your username.
The project slug should be prefilled to be the same as the project name.
You can set any visibility level. Once done, click Create Project
Edit the content
With the repository created, you can use any Git tools to modify the files in the public/ directory, and push the changes to the master branch. If you are not familiar with Git, the easiest way to get started is to use the built in Web IDE.
To open the Web IDE, inside your repository, click on the "Code" button, and then Click on the Web IDE "."
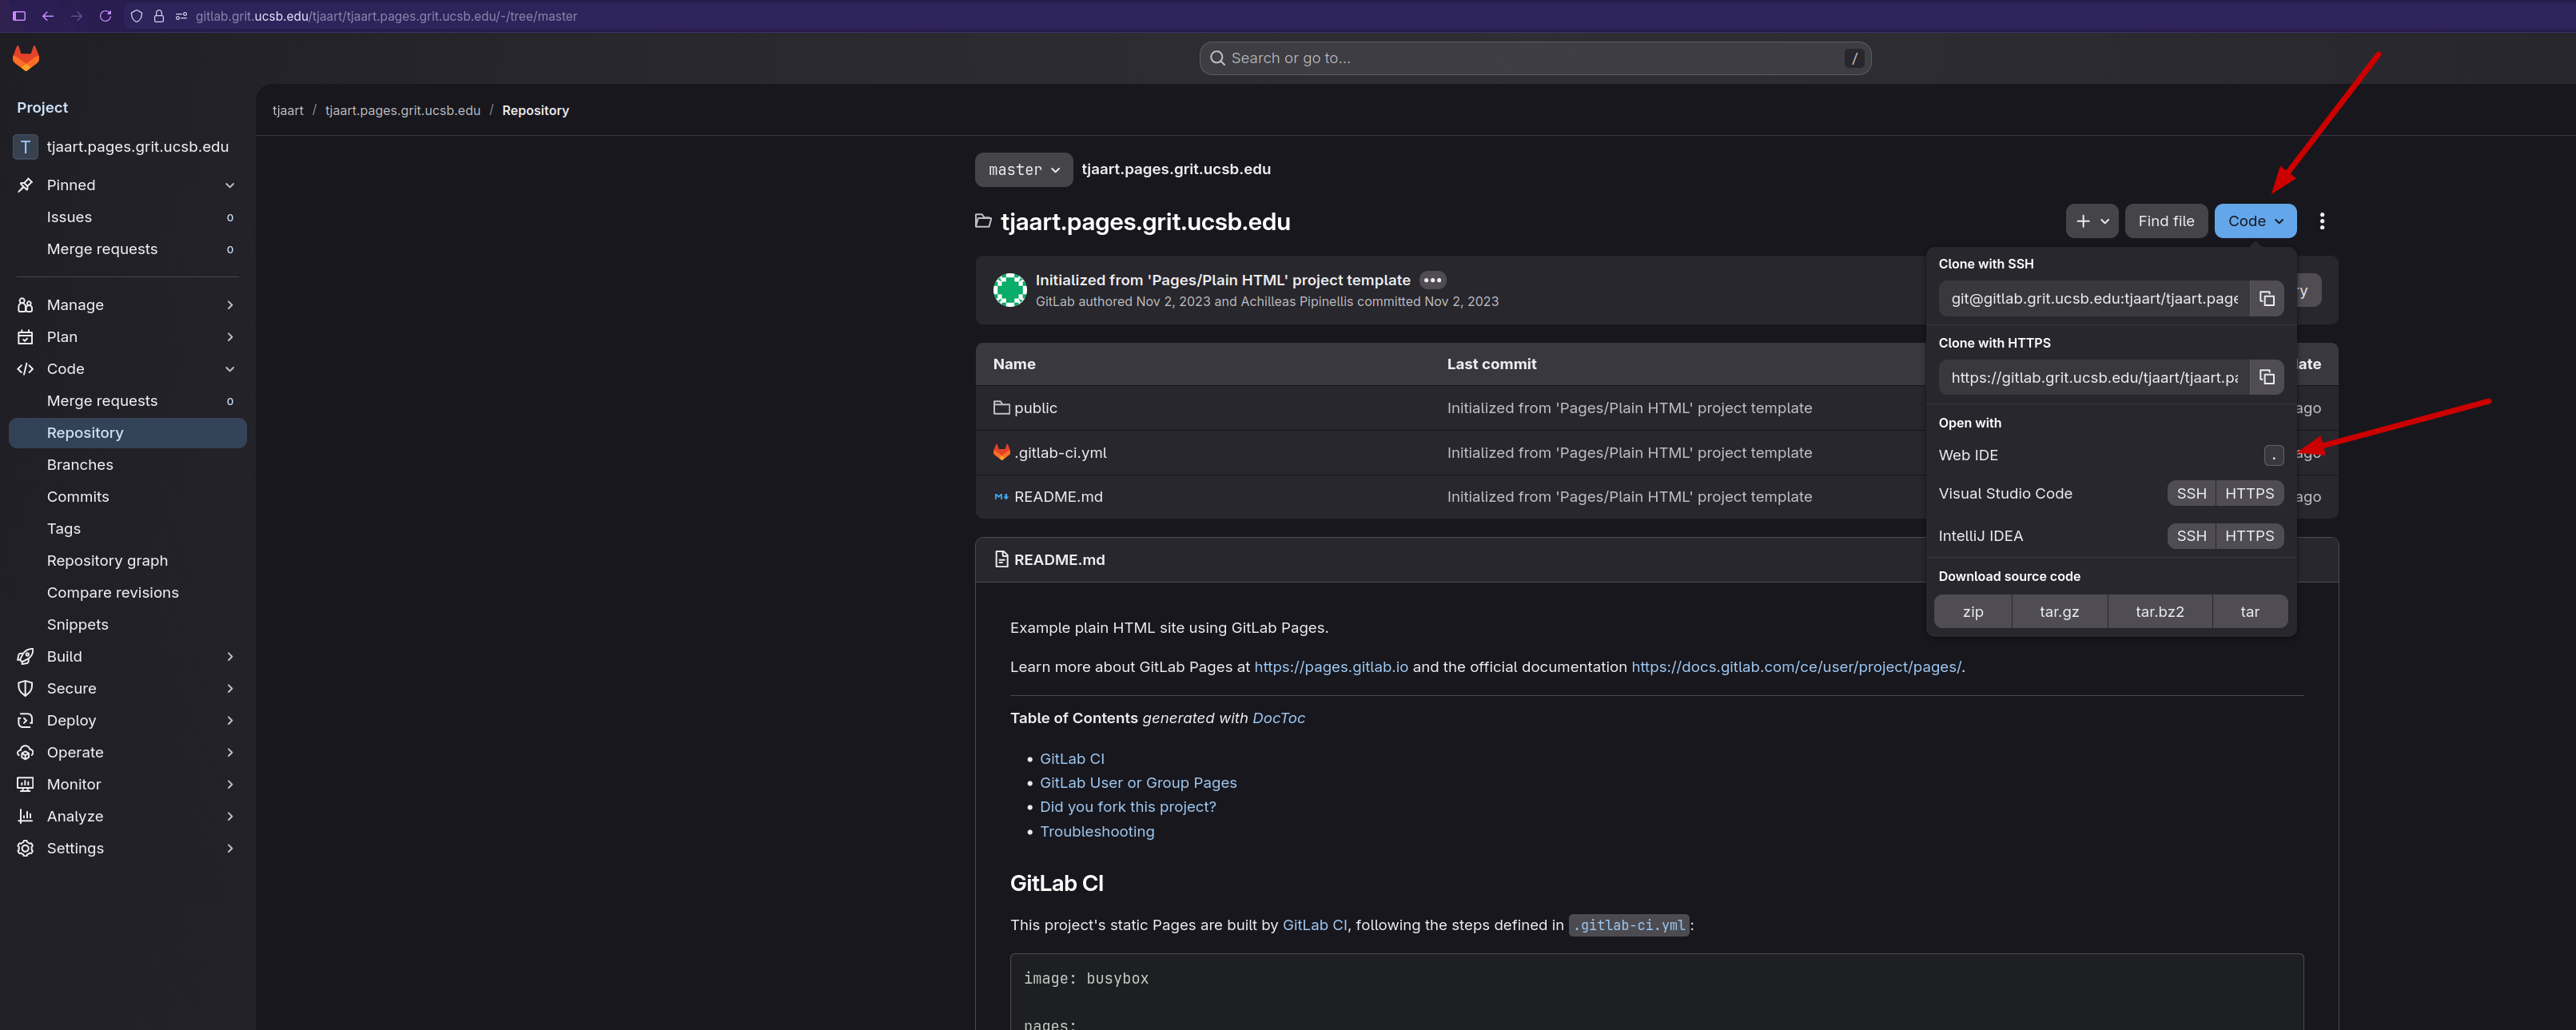
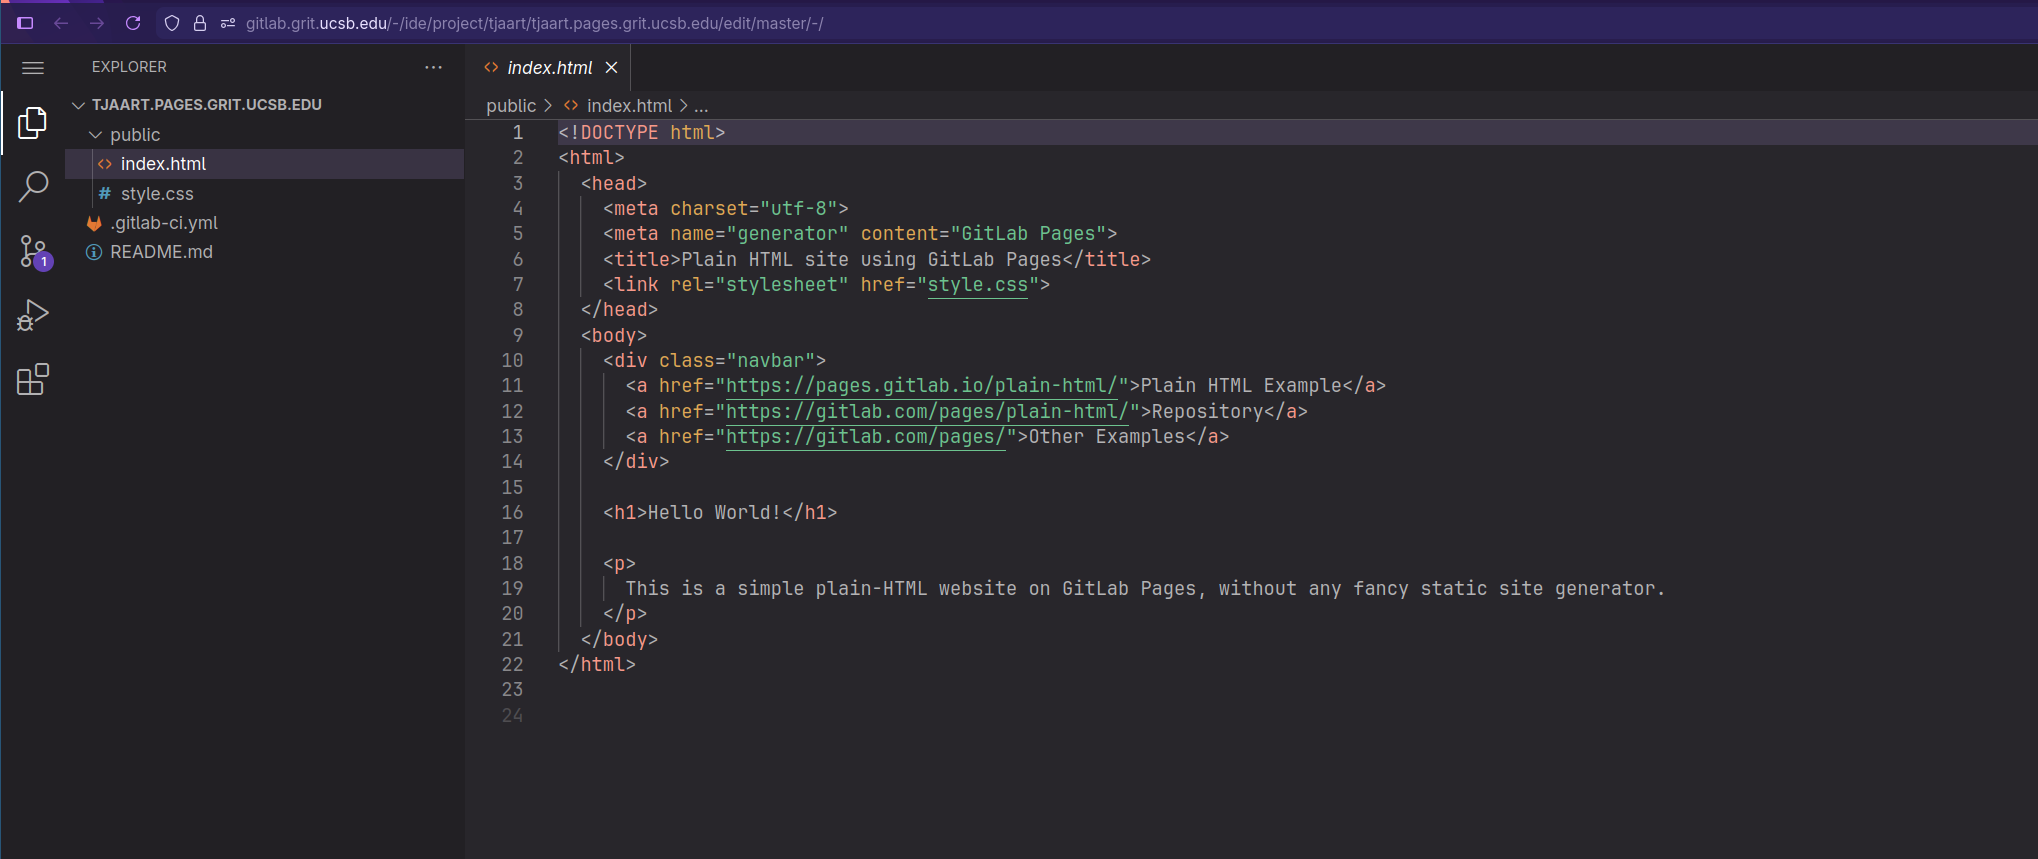
Inside the Web IDE, you will be able to edit all the files in the repository. Files in the public/ directory, gets served as the website.
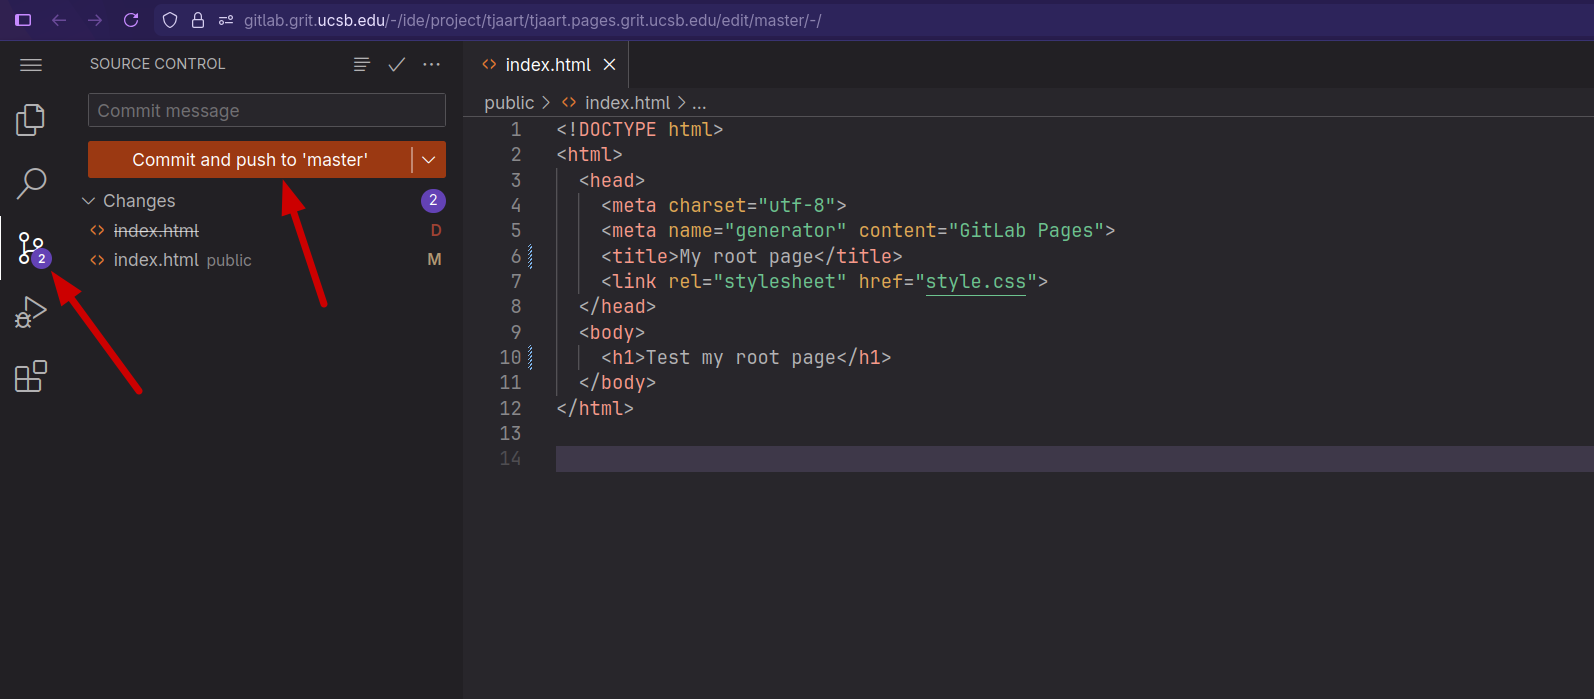
Once you are done making changes, you need to commit the changes to the master branch.
First select the branch icon, and then click "Commit and push to 'master'"
You will get the following warning message, click Continue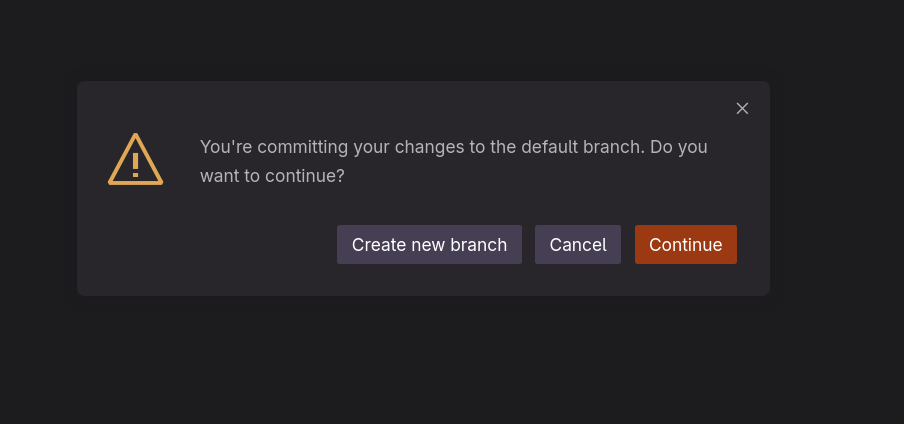
Deploy the Pages
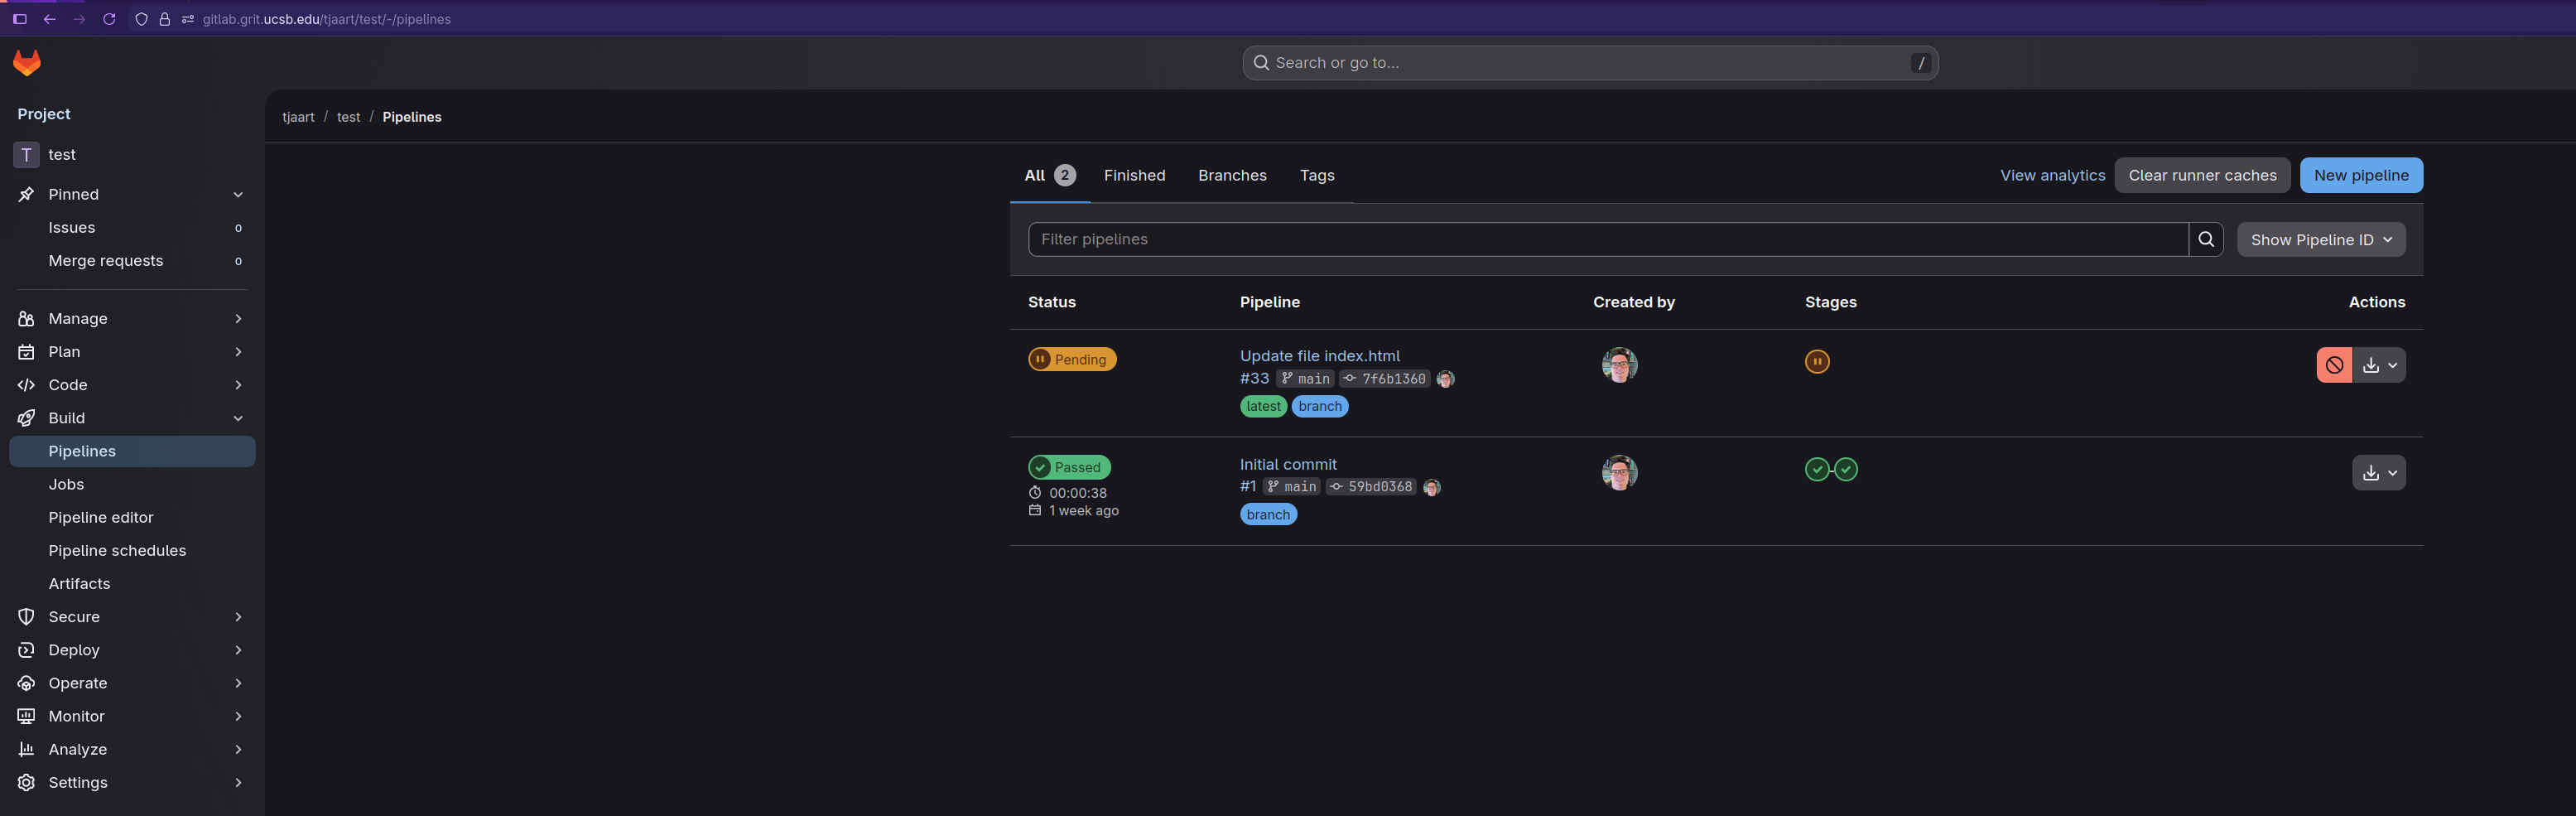
Once you committed your changes, a Gitlab runner, will deploy your website, this can take some time, depending on the size of your webisite, and runner availability. To check on the progress, you can go to Build|Pipelines in your project.
Once the deployment is successfully completed, you can see configure your page by going to Deploy|Pages. On this page you can also configure any custom domains.
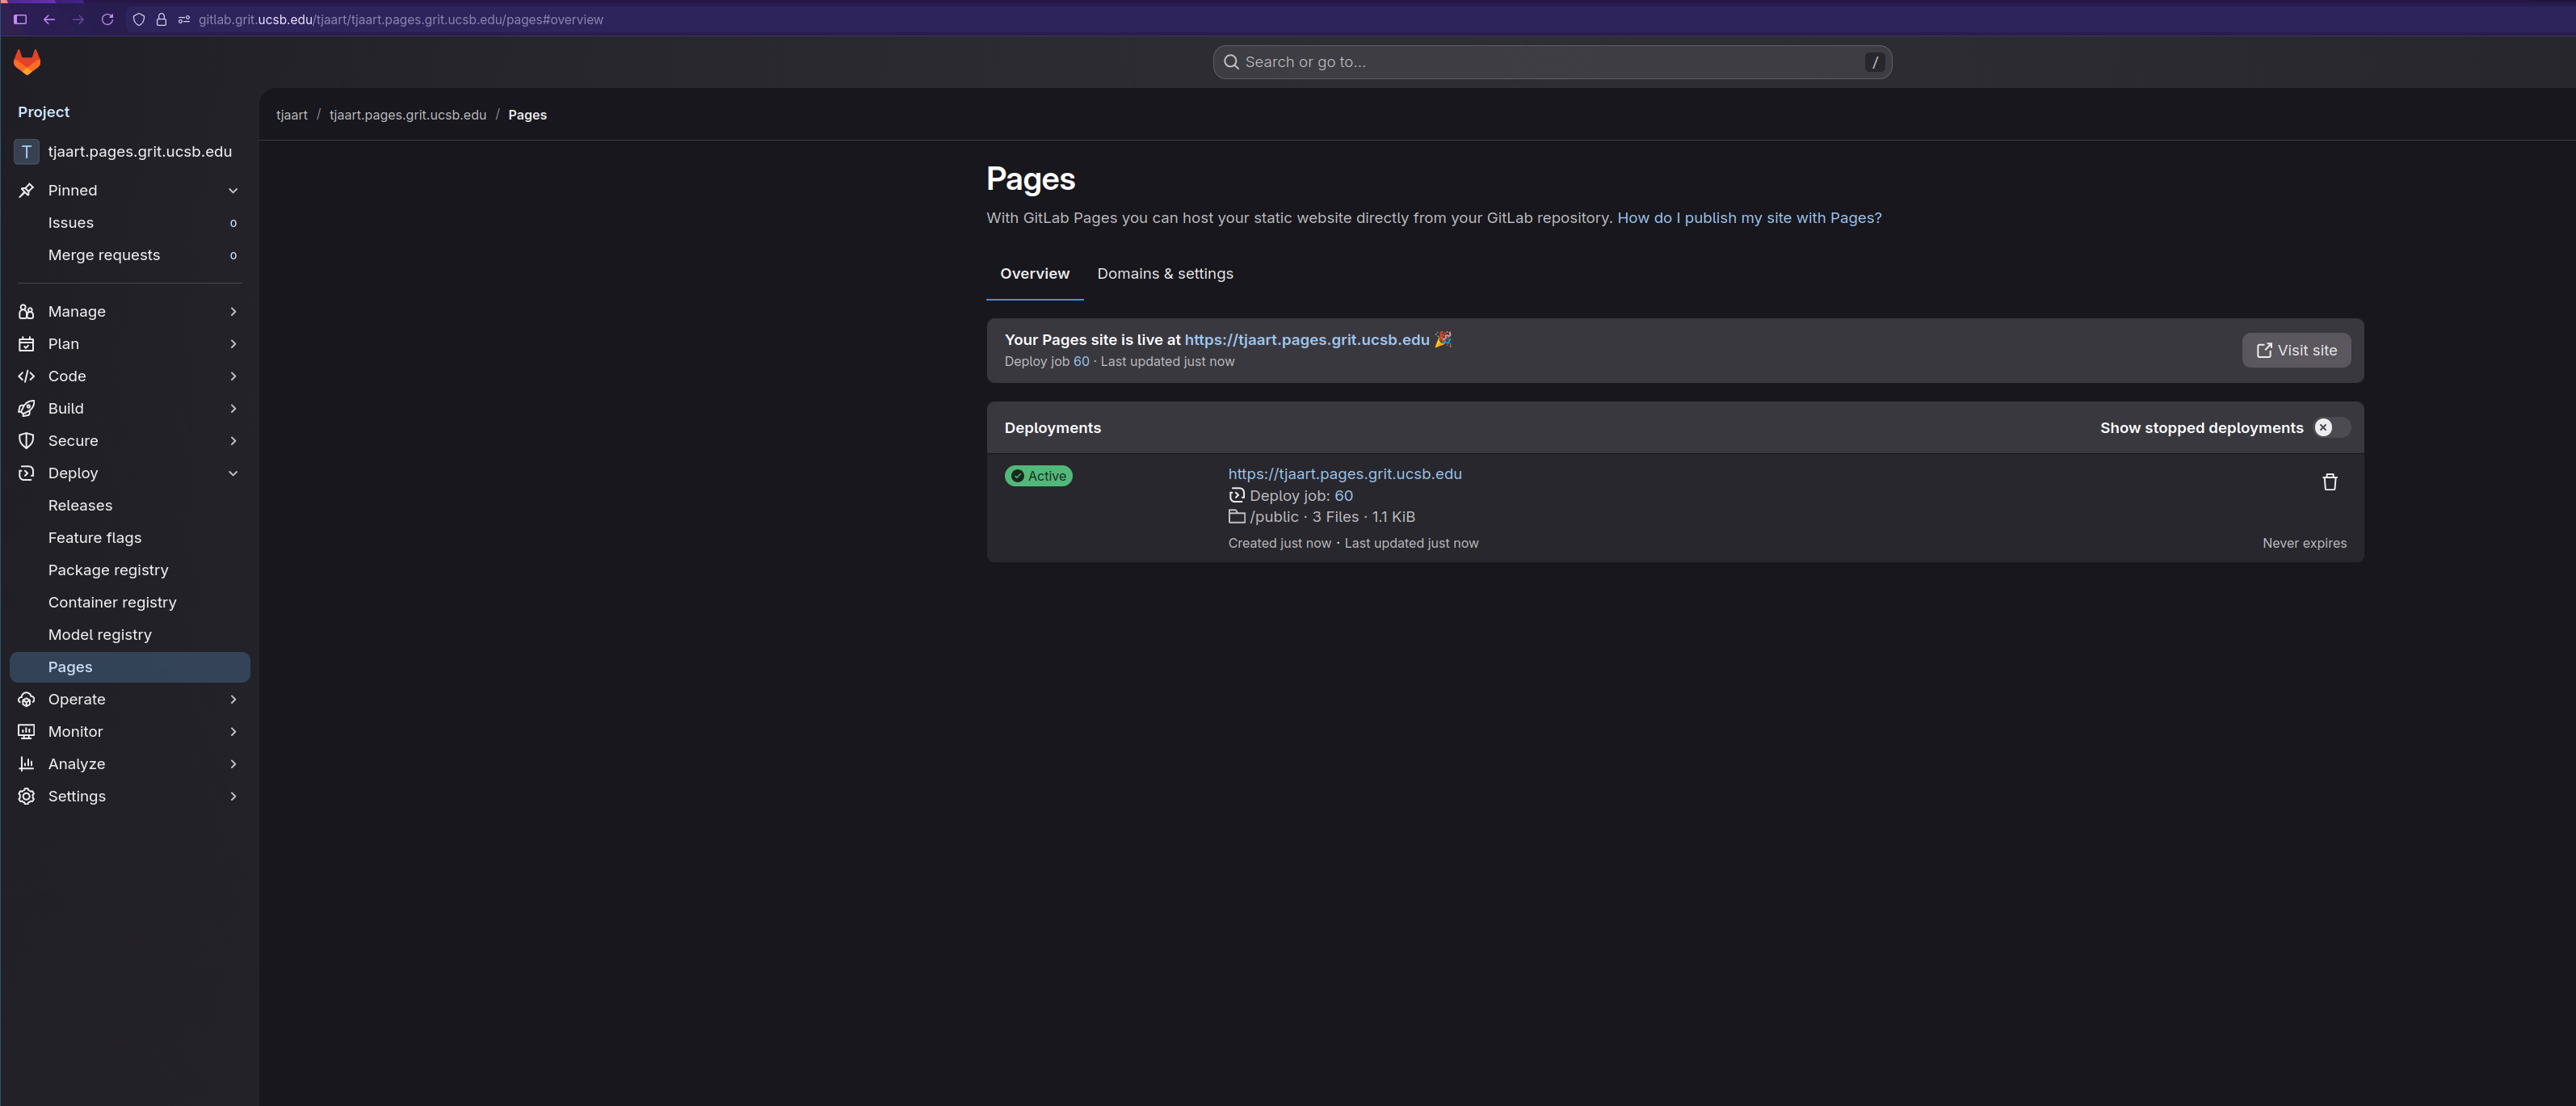
You should be able to get to your website, by following the link