Skip to main content
Linux
Once you have received confirmation that your CrashPlan account has been configured, download the installer here:
- Extract the .tgz downloaded above
- Launch your Terminal, and cd to the extraction folder (/Downloads/crashplan-install by default)
- Run
sudo ./install.sh
- Follow the prompts to complete the installation
- Enter /usr/local for the parent directory for the CrashPlan installation
- Once the install is complete, you will be prompted for your username, and the CrashPlan server.
- Username: your NetID
- Server: clients.us1.crashplan.com
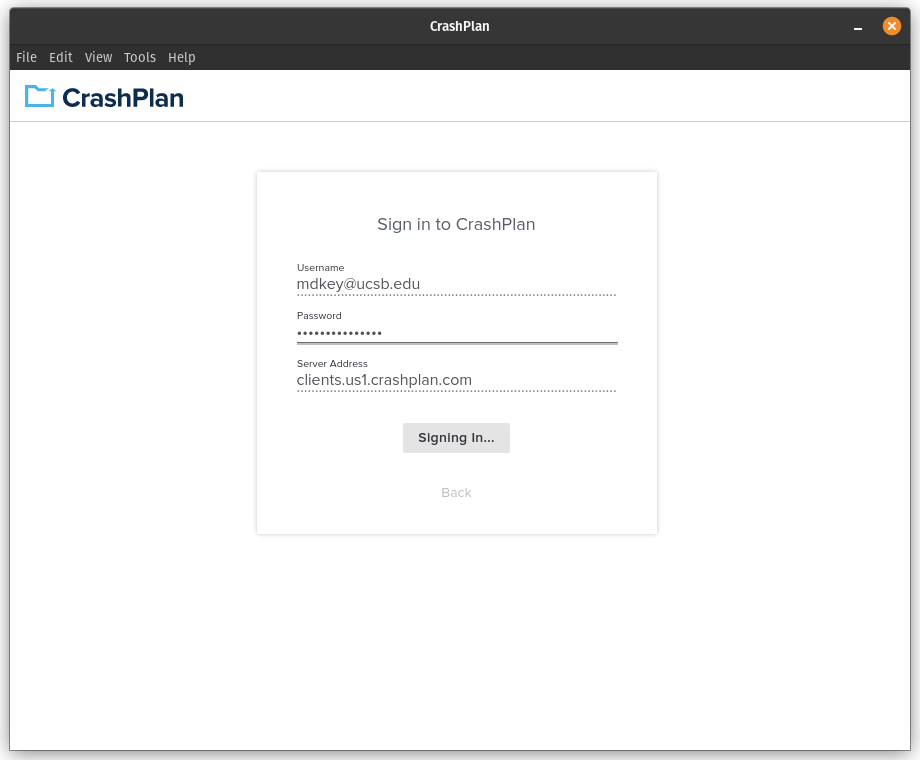
- You will then be directed to a UCSB NetID sign in portal to complete your authentication.
- CrashPlan will re-open and automatically start backing up your PC.
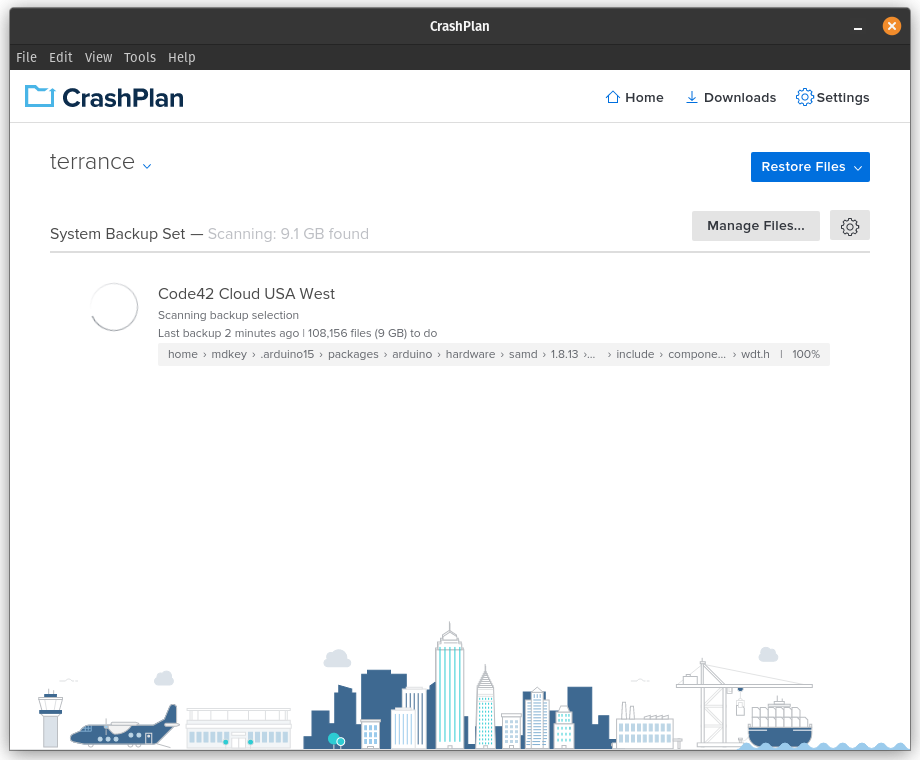
- Backups automatically include your entire user directory.


